Search Constraints
You searched for:
Topic subjectplace ss Palace of Westminster
Remove constraint Topic subjectplace ss: Palace of WestminsterSearch Results
1
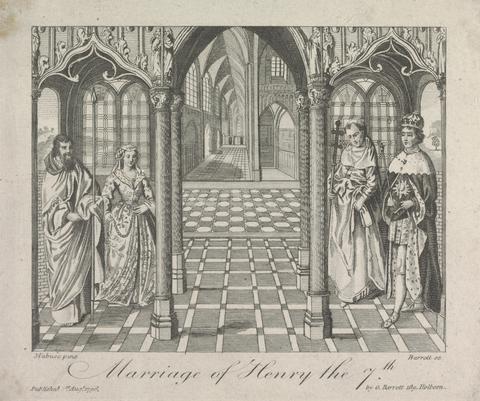
- Marriage of Henry the seventh
- 1796
2
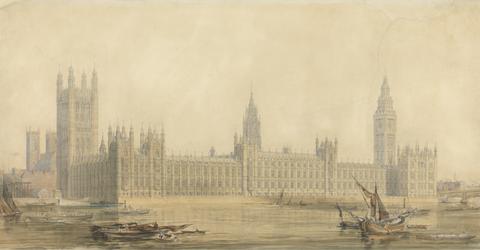
- Perspective View: the New Houses of Parliament
- ca. 1840-1849
3
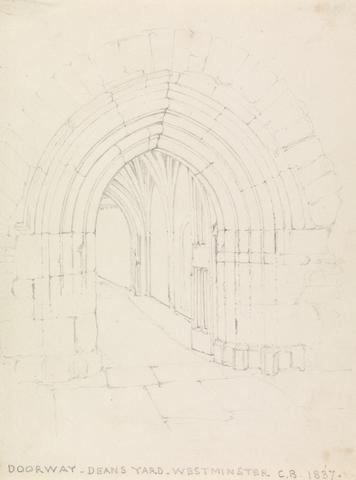
- Doorway, Dean's Yard, Westminster
- 1837

4
- Vol. 6, Plate XXXVIII: The Triumph of Largesse or Bounty over Avarice. The Triumph of Debonerete or Meekness over Anger
- after 1819
5
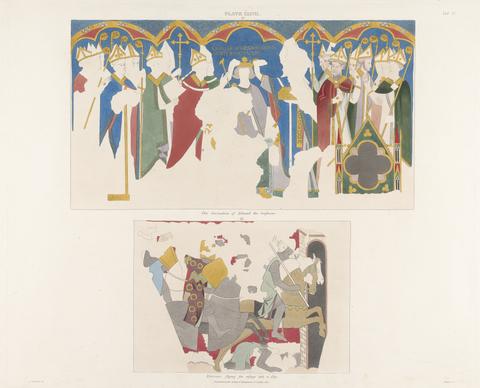
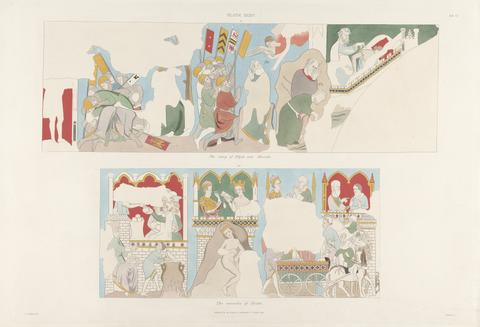
- Vol. 6, Plate XXXVII: The Coronation of Edward the Confessor. Warriors Flying for Refuge into a City
- 1842
6
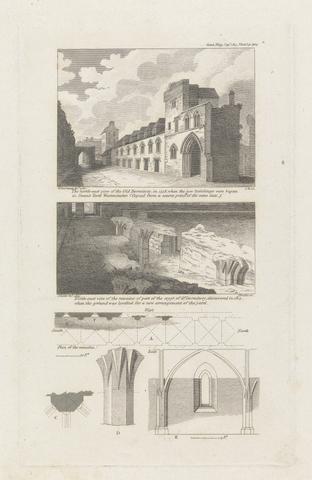
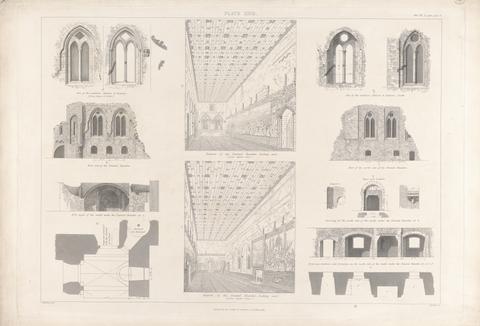
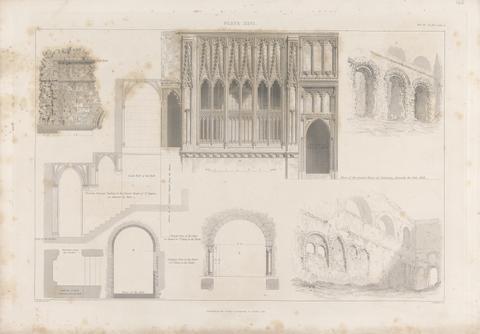
- The North-East View of the Old Dormitory, in 1758; North-East View of the Remains of Part of the Crypt of the Old Dormitory, discovered in 1815; Plans and Elevations of the Remains
- 1815
7
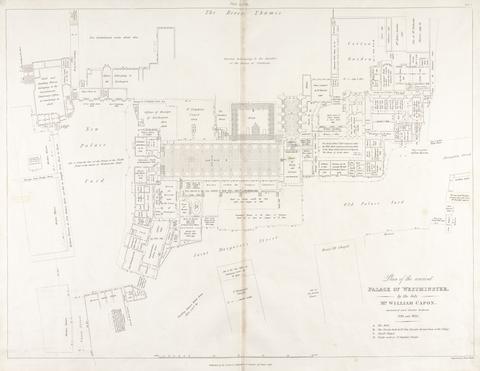
- Plan of the Ancient Palace of Westminster by the late Mr. William Capon, measured and drawn between 1793 and 1823
- 1828
8
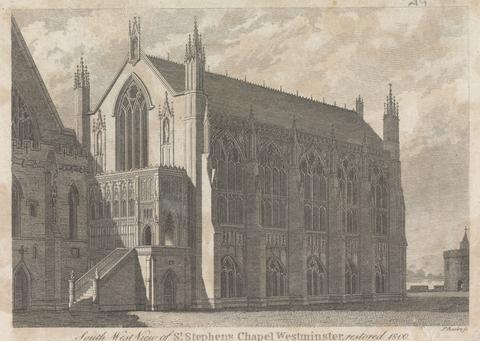
- South West view of St. Stephen's Chapel Westminster, Restored 1800
- 1801
9
- Vol. 6, Plate XXVI: Chapel of St Stephen, Chapel of St Mary in the Vaults
- 1842
10
- Plate XI: St Stephen's Chapel
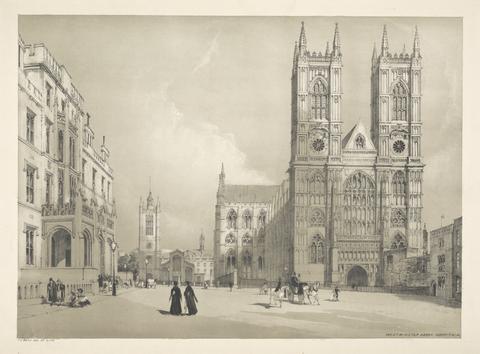
- 1795
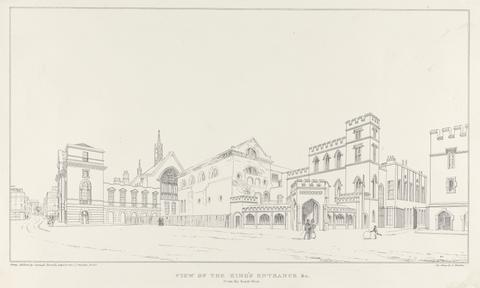
11
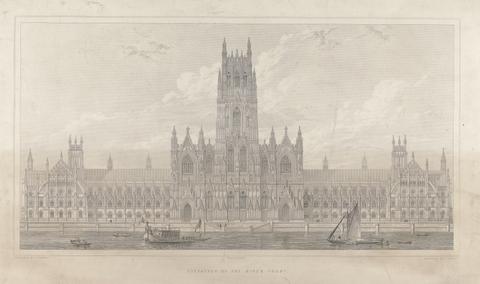
- Vol. 6, Plate XXVII: The Painted Chamber
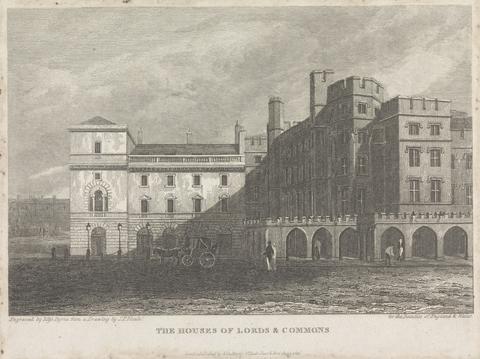
- 1842
12
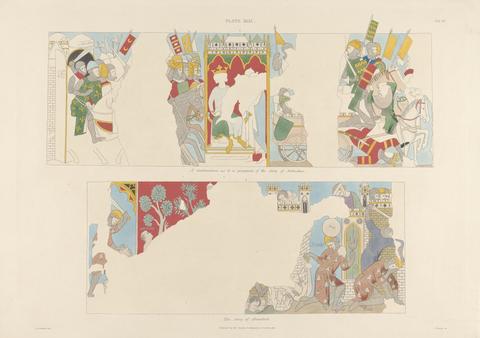
- Vol. 6, Plate XXXI: A Continuation, as it is Presumed, of the Story of Antiochus. The Story of Abimelech
- 1842
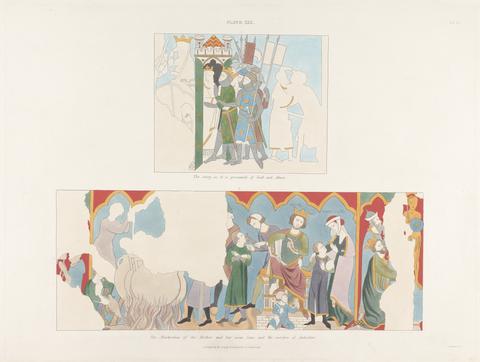
13
- Vol. 6, Plate XXX: The Story, as it is Presumed, of Joab and Abner. The Martyrdom of the Mother and her Seven Sons, and the Sacrifice of Antiochus
- 1842
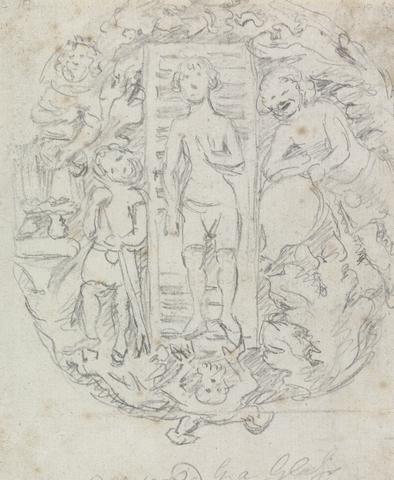
14
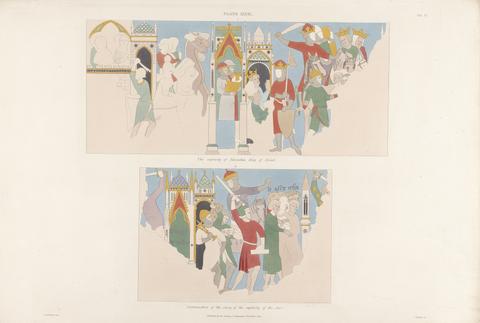
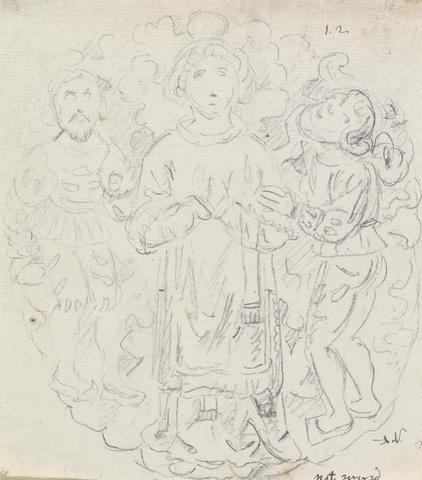
- Vol. 6, Plate XXXIII: The Captivity of Jehoiachin King of Israel. Continuation of the Story, of the Captivity of the Jews
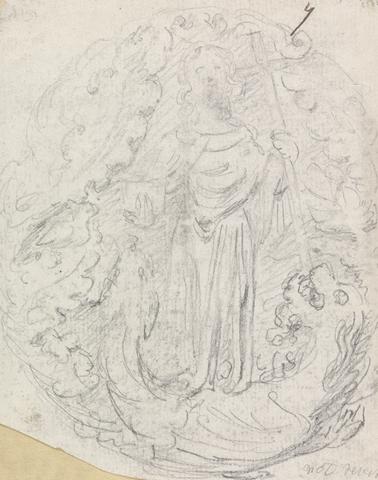
- 1842
15
- Vol. 6, Plate XXVI: Chapel of St Stephen, Chapel of St Mary in the Vaults
- 1842
16
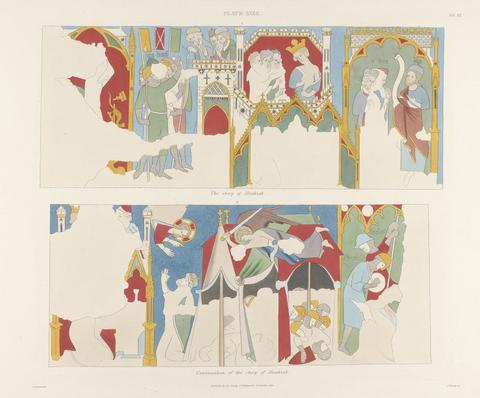
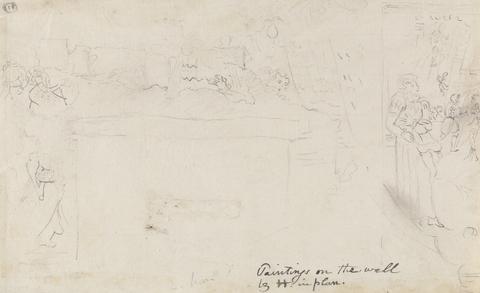
- Vol. 6, Plate XXXII: The Story of Hezekiah
- 1842
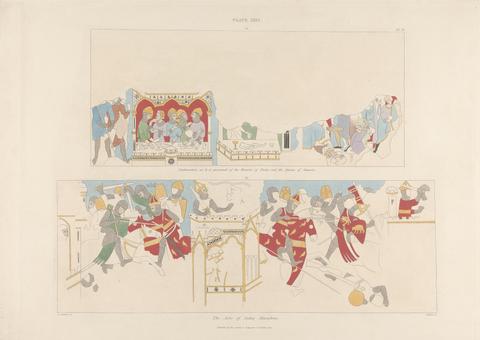
17
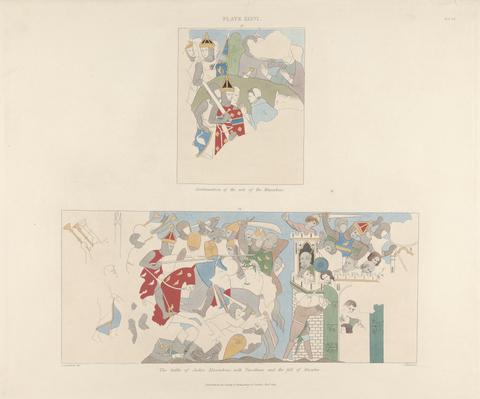
- Vol. 6, Plate XXXVI: Continuation of the Acts of the Maccabees. The Battle of Judas Maccabeus with Timotheus and the Fall of Maspha
- 1842
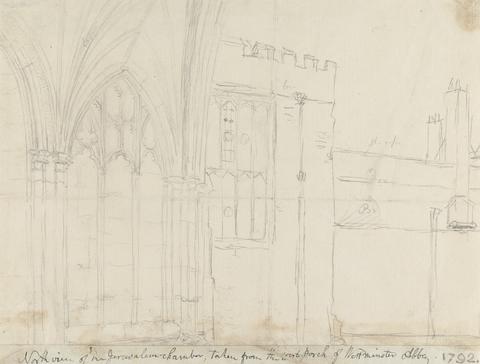
18
- Vol. 6, Plate XXXIV: The Story of Elijah and Ahaziah. The Miracles of Elisha
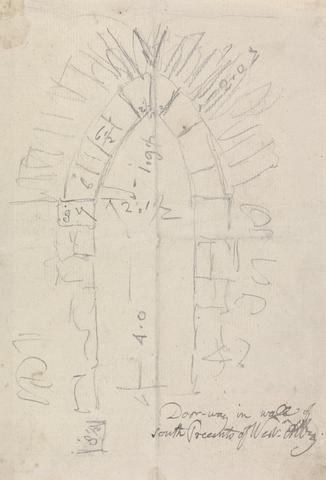
- 1842
19
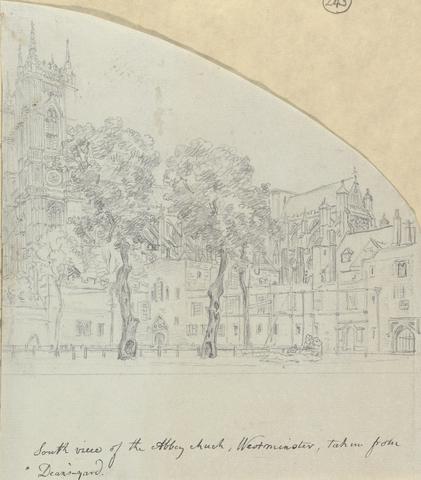
- Vol. 6, Plate XXXV: Continuation as it is Presumed of the Miracles of Elisha, and the Famine of Samaria. The Acts of Judas Maccabeus
- 1842

20
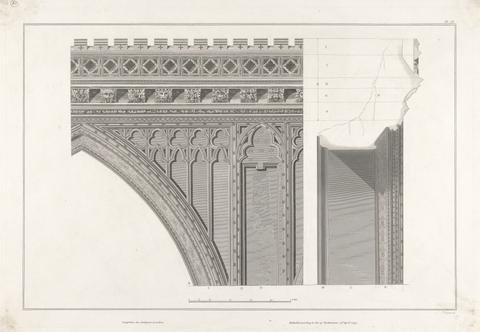
- PLATE XV. Elevation of a Window Bay &c
- 1805
21
- Plate VIII: St Stephen's Chapel
- 1795
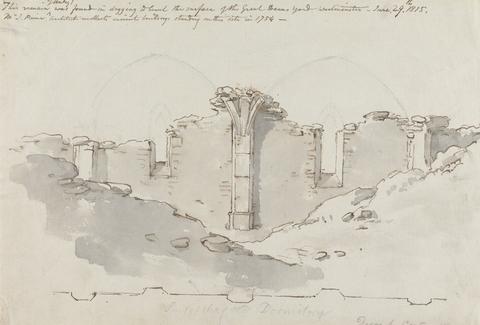
22
- Plate IX: St Stephen's Chapel
- 1795
23
- Plate X: St Stephen's Chapel
- 1795
24
- Plate XIII: St Stephen's Chapel
- 1795
25
- Plate XII: St Stephen's Chapel
- 1795
26
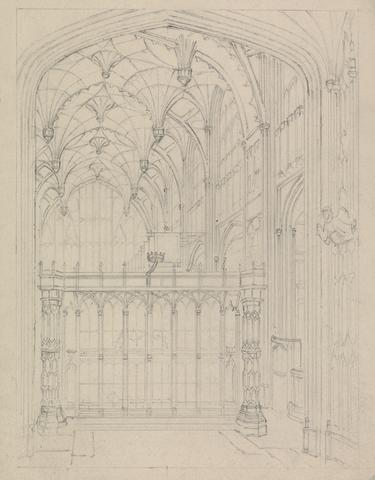
- View of the Inside of a Small Chapel on the West Side of the Area of the Cloisters of St Stephen's Chapel, Westminster
- 1795

27
- Ruins of St Stephen's Chapel, Seen from the Roof of Westminster Hall
- 1835
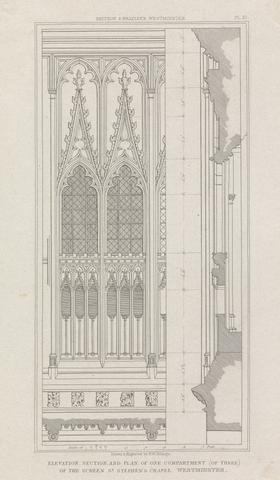
28
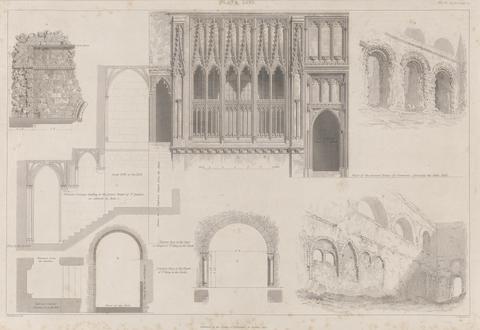
- Plate XI: Elevation, Section and Plan, of One Compartment (of Three) of the Screen, St. Stephen's Chapel, Westminster
- 1835
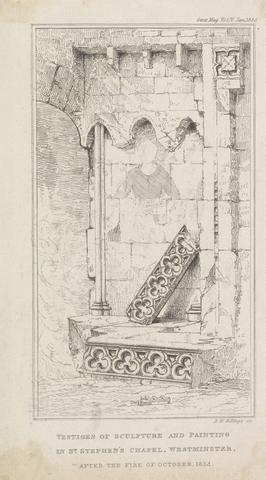
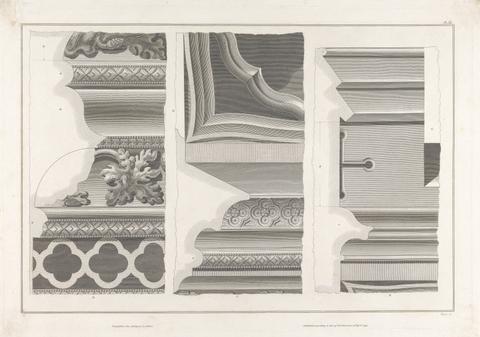
29
- Vestiges of Sculpture and Painting in St Stephen's Chapel, Westminster
- 1836

30
- Plan and View of Room under the Painted Chamber
- 1827
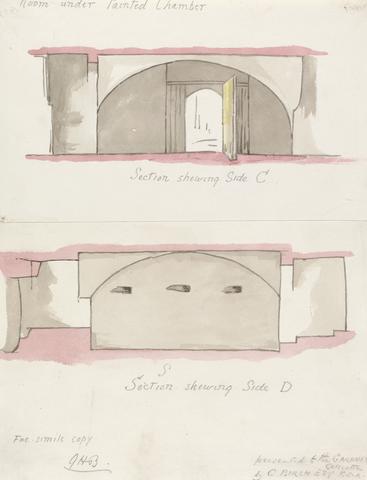
31
- Sections of Room under Painted Chamber
- 1827
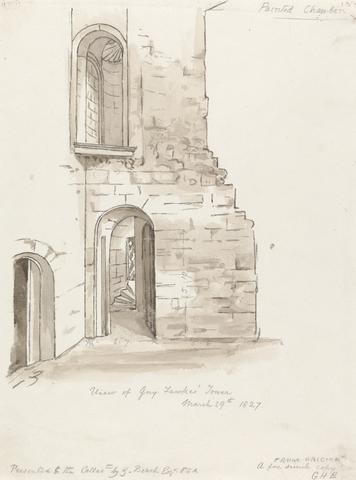
32
- View of Guy Fawkes' Tower
- 1827
33
- Westminster Abbey, Hospital &c
- 1842
34
- View of the King's Entrance &c. From the South-West
- 1835
35
- Elevation of the River Front
- ca. 1835
36
- The Houses of Lords and Commons
- 1815

37
- Entrance to the House of Lords
- 1796
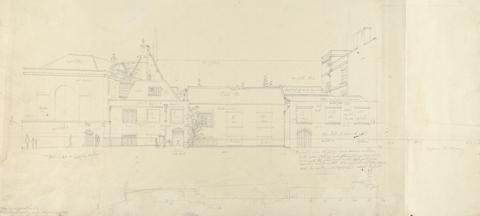
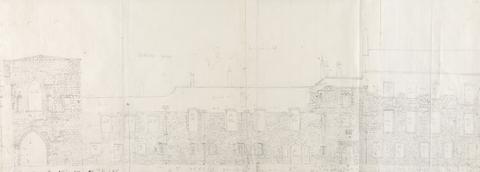
38
- Elevation of Buildings Fronting Westminster Hall
- 1822
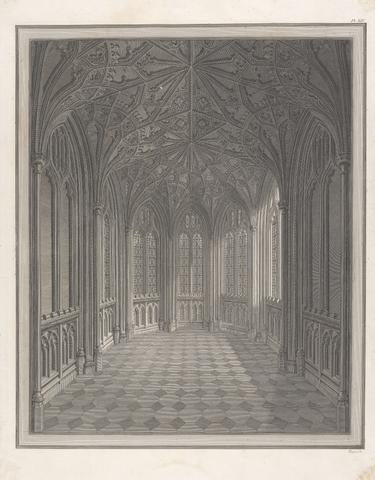
39
- Henry VII Chapel
- ca. 1793
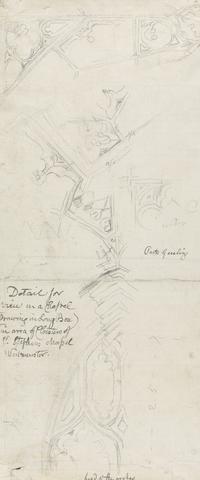
40
- Detail for View in a Chapel in Area of Cloisters of St Stephen's Chapel, Westminster
- between 1790 and 1802
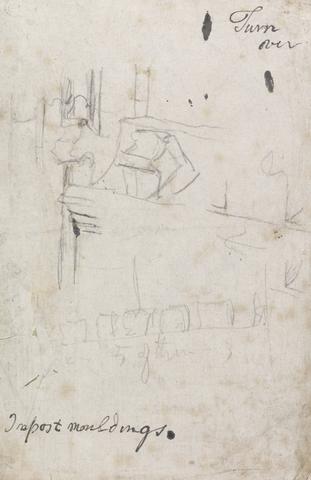
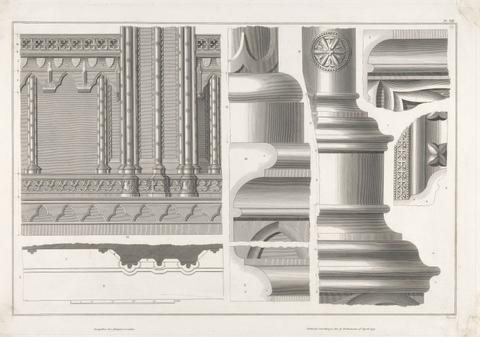
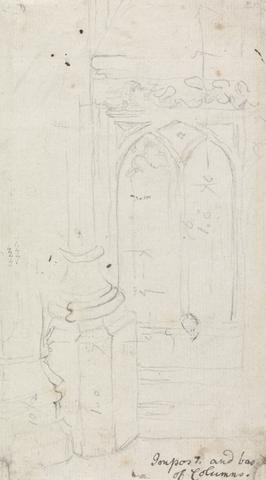
41
- Impost moldings, St Stephen's Chapel
- between 1790 and 1802
42
- Plan of Moldings, St Stephen's Chapel
- between 1790 and 1802
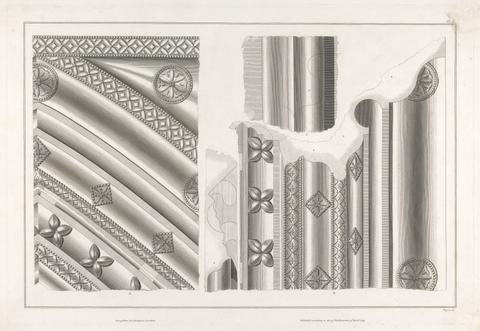
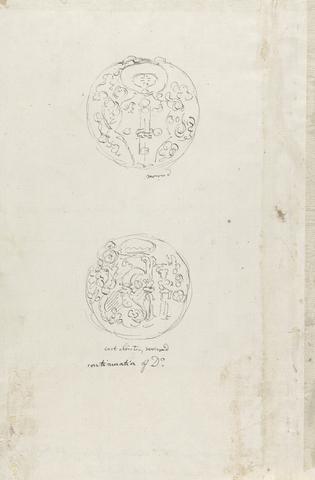
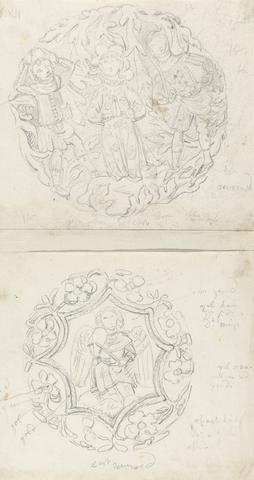
43
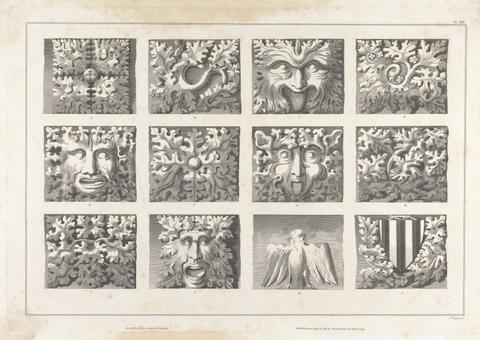
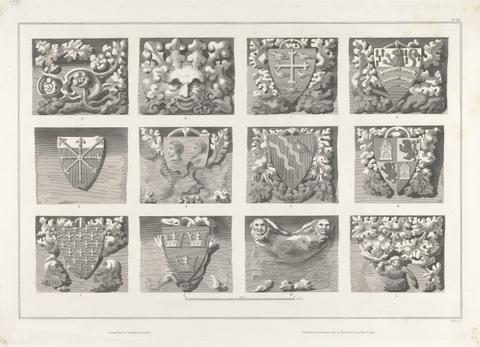
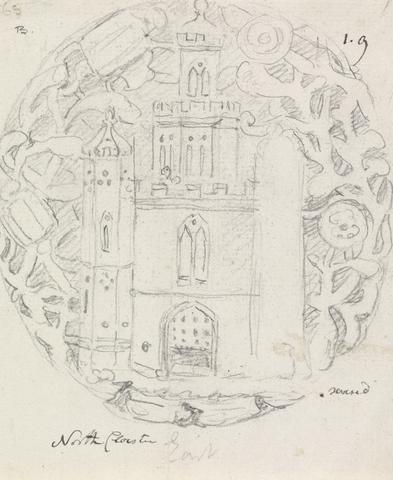
- Basso-relievos in the Center of the Groins of the Cloisters, St Stephen's Chapel
- ca. 1781
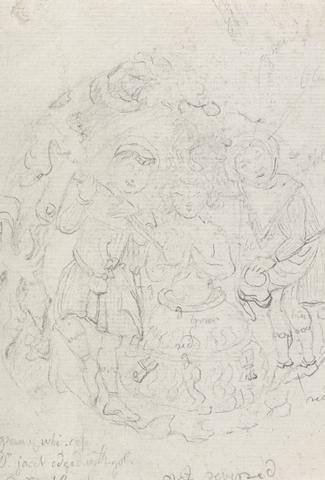
44
- Basso-relievos in the Center of the Groins of the Cloisters, St Stephen's Chapel
- ca. 1781
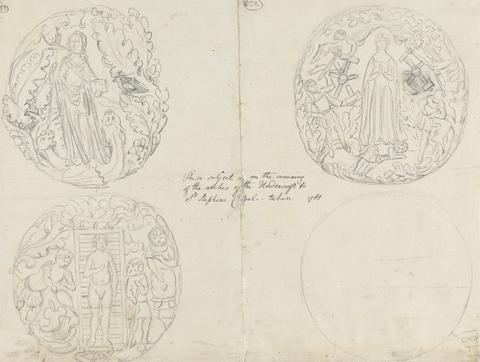
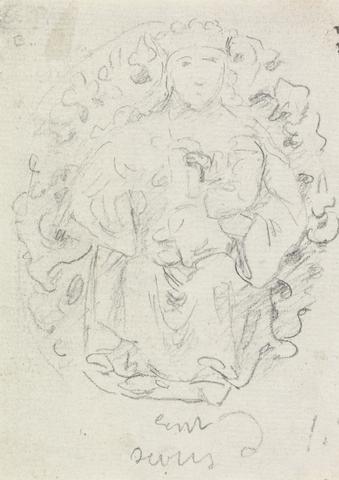
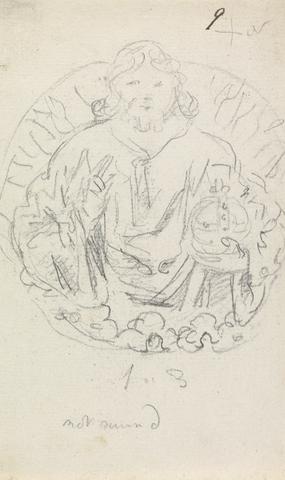
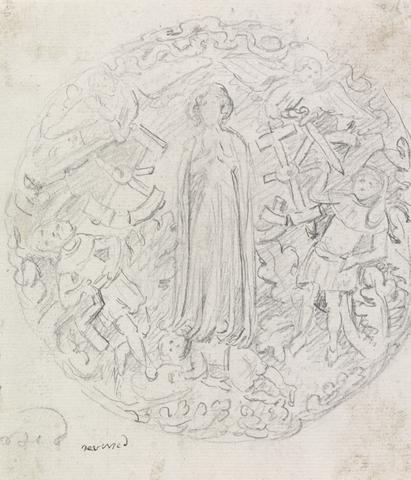
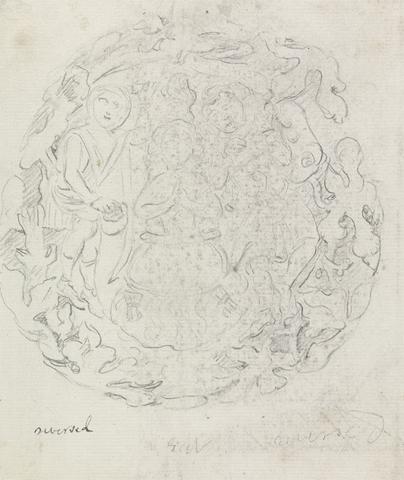
45
- Basso-relievos in the Center of the Groins of the Cloisters, St Stephen's Chapel
- ca. 1780
46
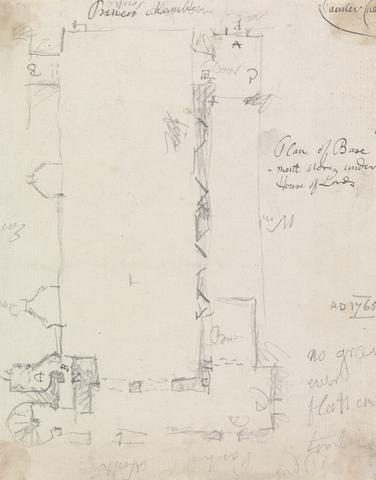
- Plan of the Basement Story under the House of Lords
- between 1800 and 1807

47
- Parts in Stone Underhouse of Lords
- between 1800 and 1807
48
- View in Basement Story under House of Lords
- between 1800 and 1807
49
- Elevation of the Basement Story, House of Lords
- between 1800 and 1807
50
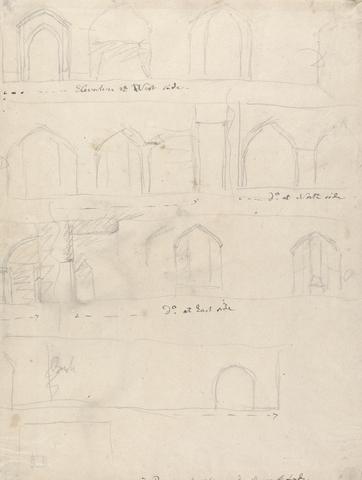
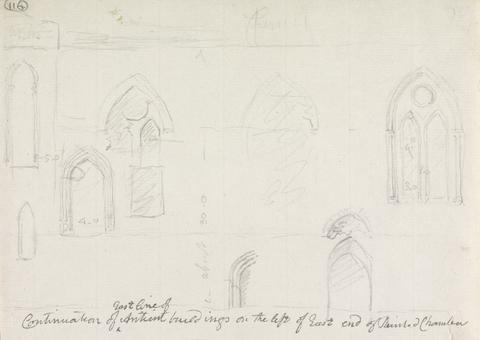
- Continuation of East Line of Ancient Buildings on the Left of East End of Painted Chamber
- between 1793 and 1799
51
- Paintings on the Wall by H in Plan
- between 1793 and 1799
52
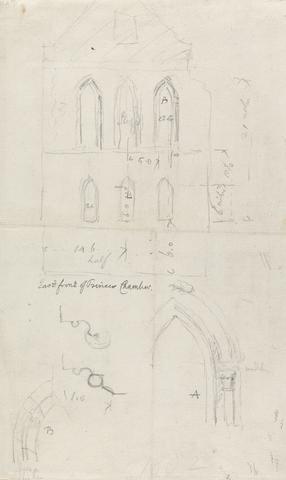
- East Front of Princes Chamber
- between 1800 and 1807
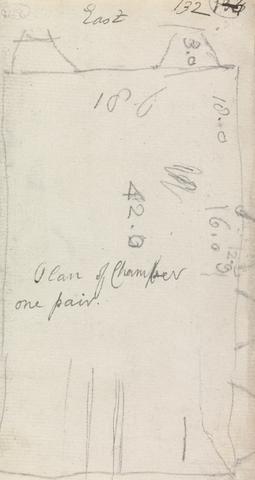
53
- Plan of Princes Chamber, One Pair
- between 1800 and 1807

54
- South Side of Princes Chamber West
- between 1800 and 1807
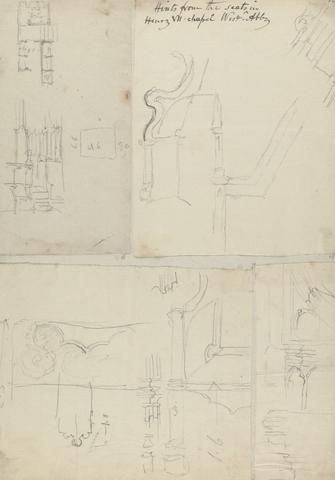
55
- Seats in Henry VII Chapel, Westminster Abbey
- ca. 1793
56
- North View of the Jerusalem Chamber, Taken from the West Porch of Westminster Abbey
- 1792
57
- Door-way in Wall of South Precints of Westminster Abbey
- undated

58
- Springing of groins
- 1815
59
- South View of the Abbey Church, Westminster, Taken from Dean's Yard
- 1785
60
- Part of the Old Dormitory
- 1815
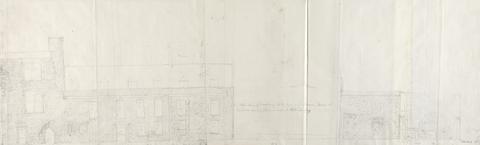
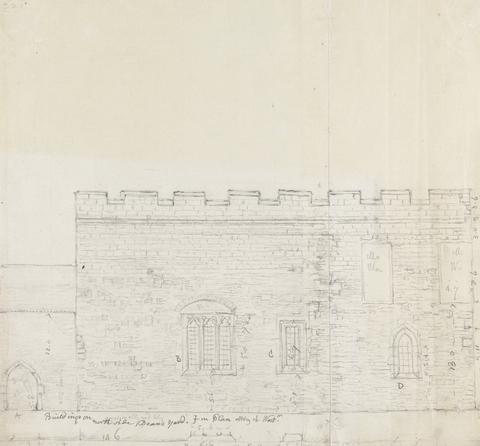
61
- Buildings on East Side of Dean's Yard
- between 1806 and 1815
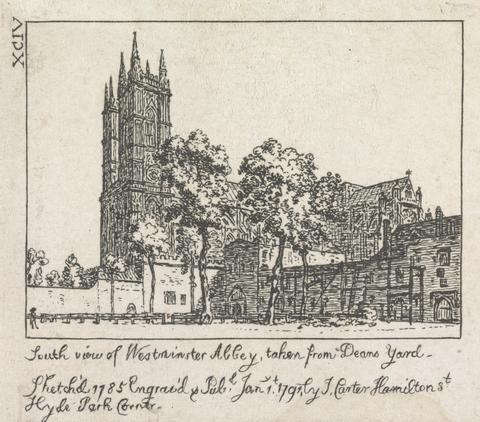
62
- Plate XCIV: South View of Westminster Abbey, Taken from Deans Yard
- 1791
63
- Buildings on North Side, Dean's Yard
- between 1806 and 1815
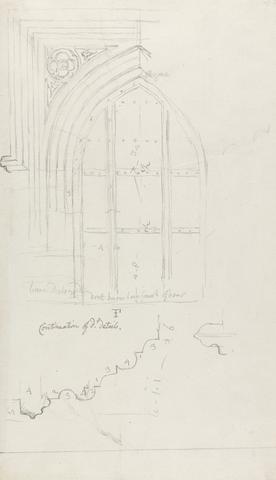
64
- Continuation of Details
- between 1806 and 1815

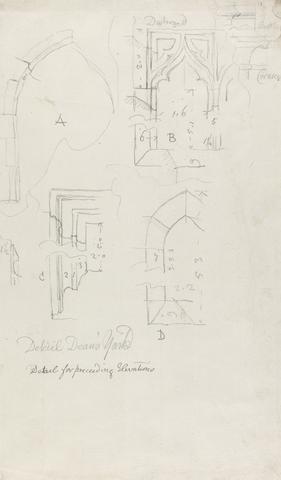
65
- Detail for Preceding Elevations
- between 1806 and 1815
66
- Continuation of Detail
- between 1806 and 1815
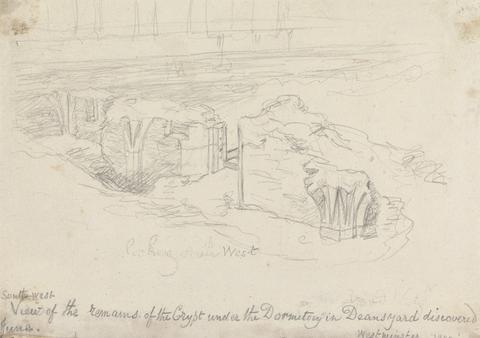
67
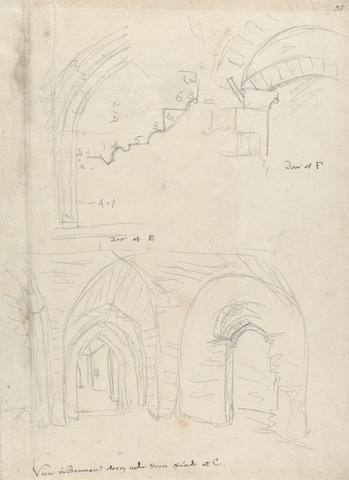
- South West View of the Remains of the Crypt under the Dormitory in Dean's Yard Discovered in June
- 1815
68
- Detail, Dean's Yard
- between 1806 and 1815
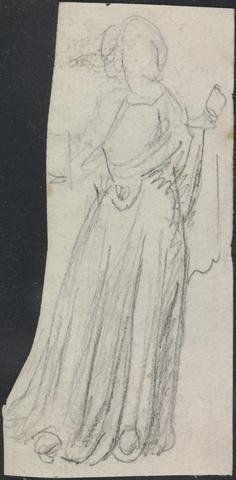
69
- Figure study, Henry VII Chapel
- ca. 1793

70
- Continuation of Detail
- between 1806 and 1815
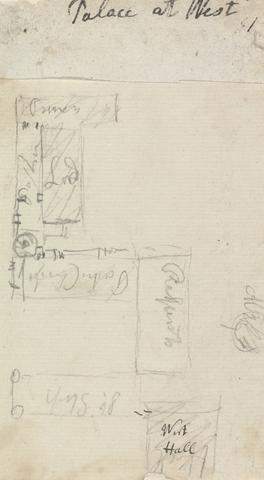
71
- Palace at Westminster
- between 1800 and 1807
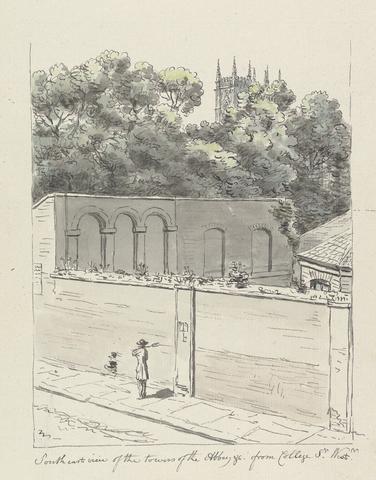
72
- South East View of the Towers of the Abbey, &c. from College St. Westminster
- 1782
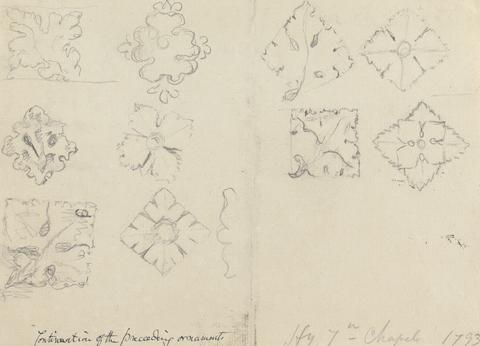
73
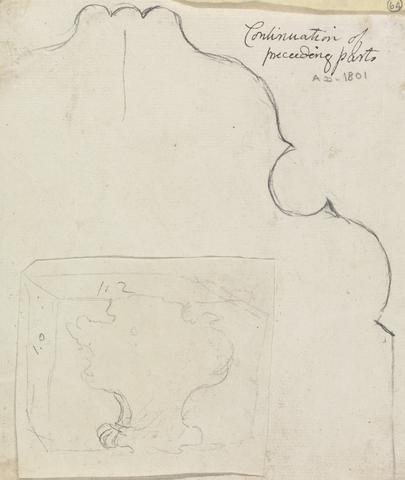
- Continuation of the Preceeding Ornaments
- 1793
74
- Line of Buildings on East Side, Dean's Yard
- between 1806 and 1815
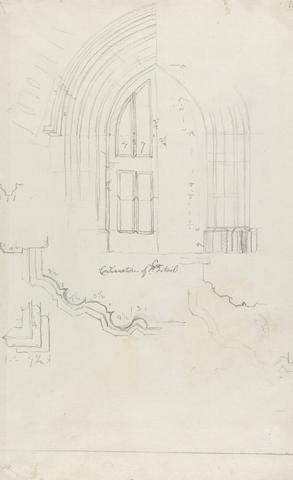
75
- Window, Dean's Yard
- between 1806 and 1815

76
- East View of Modern Buildings in Continuation from St Stephen's Chapel
- between 1790 and 1802

77
- PLATE XXVIII. St Stephen's Chapel, East Front, Westminster
- between 1790 and 1802
78
- Screen, or the outside of the Entrance or Porch of St Stephen's Chapel West
- between 1790 and 1802
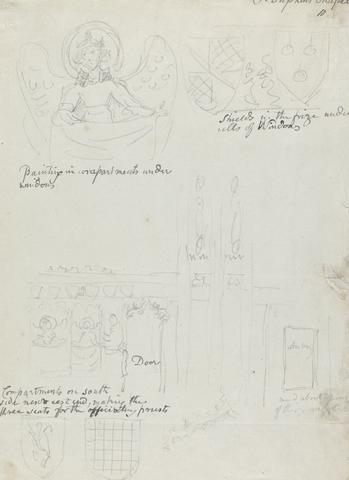
79
- Painting in Compartments under Windows, Shields in the Frieze under the Sills of Windows, and Compartments on South Side next East End, St Stephen's Chapel
- between 1790 and 1802
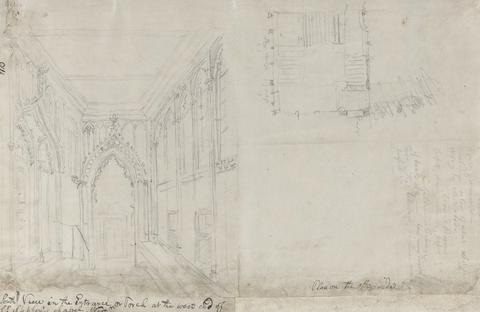
80
- South View in the Entrance of Porch at West End of St. Stephen's Chapel West
- between 1790 and 1802
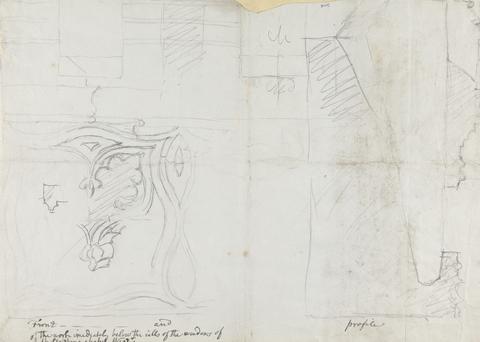
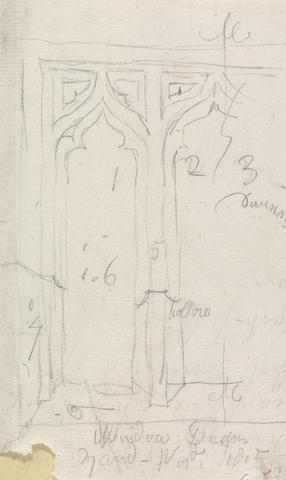
81
- Front and Profile of the Work under the Window Sills, St Stephen's Chapel
- between 1790 and 1802
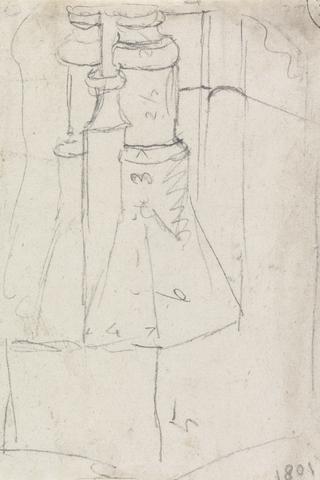
82
- Capitals, St Stephen's Chapel
- between 1790 and 1802

83
- New East Front, St Stephen's Chapel
- ca. 1801
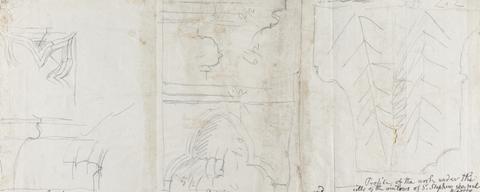
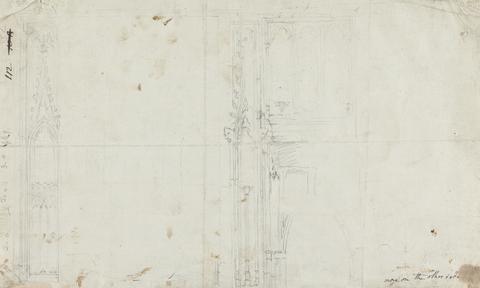
84
- Exterior, Interior and Profile of the Work under the Window Sills, St Stephen's Chapel
- between 1790 and 1802
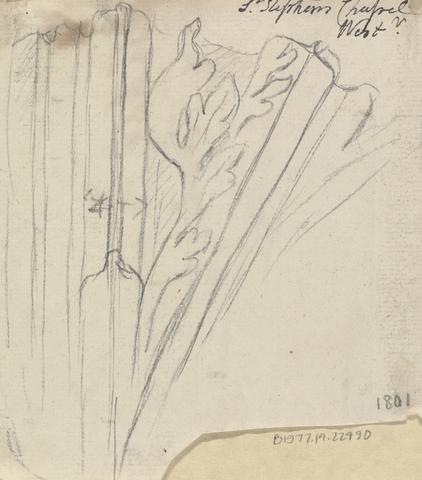
85
- Springing of an Arch, St Stephen's Chapel
- between 1790 and 1802
86
- Plate XIX: St Stephen's Chapel
- 1811
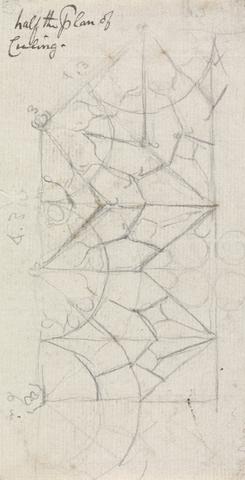
87
- Half the Plan of Ceiling, St Stephen's Chapel
- between 1790 and 1802
88
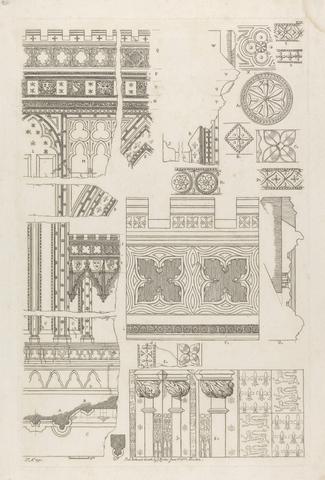
- Part of the Ceiling, and Parts of the Frieze, St Stephen's Chapel
- between 1790 and 1802
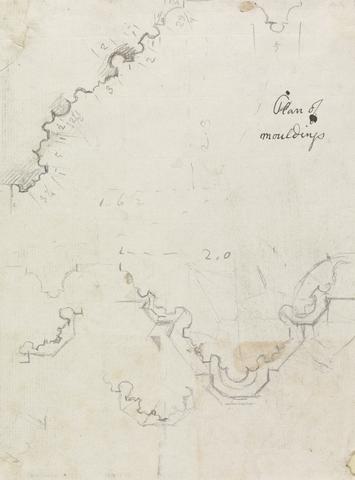
89
- Plan of Moldings, St Stephen's Chapel
- between 1790 and 1802
90
- Impost and Base of Columns, St Stephen's Chapel
- between 1790 and 1802
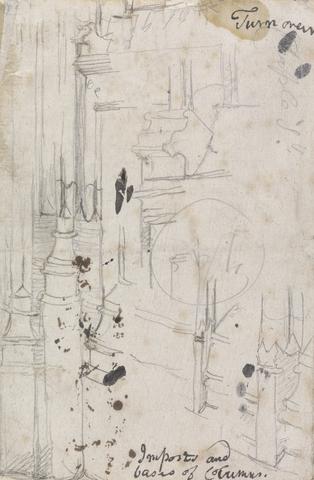
91
- Details of Imposts and Bases of Columns, St Stephen's Chapel
- between 1790 and 1802
92
- Basso-relievos in the Groins of the Cloisters, Adjoining St Stephen's Chapel West
- ca. 1781
93
- Basso-relievos in the Center of the Groins of the Cloisters, St Stephen's Chapel
- ca. 1781
94
- Basso-relievos in the Groins of the Undercroft of St Stephen's Chapel
- ca. 1781
95
- Basso-relievos in the Center of the Groins of the Cloisters, St Stephen's Chapel
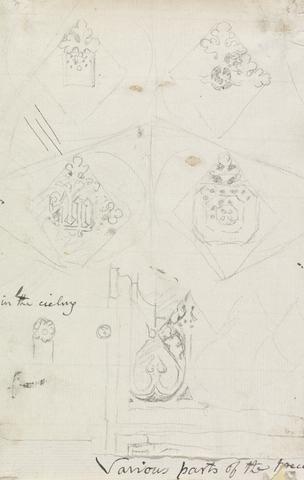
- ca. 1781
96
- Basso-relievos in the Center of the Groins of the Cloisters, St Stephen's Chapel
- ca. 1780
97
- Basso-relievos in the Center of the Groins of the Cloisters, St Stephen's Chapel
- ca. 1780
98
- Basso-relievos in the Center of the Groins of the Cloisters, St Stephen's Chapel
- ca. 1780
99
- Basso-relievos in the Center of the Groins of the Cloisters, St Stephen's Chapel
- ca. 1781
100
- Basso-relievos in the Center of the Groins of the Cloisters, St Stephen's Chapel
- ca. 1780