Search Constraints
You searched for:
Period 18th century
Remove constraint Period: 18th centuryGenre literary theme
Remove constraint Genre: literary themeImage Use Free to Use
Remove constraint Image Use: Free to UseSearch Results
601
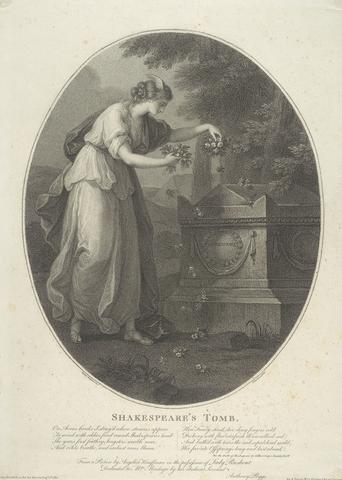
- Shakespeare's Tomb
- 1782
602
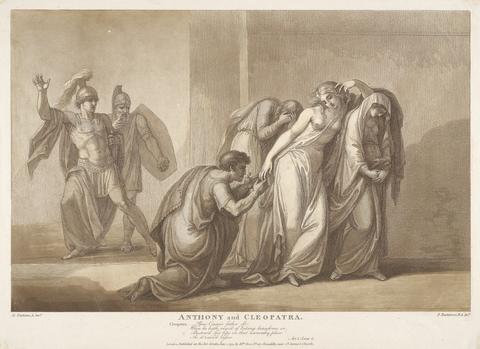
- Anthony and Cleopatra, Act 3, Scene II
- 1794
603
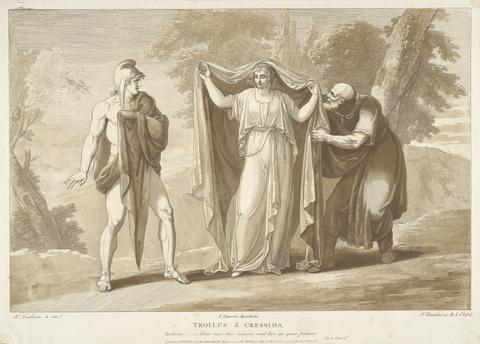
- Troilus and Crssida, Act 3, Scene II
- 1794
604
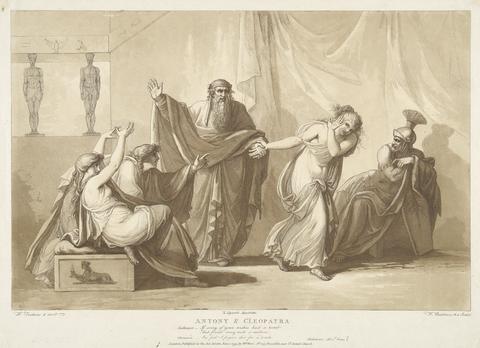
- Antony and Cleopatra, Act I, Scene II
- 1794
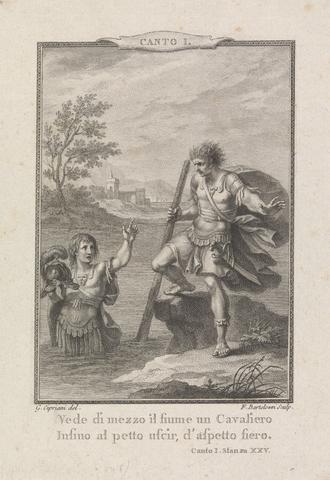
605
- Vede di Mezzo il Fiume un Cavaliero..
- 1773
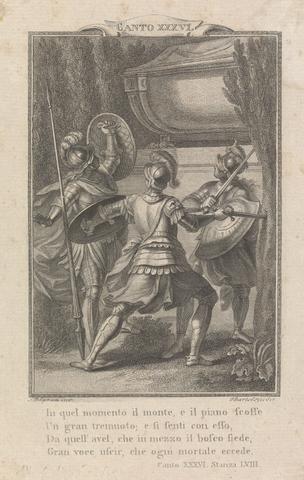
606
- In Quel Momento il Monte, e il Piano Scosse..
- 1773
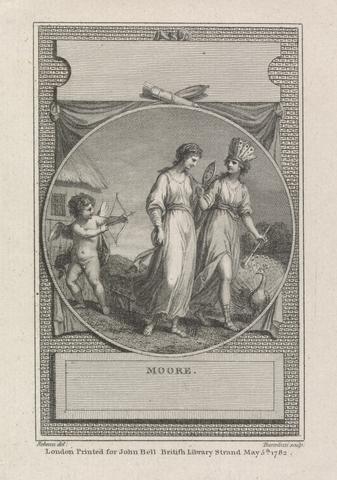
607
- Title page: Depicting Cupid, Venus, and Juno
- 1782
608
- Illustration from Bell's Edition of the Poets of Great Britain, Volume: CVII Churchill
- ca.1785
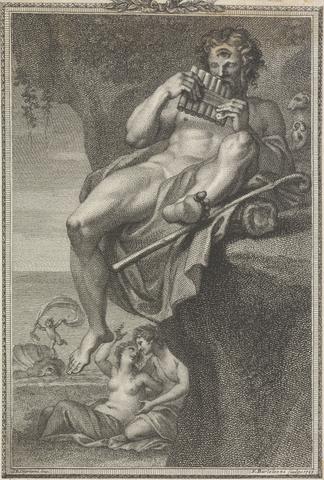
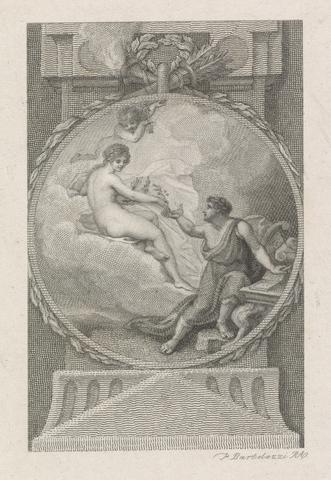
609
- Polyhemus, Playing The Panpipes For Galatea
- 1783

610
- Ophelia vide Hamlet, Act 4, Scene VII
- 1794
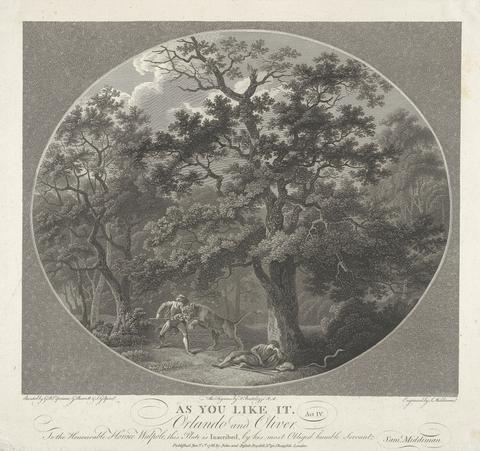
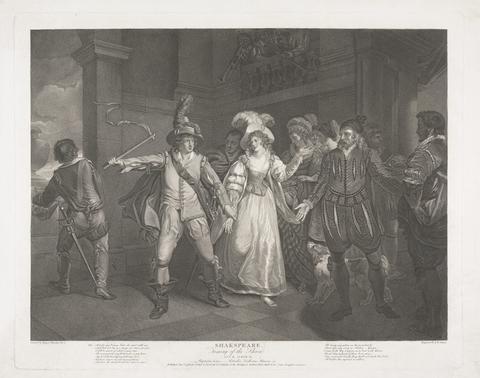
611
- As You Like It, Act IV, Orlando and Oliver
- 1788
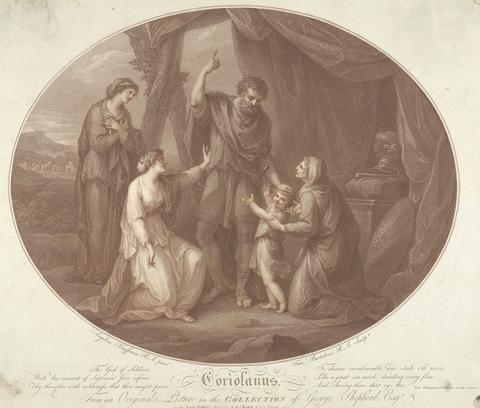
612
- Coriolanus, Act 5, Scene III
- 1783
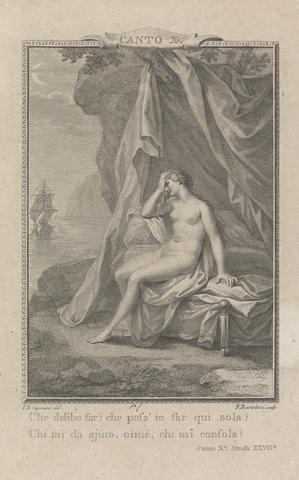
613
- Illustration from Orlando Furioso: "Che deb'bo sar? che poss'io sar qui sola? / che mi da ajuto, oime, che mi consola?"
- 1773

614
- L'Allegro
- undated
615
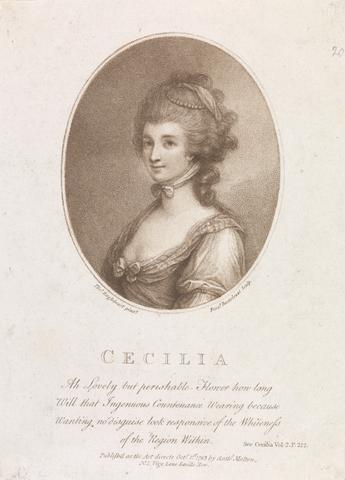
- Cecilia
- 1783
616
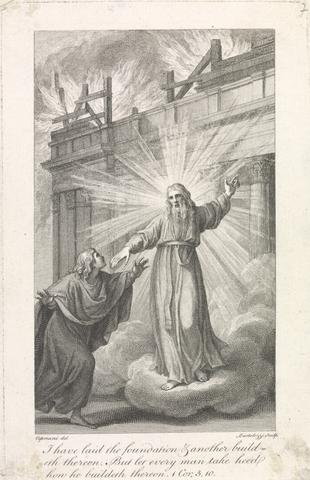
- I Have Laid The Foundation And Another Buildeth Thereon, But Let Every Man Take Heed How He Buildeth Thereon, 1 Cor. 3, 10
- ca.1785
617
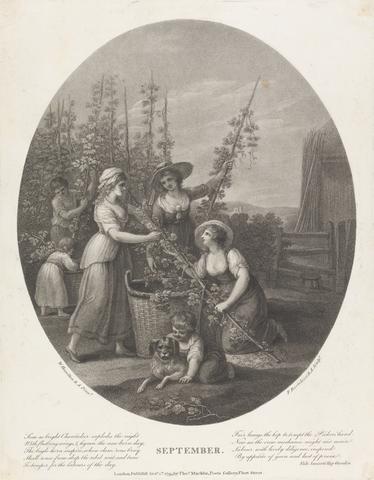
- September
- 1793
618
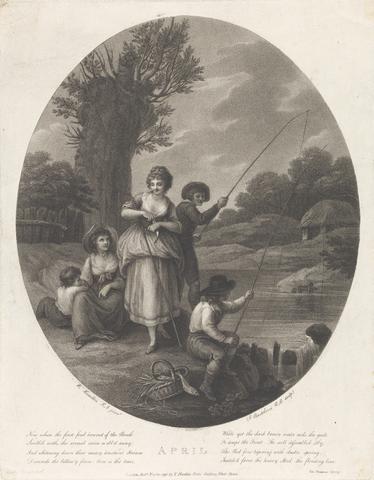
- April
- 1790
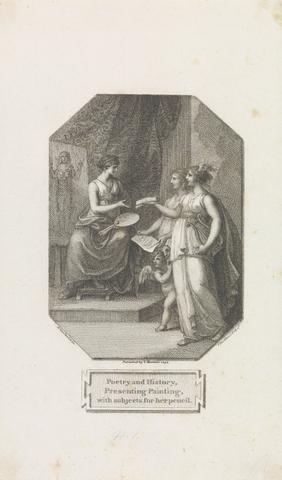
619
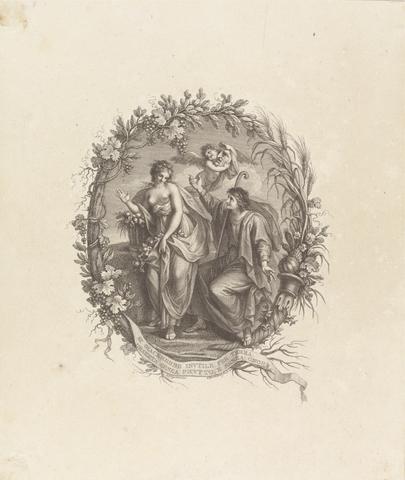
- Poetry And History, Presenting Painting, With Subjects For Her Pencil
- 1794
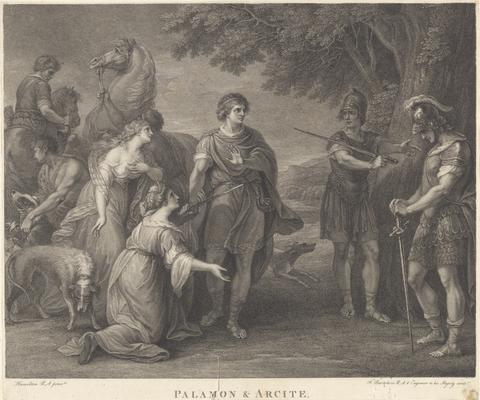
620
- Palamon and Arcite
- 1790

621
- February
- 1793
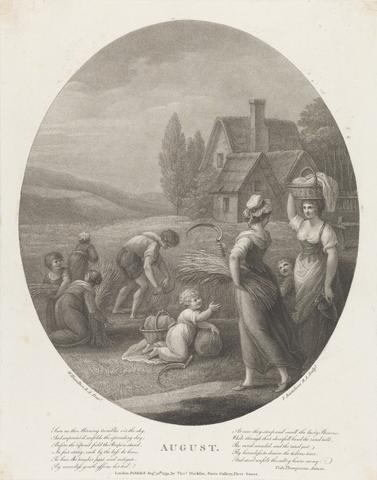
622
- August
- 1793
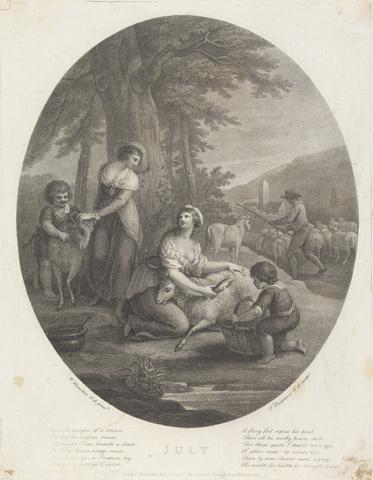
623
- July
- 1789
624
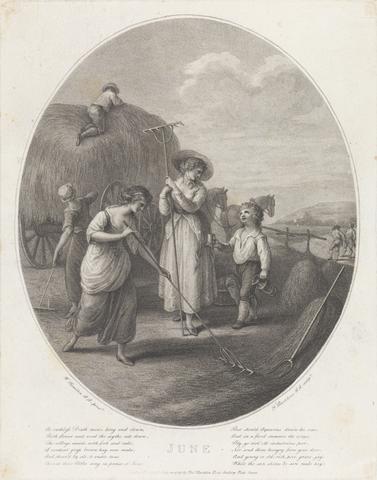
- June
- 1789
625
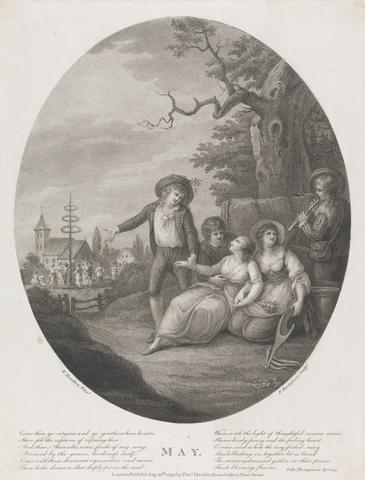
- May
- 1793
626
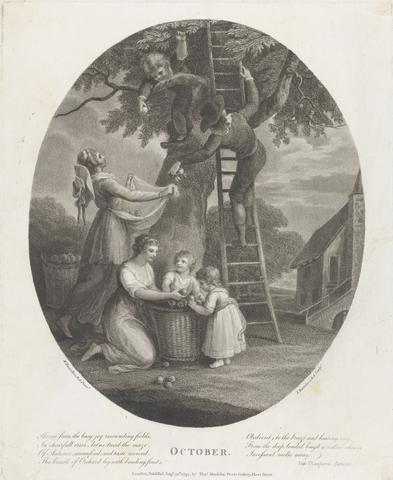
- October
- 1793
627
- Si Giacerebbe Inutile Per Terra Deserta Senza Frutto, E Senza Onore
- 1774
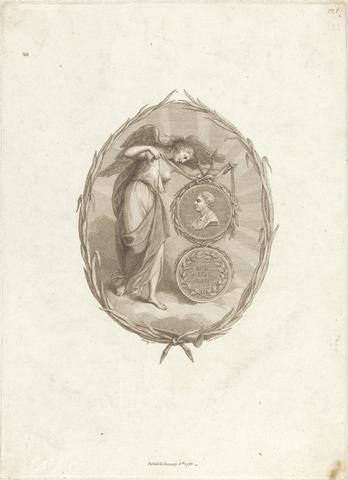
628
- Vignette: Angel Holding Medallion Of Composer. G.F. Handel
- ca.1785
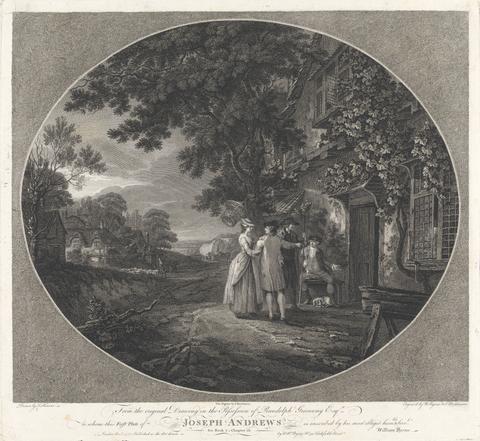
629
- Joseph Andrews
- 1781
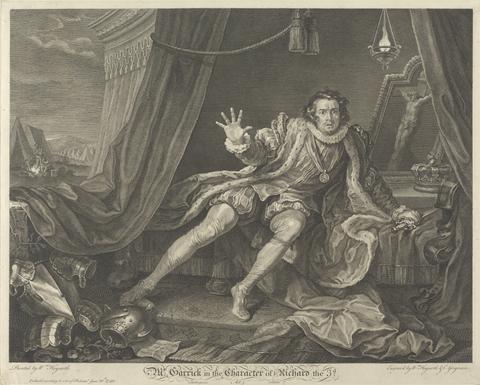
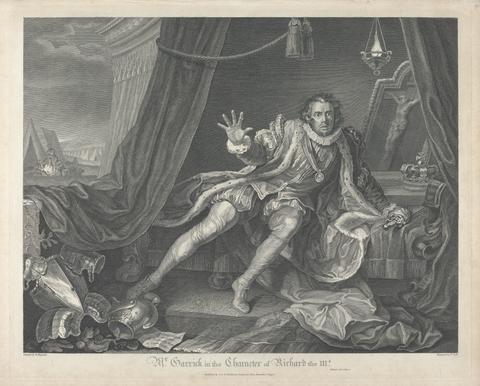
630
- Mr. Garrick in the Charakter (sic) of Richard the 3D
- 1746
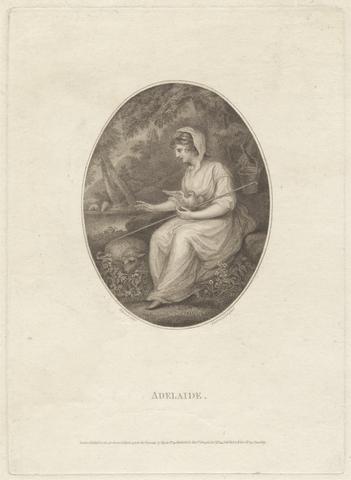
631
- Adelaide
- 1798
632
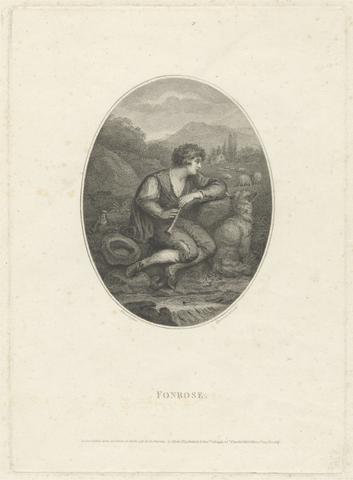
- Fonrose
- 1798
633
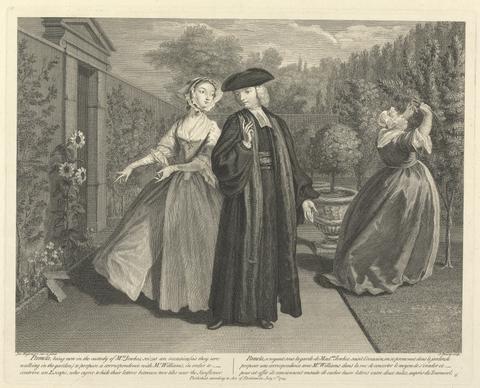
- Pamela, being now in the custody of Mrs. Jenkes, seizes an occasion (as they are walking in the garden) to propose a Correspondence with Mr. Williams in order to contrive an Escape, who agree to hide their letters between two tiles near the Sunflower
- 1745
634
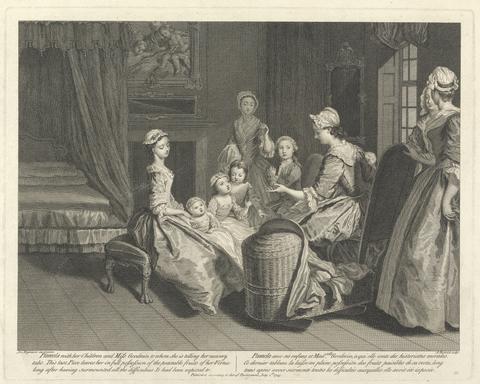
- Pamela with the Children and Miss Goodwin to whome she is telling her nursery tales. This last Piece leaves her in full possession of the peaceable fruits of her Virtue long after having surmounted all the difficulties it had been exposed to
- 1745
635
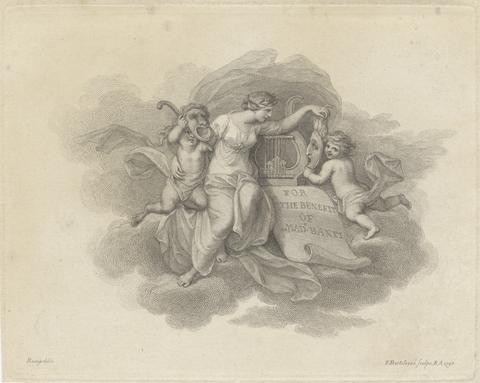
- Concert Ticket For The Benefit of Madame Banti
- 1795
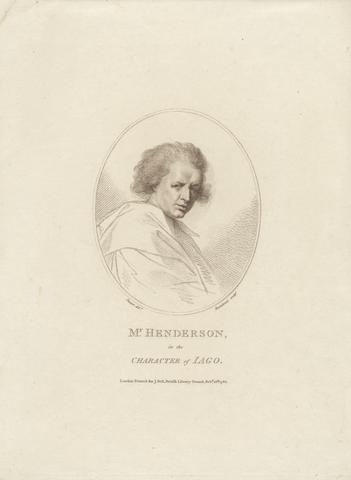
636
- John Henderson as Iago
- 1786
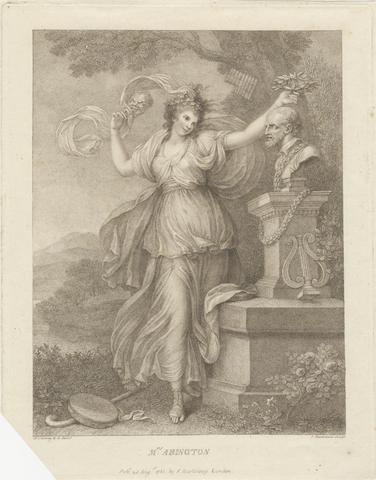
637
- Mrs. Abington as Thalia
- 1783
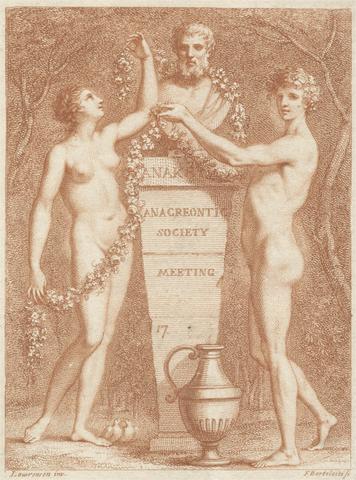
638
- Ticket: Anacreontic Society Meeting
- 1773
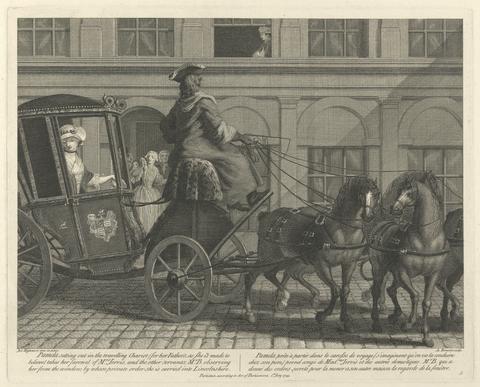
639
- Pamela setting out in the travelling Chariot (for her Father's as She is made to believe) takes her farewel of Mrs. Jervis, and the other servants; Mr. B. observing her from the window; by whose private order she is carried into Lincolnshire
- 1745

640
- Pamela having divided her clothes into threee Bundles, in order to leave the House, rejects that containing her Masters presents calling it the wicked bundle, & harangues over her own little Parcel which she huggs in her Arms;..
- 1745
641
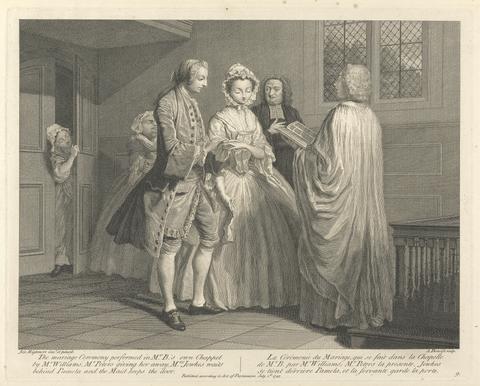
- The Marriage Ceremony performed in Mr. B.'s own Chappel by Mr. Williams, Mr. Peters giving her away, Mrs. Jewkes waits behind Pamela and the Maid keeps the door
- 1745
642
- King Henry VI, Part I: Act II, Scene V, A Room in the Tower (The Death of Mortimer)
- 1792
643
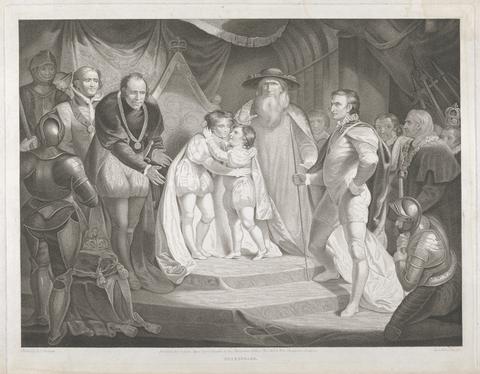
- King Richard III: Act III, Scene I (The Meeting of Edward V and His Brother, Richard, Duke of York)
- 1789
644
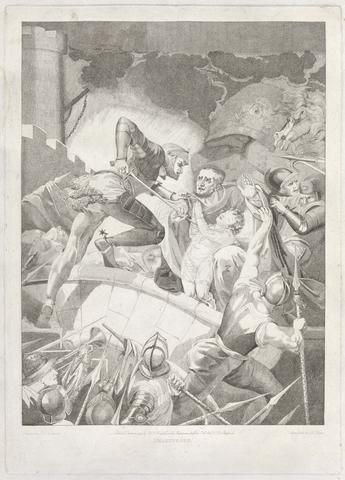
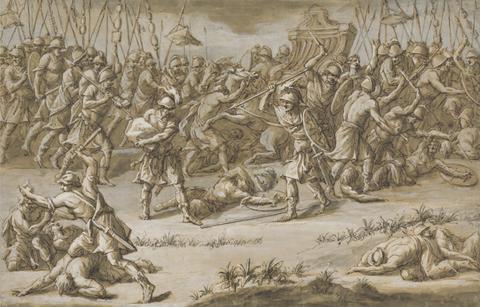
- Henry VI, Part III: Act I, Scene III, A Field of Battle betwixt Sandal Castle . .
- 1793
645
- King Henry VI, Part III: Act V, Scene VII (Queen Bess Presenting King Edward . . . with Their Infant Son)
- 1791
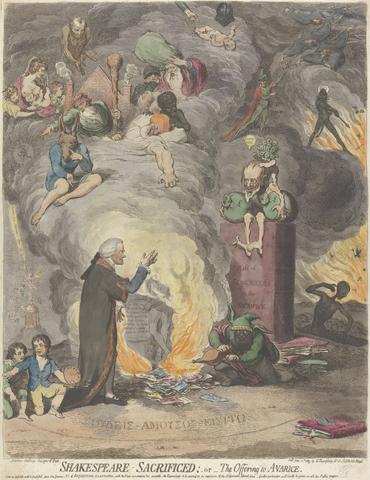
646
- Shakespeare Sacrificed; or, The Offering to Avarice
- 1789
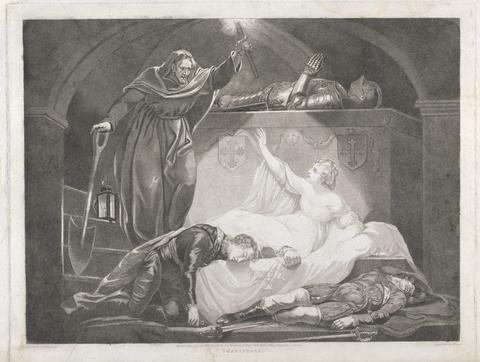
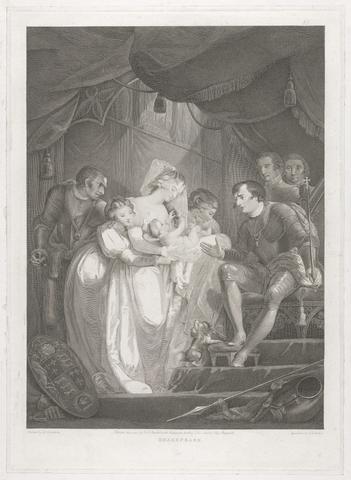
647
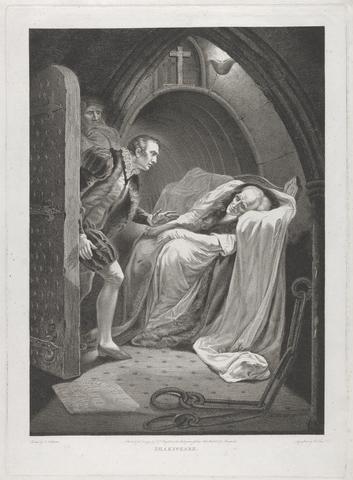
- Romeo and Juliet: Act IV, Scene III (A Monument Belonging to the Capulets)
- 1791
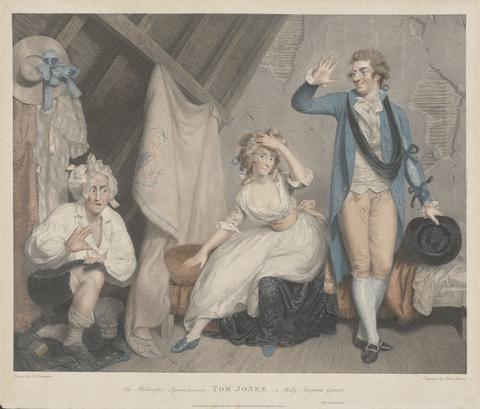
648
- Tom Jones: 'The Philosopher Square, Discovered in Molly Seagrim's Garret'
- 1789
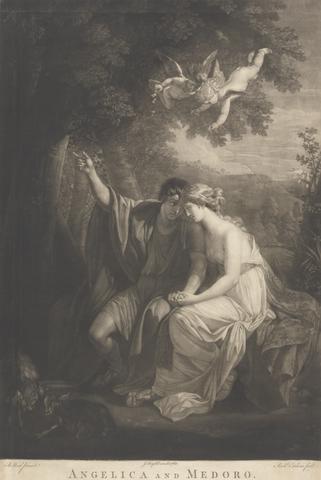
649
- Angelica and Medoro
- 1768
650
- David Garrick in the Character of Richard III
- 1798

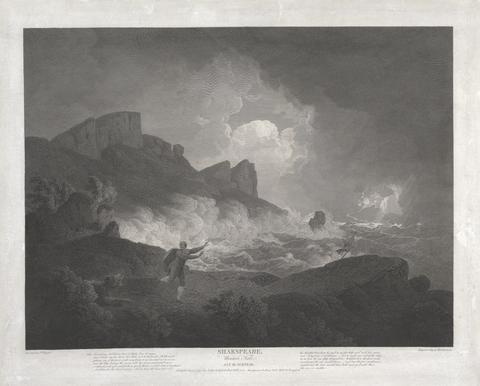
651
- The Tempest, Act V, Scene I
- 1795
652
- Taming of the Shrew, Act II Scene II
- 1795
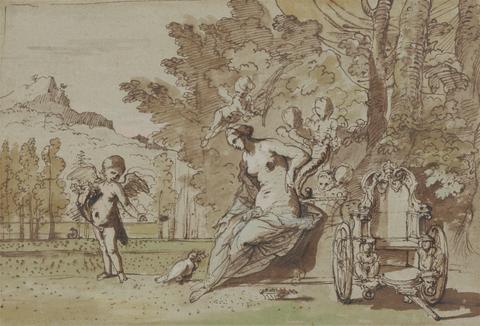
653
- Venus and Cupid
- undated

654
- Garrick as Abel Drugger in "The Alchemist"
- 1776
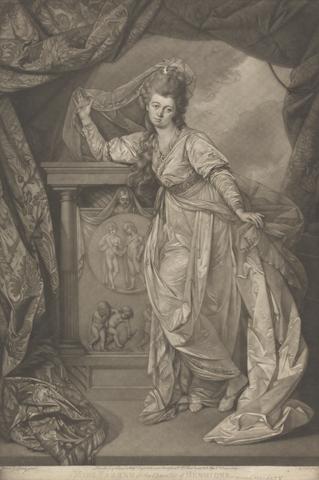
655
- Miss Farren in the Character of Hermione
- 1781

656
- Mr. Garrick in "The Farmer's Return"
- 1766

657
- Portrait of John Moody as Foigard
- between 1769 and 1771
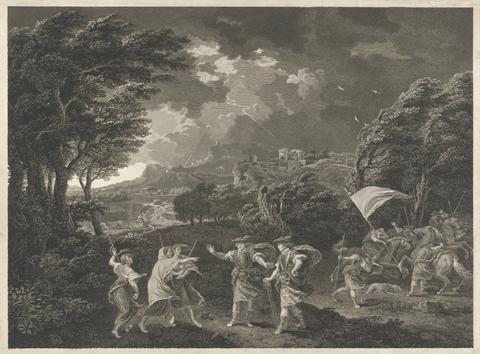
658
- MacBeth meeting the Witches
- 1770
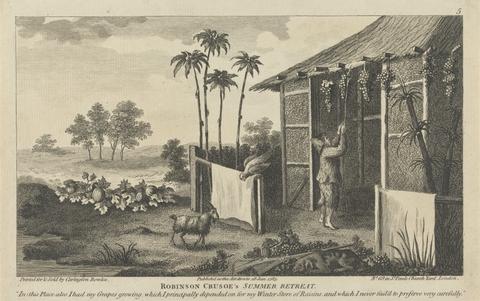
659
- Twelve Illustrations of Robinson Crusoe
- 1783
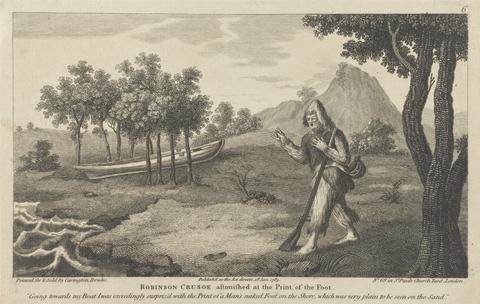
660
- Twelve Illustrations of Robinson Crusoe
- 1783

661
- Dido and Aeneas
- 1787
662
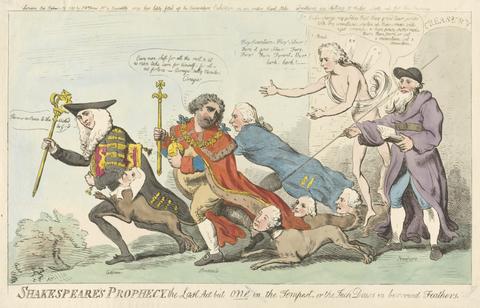
- Shakespeare's Prophecy, the Last Act by One in the Tempest, or the Jack Daws in Borrowed Feathers (from: Caricature, vol. 3)
- 1795
663
- Shakespeare's Winter Tale Act III Scene III
- 1794
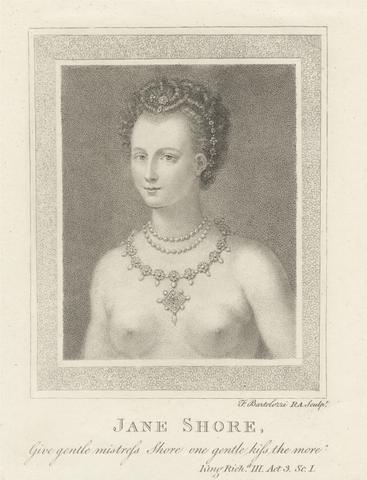
664
- Jane Shore
- 1790
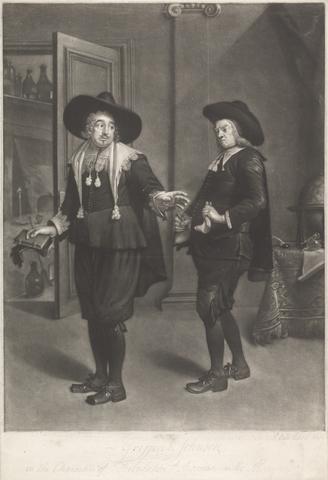
665
- Griffin and Johnson
- 1748
666
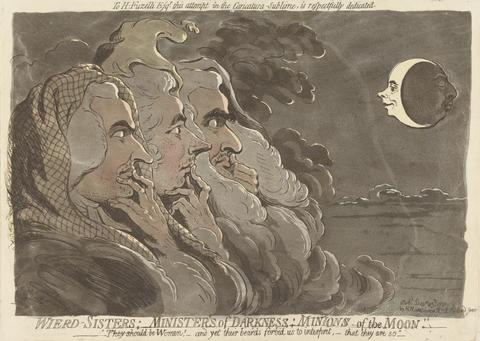
- Weird Sisters; Ministers of Darkness; Minions of the Moon (Thurlow, Pitt, and Dundas)
- 1791
667
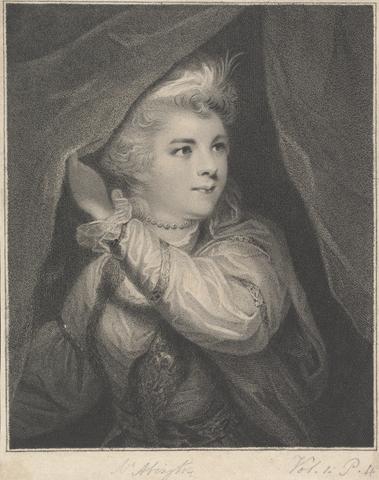
- Mrs. Frances Abington (née Barton) as Roxalana in "The Sultan"
- 1791
668
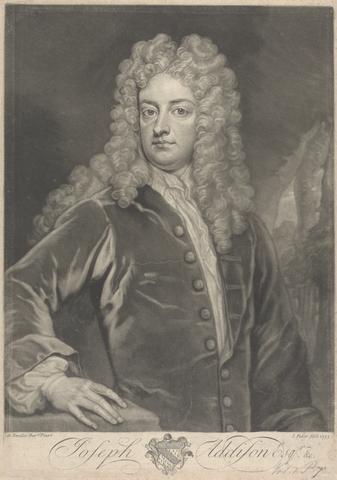
- Joseph Addison Esq
- 1733
669
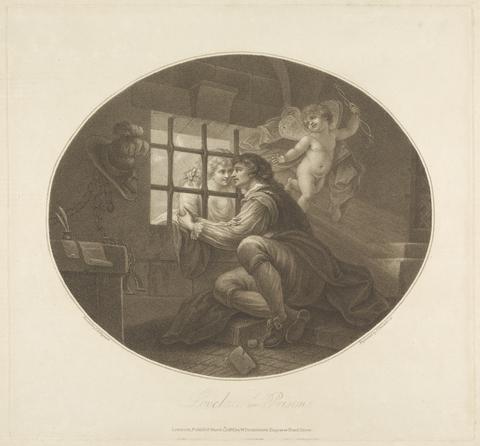
- Lovelace in Prison
- 1788
670
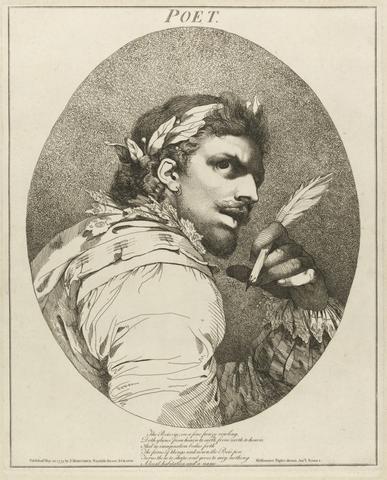
- 'Poet, from A Midsummer Night's Dream, Act V, Scene i'
- 1775
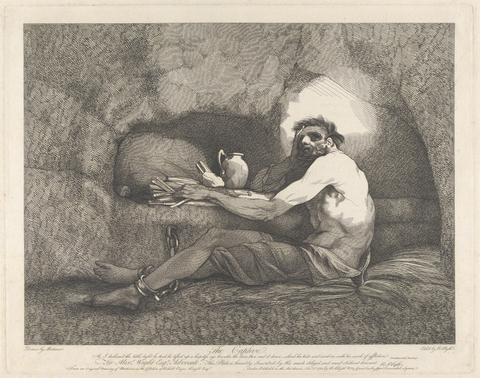
671
- The Captive
- 1781
672
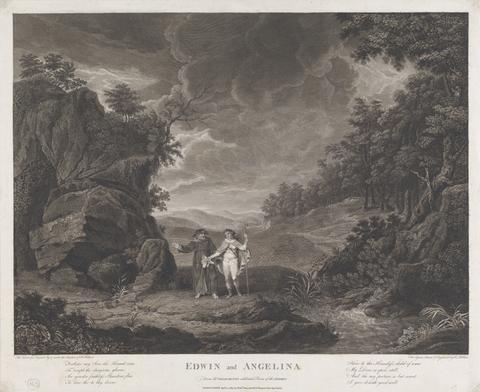
- Edwin and Angelina
- 1785
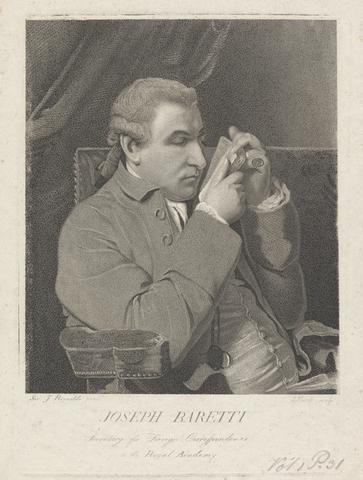
673
- Joseph Baretti
- 1794
674
- Illustration to the Iliad
- between 1760 and 1769
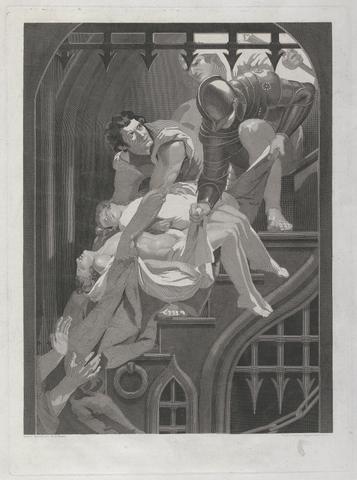
675
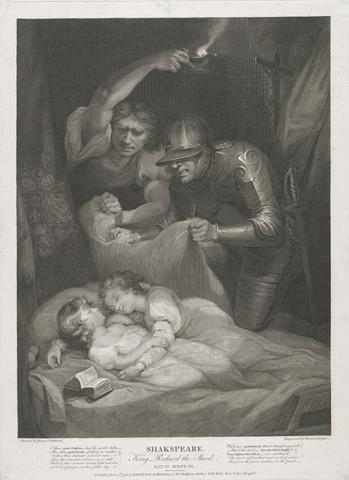
- King Richard the Third: Act IV, Scene III (The Murder of the Princes in the Tower)
- 1790
676
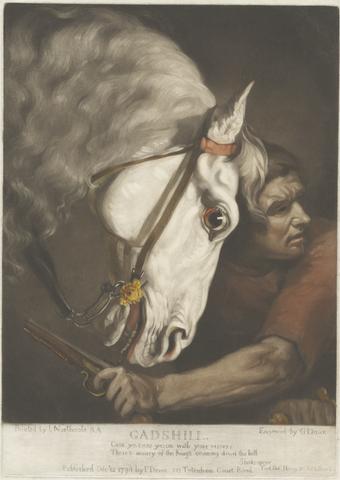
- Gadshill
- 1796
677
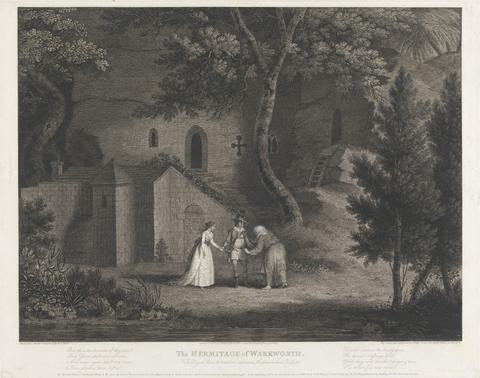
- The Hermitage of Warkworth
- 1787
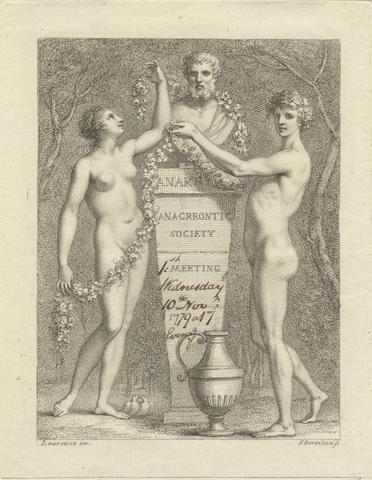
678
- Ticket: Anacreontic Society Meeting
- 1779
679
- David Garrick as Sir John Brute in Act IV, the Drunken Scene, in Vanburgh's 'The Provok'd Wife'
- 1768
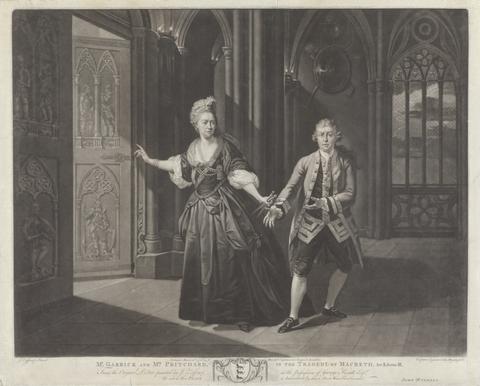
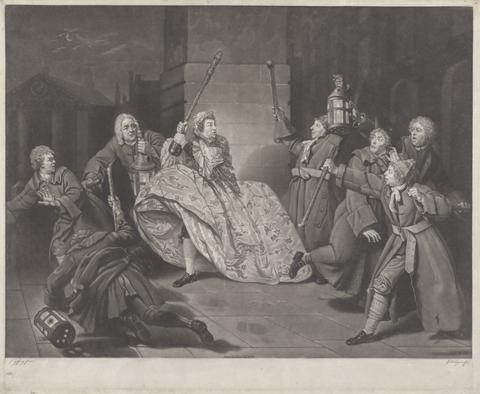
680
- Mr. Garrick and Mrs. Pritchard, in the Tragedy of 'Macbeth.' Act II. Scene III
- 1776
681
- Richard III: Act IV, Scene III, Tower of London
- 1795
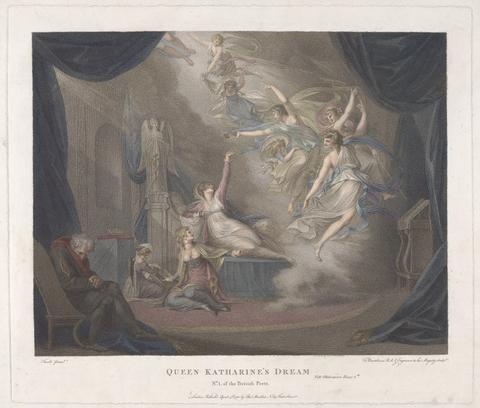
682
- Queen Katherine's Dream
- 1788
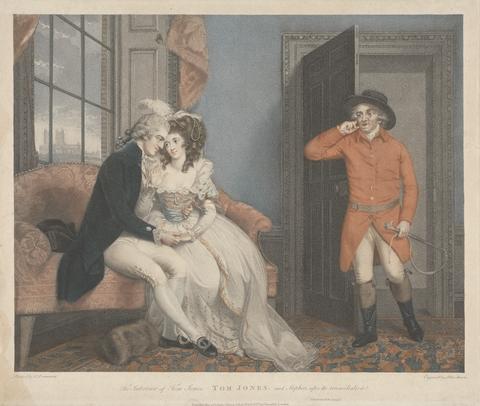
683
- The Interview of Tom Jones and Sophia, After the Reconciliation
- 1789
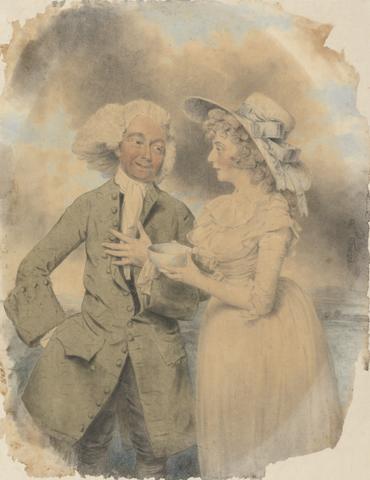
684
- John Edwin and Mrs. Mary Wells as Lingo and Cowslip in "The Agreeable Surprise"
- 1787
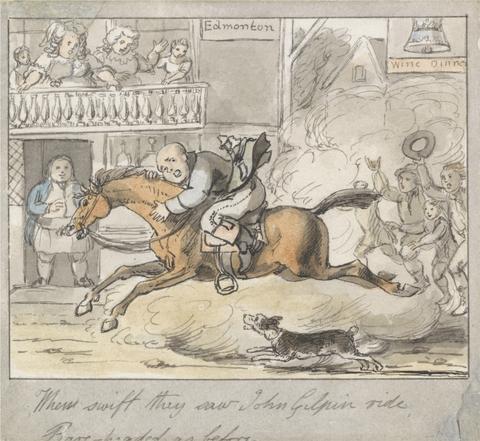
685
- When Swift They Saw John Gilpin Ride, Bare-Headed as Before
- undated
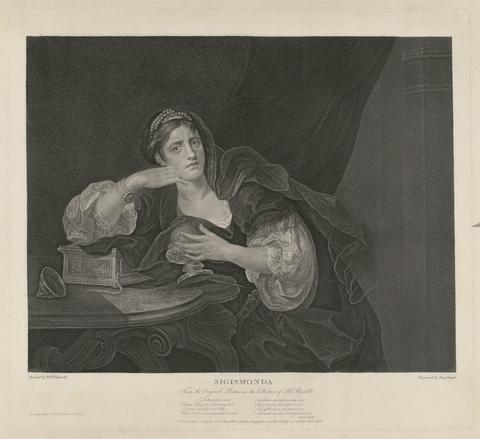
686
- Sigismonda
- 1795
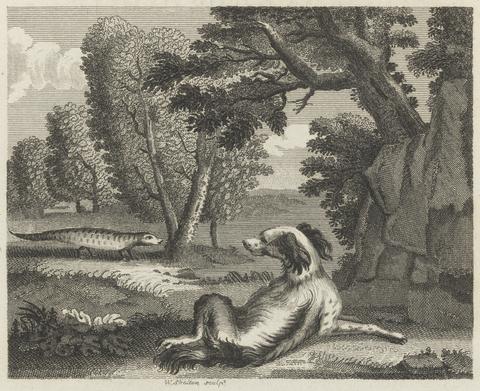
687
- Fable II. The Spaniel and the Cameleon
- 1793
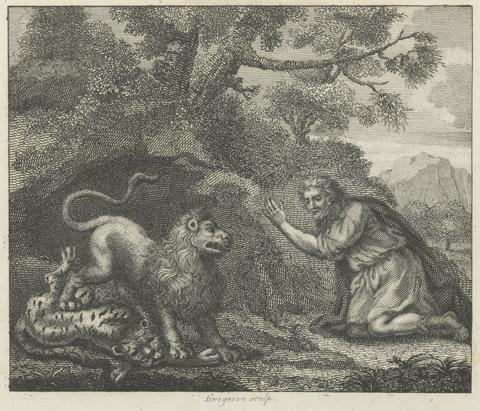
688
- Fable I. The Lion, the Tiger, and the Traveller
- 1793
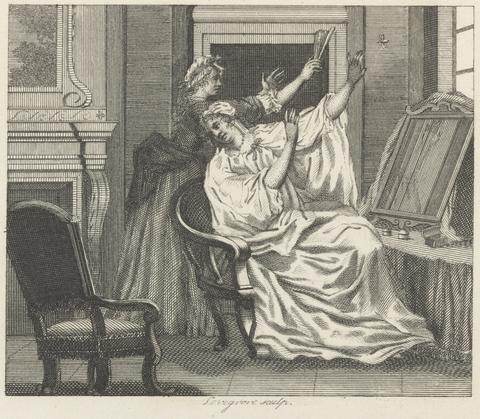
689
- Fable VIII. The Lady and the Wasp
- 1793
690
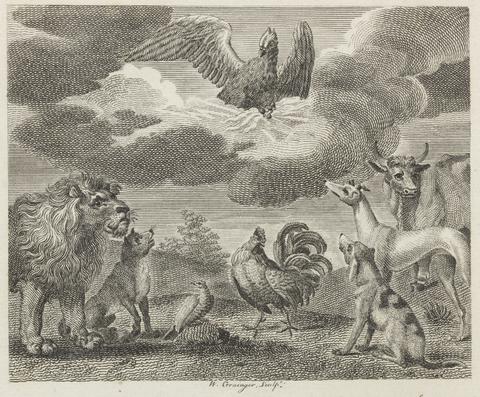
- Fable IV. The Eagle and the Assembly of Animals
- 1793
691
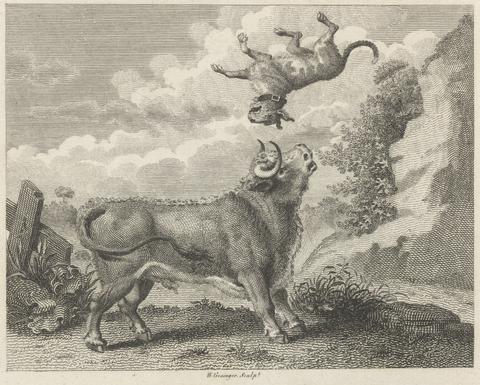
- Fable IX. The Bull and the Mastiff
- 1793
692
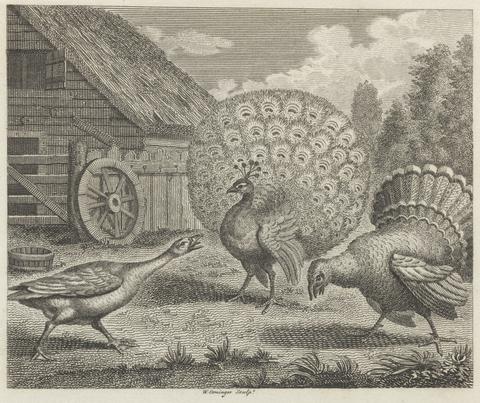
- Fable XI. The Peacock, the Turkey, and the Goose
- 1793

693
- Fable XII. Cupid, Hymen, and Plutus
- 1793
694
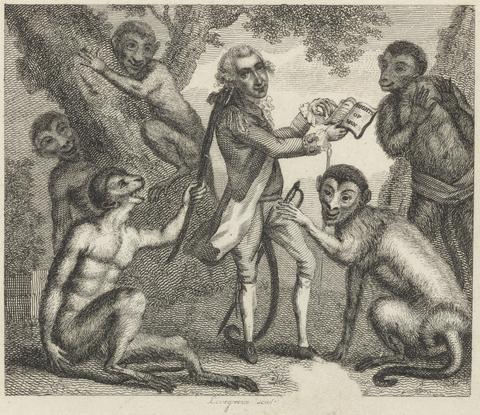
- Fable XIV. The Monkey Who Had Seen the World
- 1793
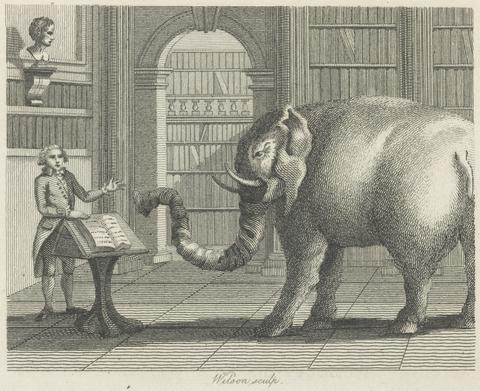
695
- Fable X. The Elephant and the Bookseller
- 1793

696
- Fable XVII. The Shepherd's Dog and the Wolf
- 1793
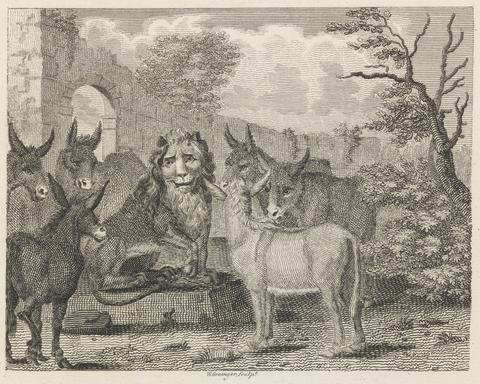
697
- Fable XIX. The Lion and the Cub
- 1793

698
- Fable XX. The Old Hen and the Cock
- 1793
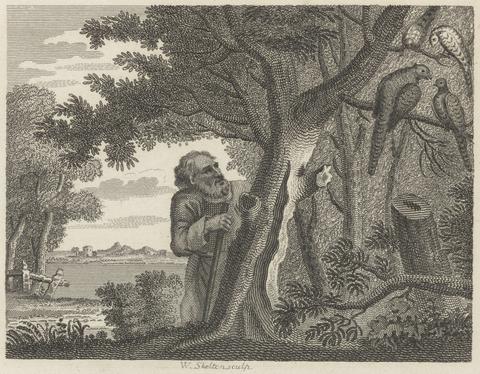
699
- Fable XV. The Philosopher and the Pheasants
- 1793
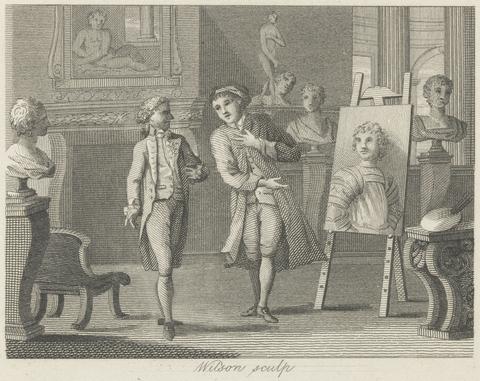
700
- Fable XVIII. The Painter Who Pleased No Body and Every Body
- 1793