Search Constraints
You searched for:
Materials & Techniques stipple engraving
Remove constraint Materials & Techniques: stipple engravingGenre literary theme
Remove constraint Genre: literary themeSubject Terms literary theme
Remove constraint Subject Terms: literary themeAssociated People Shakespeare, William (1564–1616), playwright and poet
Remove constraint Associated People: Shakespeare, William (1564–1616), playwright and poetSearch Results
1
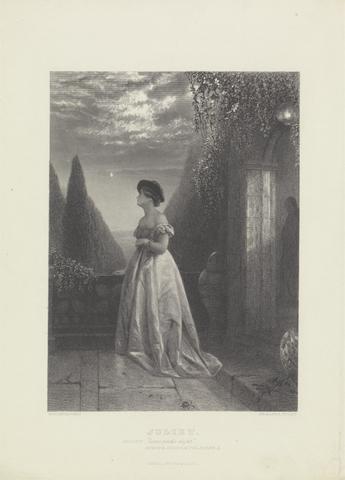
- Come Gentle Night: "Romeo and Juliet," Act III, Scene II
- between 1839 and 1849
2
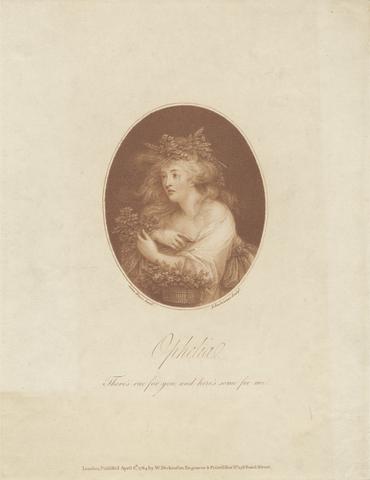
- Ophelia: There Is Rue for You and Here's Some for Me
- 1784
3
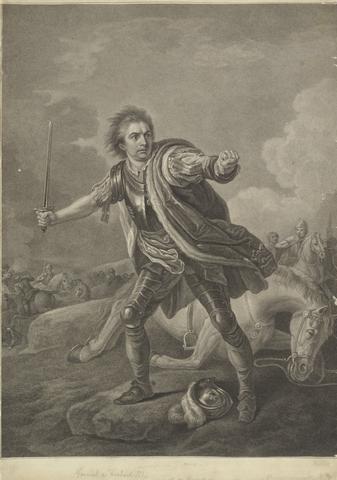
- David Garrick as Richard III in the Drury Lane Theatre Performance, 1759
- 1811
4
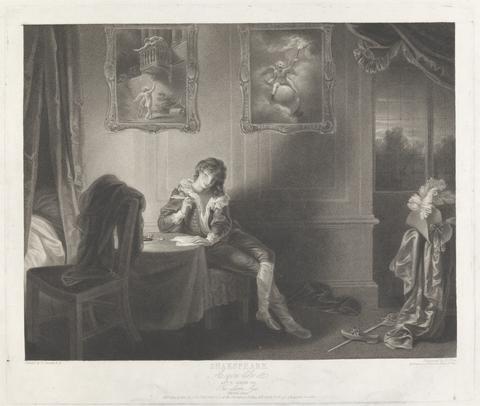
- As You Like It: Act II, Scene VII: The Seven Ages Man (Third Age)
- 1803
5
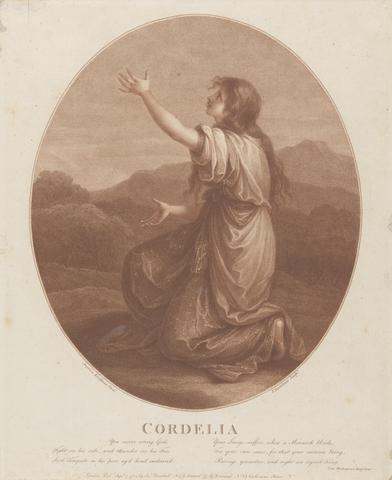
- Cordelia
- 1784
6
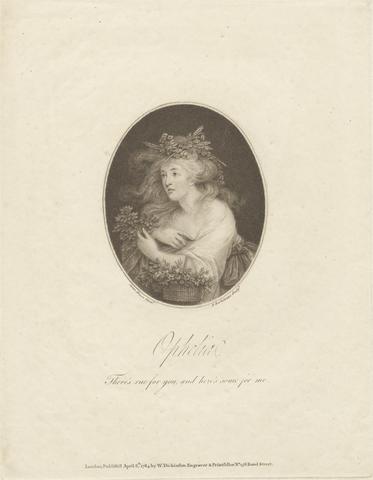
- Ophelia: There's Rue for You, and Here's Some for Me
- 1784
7
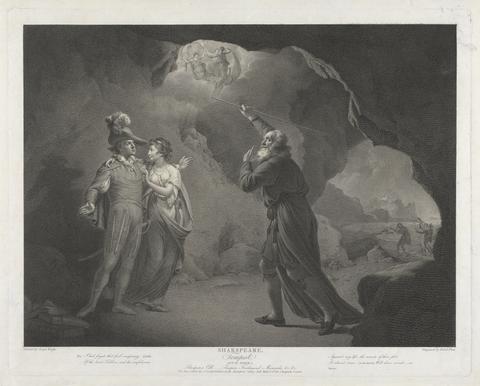
- Shakespeare's Tempest Act IV Scene I. Prospero's Cell
- 1800
8
- "Then go, bid the huntsmen wake them with their horns"
- 1802

9
- "Mark your divorce young sir, whom son I dare not call"
- 1804
10
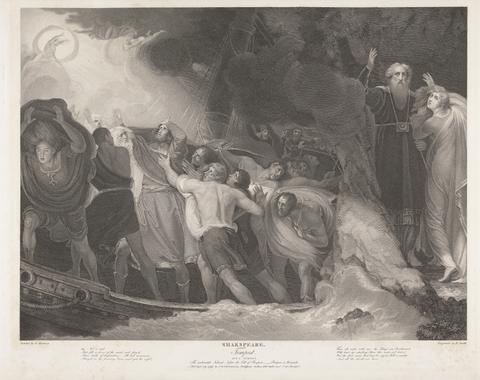
- "Tempest", Act I, Scene I
- 1797
11
- "Here, I and sorrows sit; here is my throne, bid kings come and bow to it"
- 1802
12
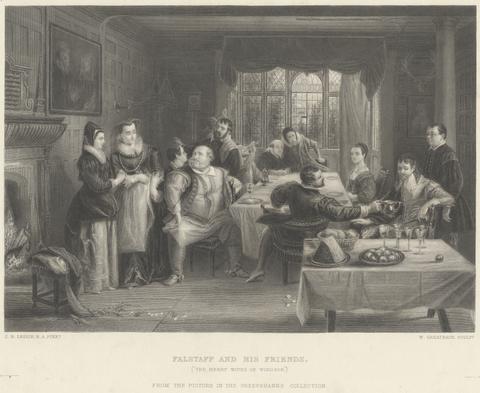
- Falstaff and his Friends
- ca. 1868
13
- "We come to visit you: and purpose now, to lead you to our court: vouchsafe it then."
- 1802
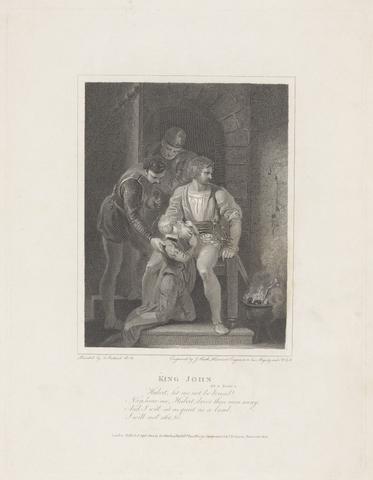
14
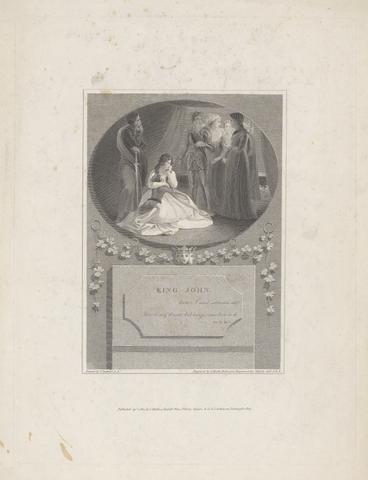
- "Hubert, let me not be bound!"
- 1802
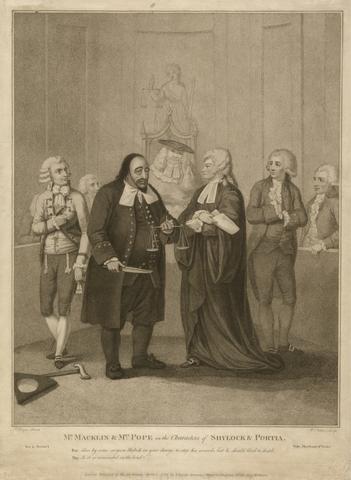
15
- Mr. Macklin and Mrs. Pope in the Characters of Shylock and Portia
- 1789
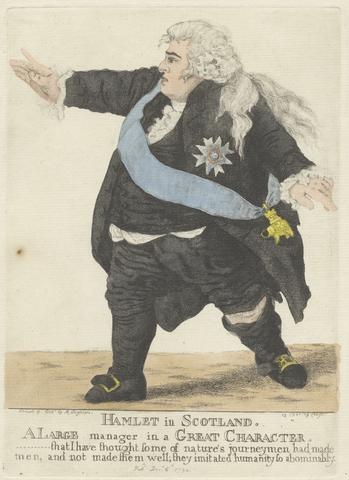
16
- Hamlet in Scotland
- 1794
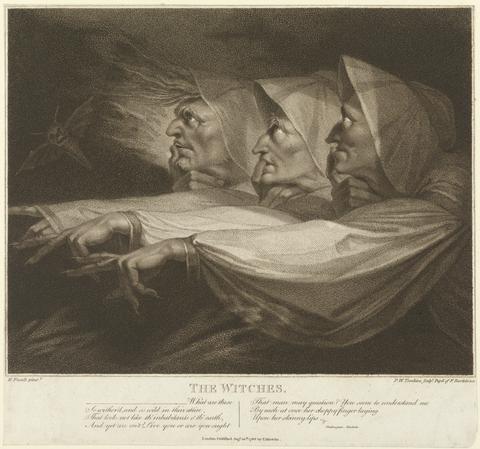
17
- The Three Witches
- 1786

18
- The Tempest, Act V, Scene I
- 1795
19
- John Henderson as Iago
- before 1786
20
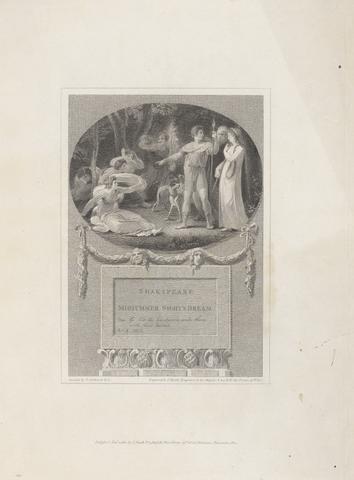
- King Henry VI, Part I: Act II, Scene V, A Room in the Tower (The Death of Mortimer)
- 1792
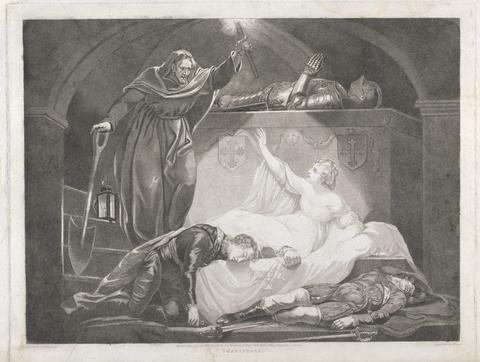
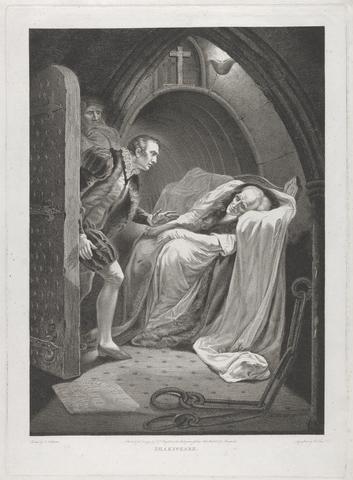
21
- Romeo and Juliet: Act IV, Scene III (A Monument Belonging to the Capulets)
- 1791
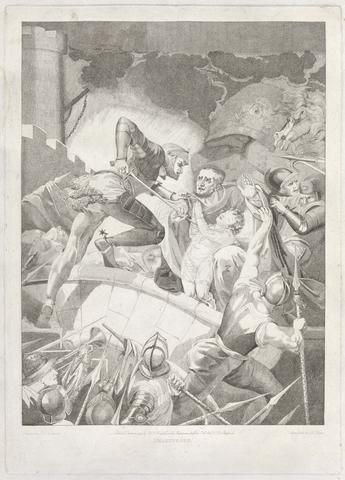
22
- Henry VI, Part III: Act I, Scene III, A Field of Battle betwixt Sandal Castle . .
- 1793
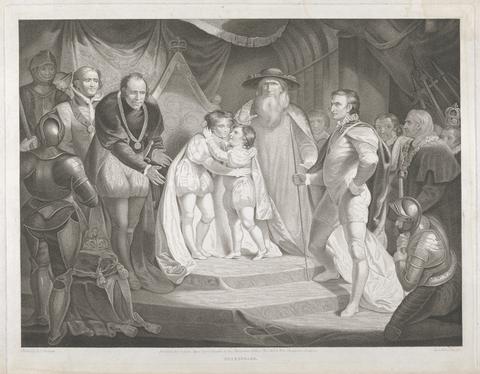
23
- King Richard III: Act III, Scene I (The Meeting of Edward V and His Brother, Richard, Duke of York)
- 1789
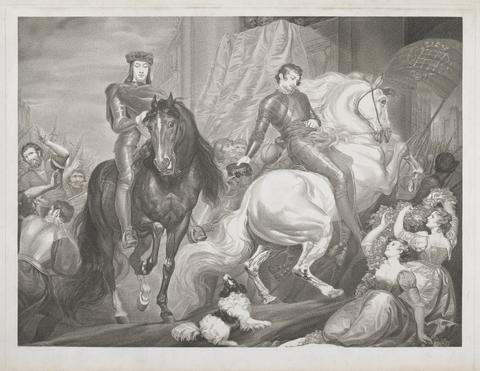
24
- King Richard the Second, Act V, Scene II (The Entrance of King Richard & Bolingbroke into London)
- 1801
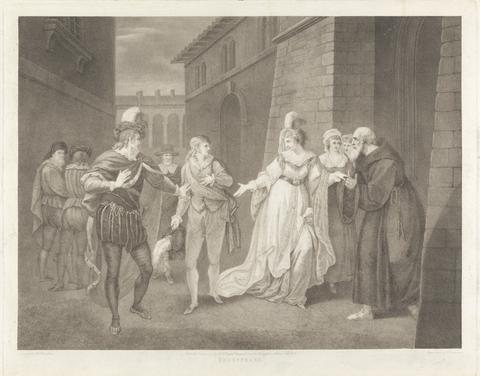
25
- Twelfth Night, Act V, Scene I: The Street
- 1803

26
- Twelfth Night, Act III, Scene IV: Olivia's House
- 1803
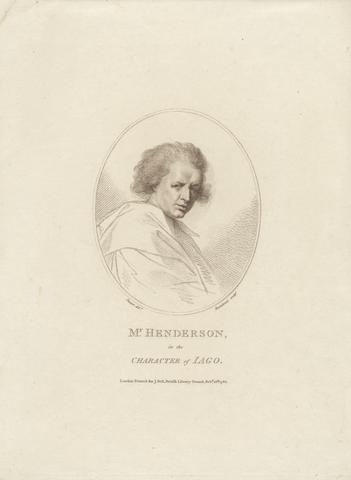
27
- John Henderson as Iago
- 1786

28
- "This is fairy gold, boy, and will prove so"
- 1804
29
- Mrs. W. West as Cordelia
- 1820

30
- Pospero Disarming Ferdinand from The Tempest, Act I, Scene II
- 1793