Search Constraints
You searched for:
Materials & Techniques etching (printing process)
Remove constraint Materials & Techniques: etching (printing process)Image Available Available
Remove constraint Image Available: AvailableImage Use Free to Use
Remove constraint Image Use: Free to UseSubject Terms literary theme
Remove constraint Subject Terms: literary themeSearch Results
201
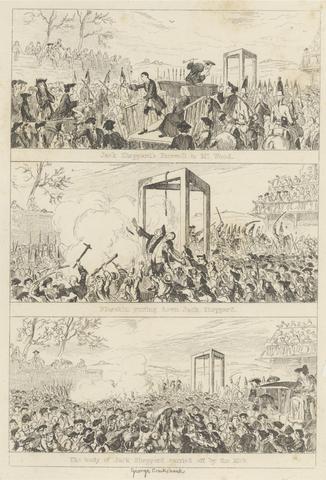
- The Last Scene: 'Jack Sheppard's Farewell to Mr Wood / Blueskin cutting down Jack Sheppard / The Body of Jack Sheppard carried off by the Mob'
- 1839
202
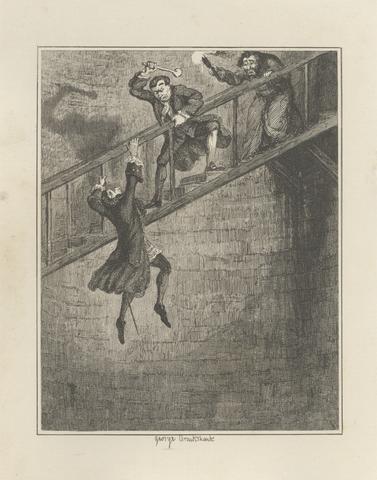
- Jonathan Wild Throwing Sir Rowland Trenchard Down the Well-Hole
- 1839
203
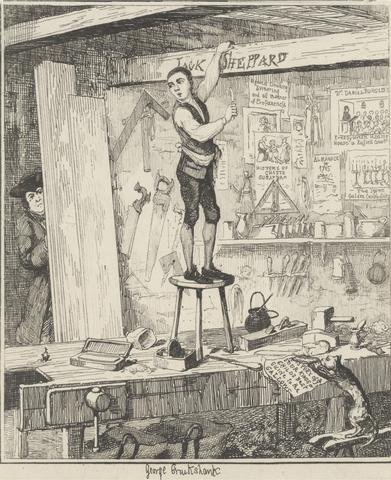
- The Name on the Beams
- 1839
204
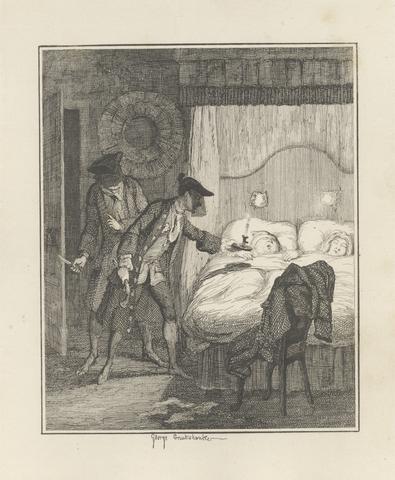
- Jack Sheppard and Blueskin in Mr. Woods Bedroom
- 1839
205
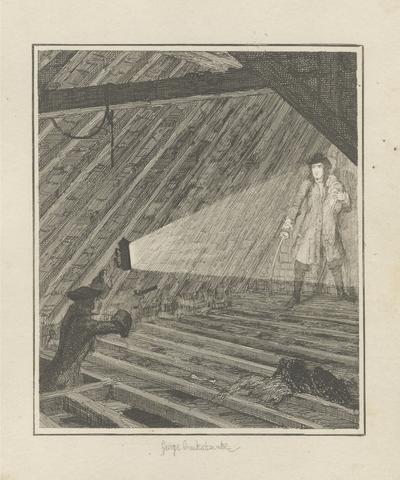
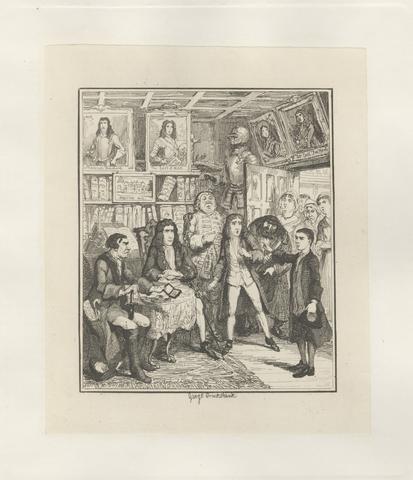
- Jonathan Wild Discovers Darrell in the Loft
- 1835
206
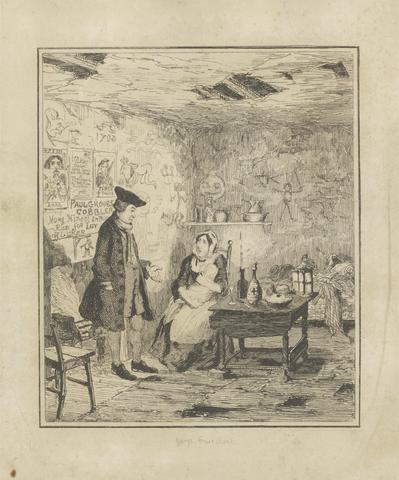
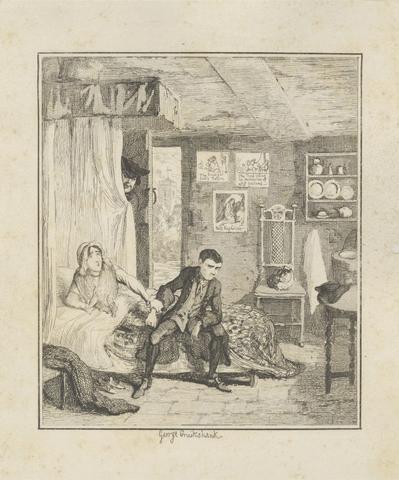
- Mr. Wood Offers to Adopt Little Jack Sheppard
- 1835
207
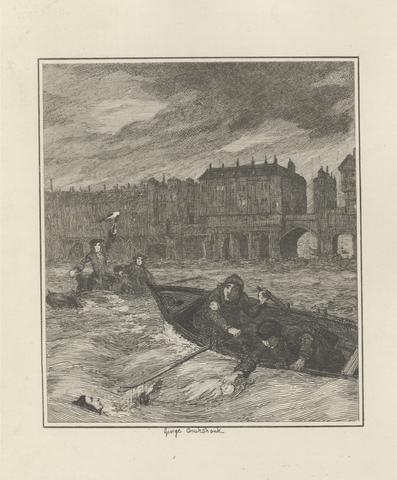
- The Murder on the Thames
- 1839

208
- Jack Sheppard's Escape from the Cage at Willesden
- 1839
209
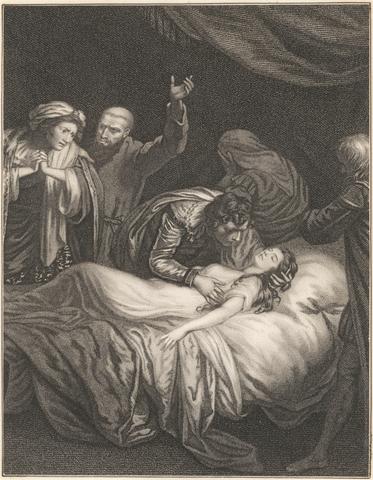
- King Henry VI, Part I: Act II, Scene V, A Room in the Tower (The Death of Mortimer)
- 1792
210
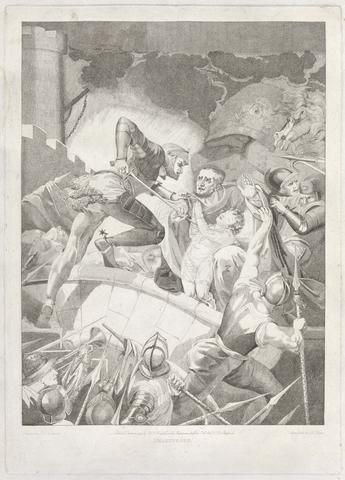
- Henry VI, Part III: Act I, Scene III, A Field of Battle betwixt Sandal Castle . .
- 1793
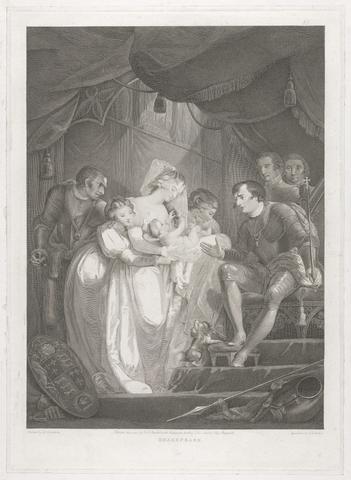
211
- King Henry VI, Part III: Act V, Scene VII (Queen Bess Presenting King Edward . . . with Their Infant Son)
- 1791
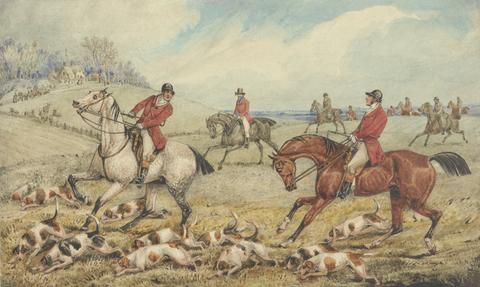
212
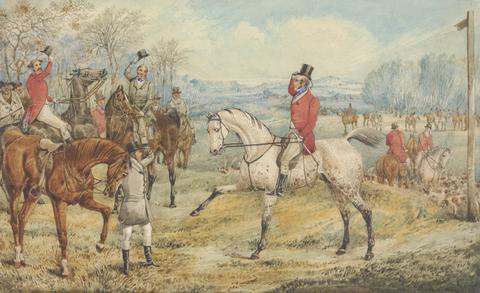
- Illustration for R.S. Surtees', "The Analysis of the Hunting Field": The Check: 'What the Devil Do You Do Here..'
- undated
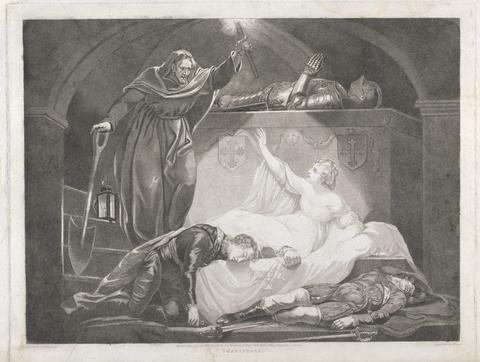
213
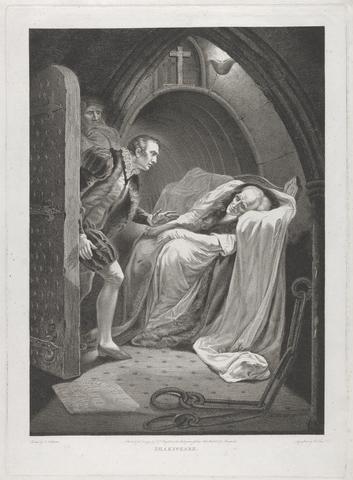
- Romeo and Juliet: Act IV, Scene III (A Monument Belonging to the Capulets)
- 1791
214
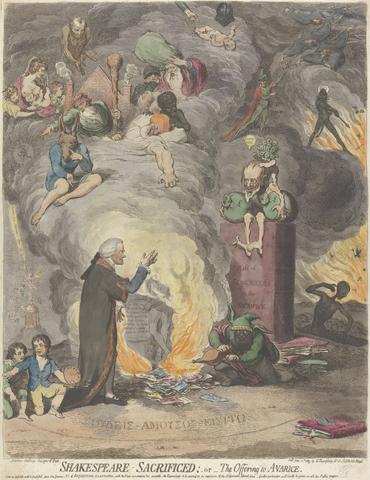
- Shakespeare Sacrificed; or, The Offering to Avarice
- 1789
215
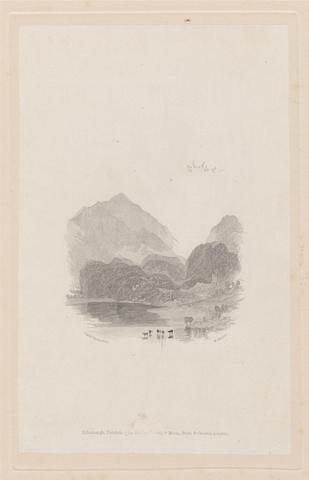
- Loch Achray
- 1834
216
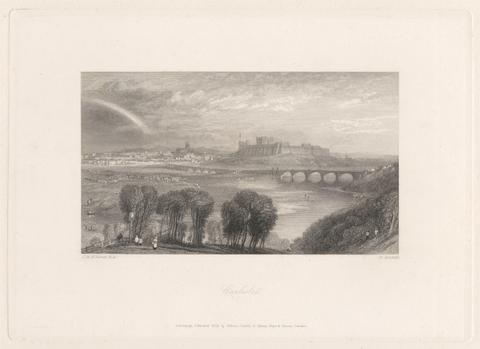
- Carlisle
- 1834
217
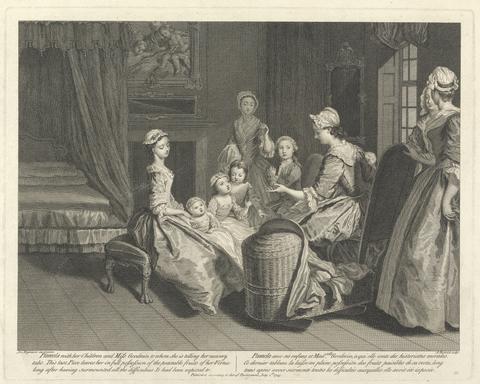
- Pamela with the Children and Miss Goodwin to whome she is telling her nursery tales. This last Piece leaves her in full possession of the peaceable fruits of her Virtue long after having surmounted all the difficulties it had been exposed to
- 1745
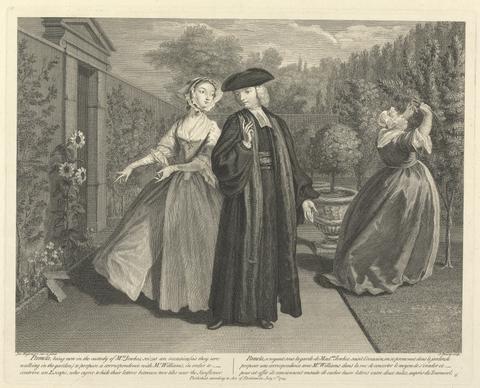
218
- Pamela, being now in the custody of Mrs. Jenkes, seizes an occasion (as they are walking in the garden) to propose a Correspondence with Mr. Williams in order to contrive an Escape, who agree to hide their letters between two tiles near the Sunflower
- 1745
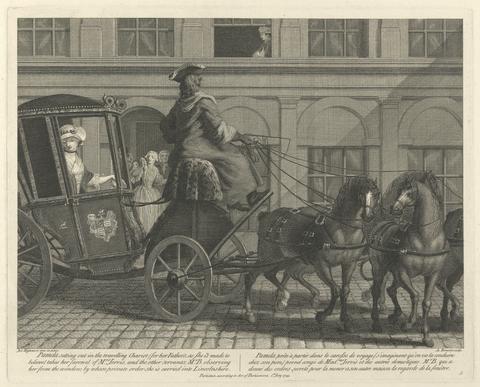
219
- Pamela setting out in the travelling Chariot (for her Father's as She is made to believe) takes her farewel of Mrs. Jervis, and the other servants; Mr. B. observing her from the window; by whose private order she is carried into Lincolnshire
- 1745
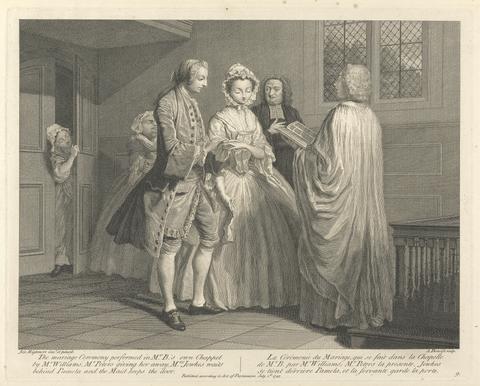
220
- The Marriage Ceremony performed in Mr. B.'s own Chappel by Mr. Williams, Mr. Peters giving her away, Mrs. Jewkes waits behind Pamela and the Maid keeps the door
- 1745
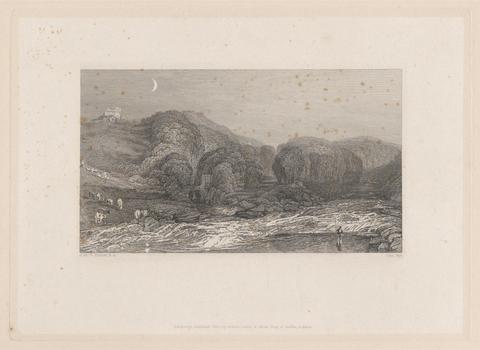
221
- Junction of the Greta and the Tees
- 1834
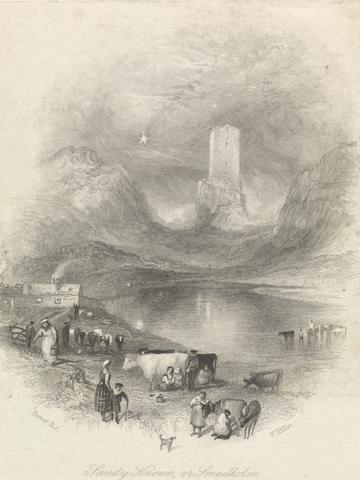
222
- Sandy Knowe, or Smailholm Tower (Vignette)
- 1839
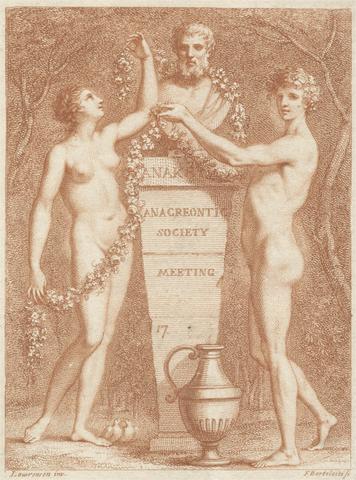
223
- Ticket: Anacreontic Society Meeting
- 1773

224
- Pamela having divided her clothes into threee Bundles, in order to leave the House, rejects that containing her Masters presents calling it the wicked bundle, & harangues over her own little Parcel which she huggs in her Arms;..
- 1745

225
- Jack Sheppard Gets Drunk and Orders his Mother off
- 1839
226
- Audacity of Jack Sheppard
- 1839
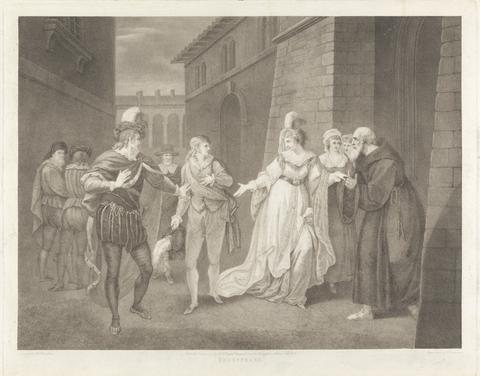
227
- Twelfth Night, Act V, Scene I: The Street
- 1803
228
- Mrs. Sheppard Expostulating with her Son
- 1839
229
- Jack Sheppard Accuses Thames Darrell of the Theft
- 1839
230
- The Death of Juliet
- unknown

231
- Grandpapa's Story or The Witches Frolick
- 1838
232
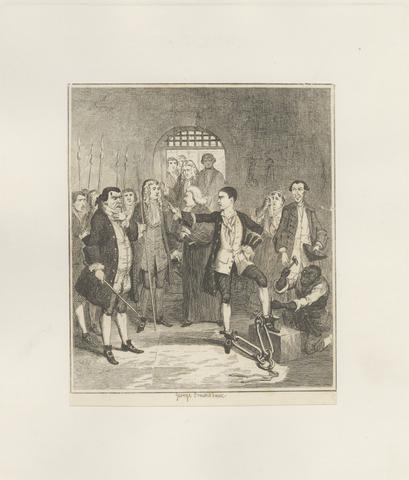
- Jack Sheppard's Irons Knocked off in the Stone Hall at Newgate
- 1839
233
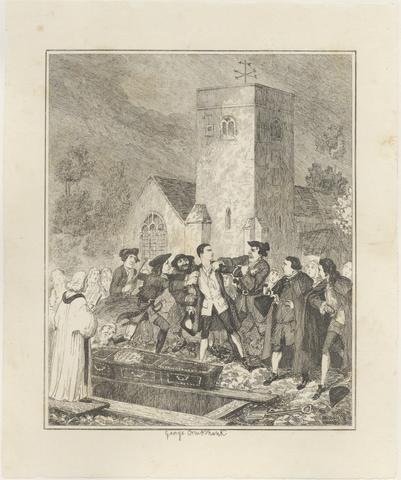
- Jonathan Wild Seizing Jack Sheppard at his Mother's Grave in Willesden Church Yard
- 1839
234
- Illustration for R.S. Surtees', "The Analysis of the Hunting Field": The Meet: 'With Bright Faces and Merry Hearts'
- undated
235
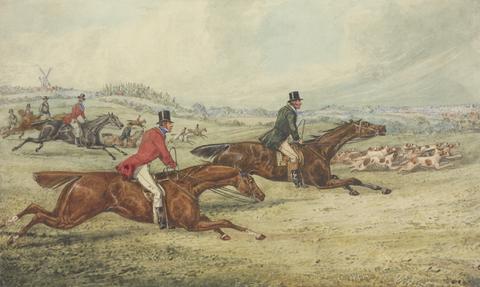
- Illustration for R.S. Surtees', "The Analysis of the Hunting Field:" Full Cry: 'Let's Keep the Lead'
- undated
236
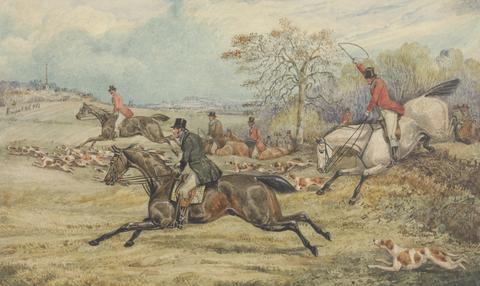
- Illustration for R.S. Surtees', "The Analysis of the Hunting Field": Getting Away: 'Let's Take the Lead'
- undated
237
- An Illustration of C.J. Apperley ('Nimrod'), "The Life of a Sportsman": 'A Night Scene with Sir Thomas Mostyn'
- 1842
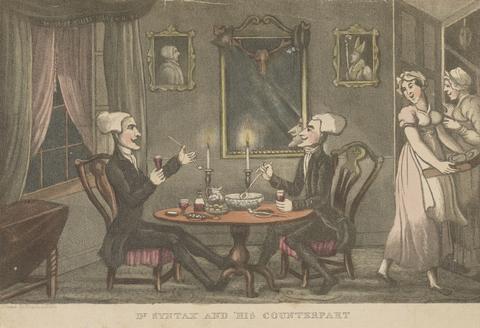
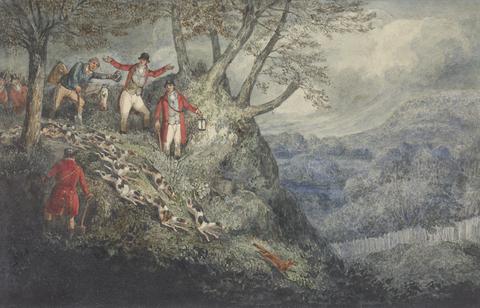
238
- Dr. Syntax and his Counterpart
- 1820