Search Constraints
You searched for:
Materials & Techniques watercolor
Remove constraint Materials & Techniques: watercolorGenre literary theme
Remove constraint Genre: literary themeImage Available Available
Remove constraint Image Available: AvailableSearch Results
1
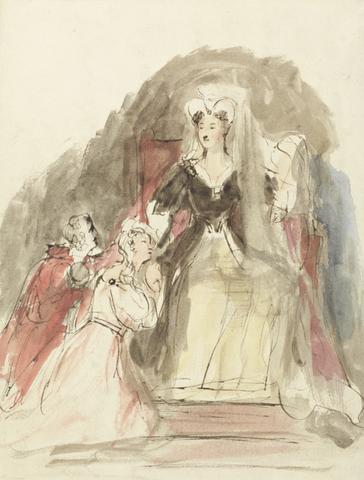
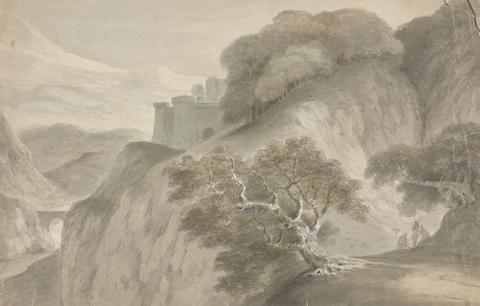
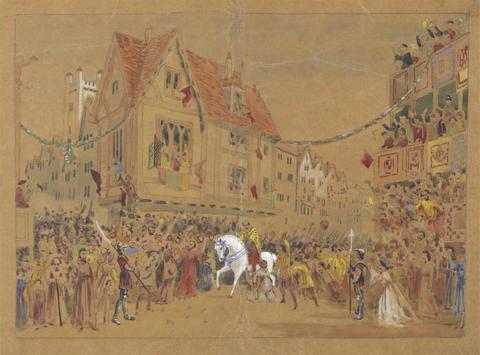
- A Scene from "The Abbot"
- 1833
2
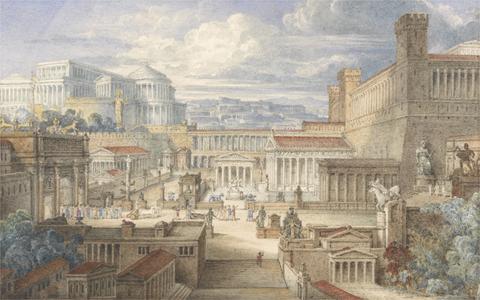
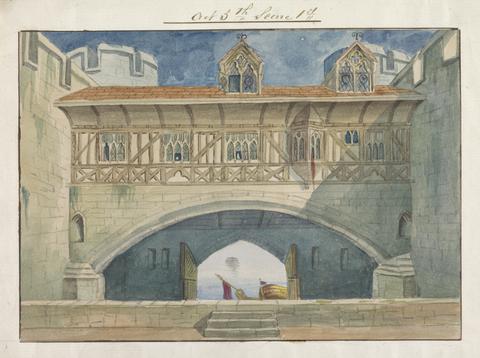
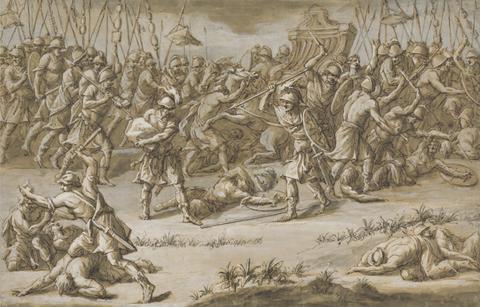
- A Scene in Ancient Rome: A Setting for Titus Andronicus, I, ii
- ca. 1830

3
- A View of the Valley of Stones, Devon, with a scene in the Tempest, Act 1
- undated

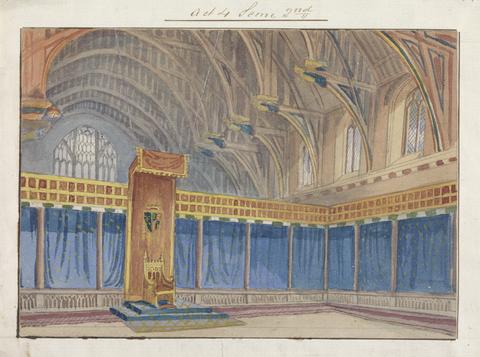
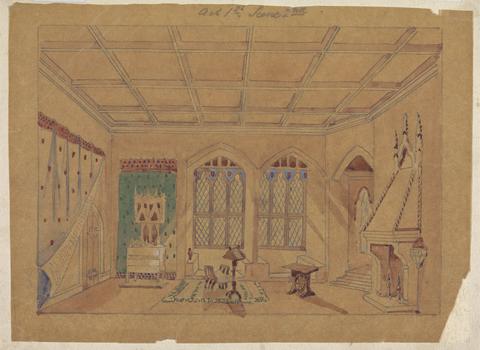
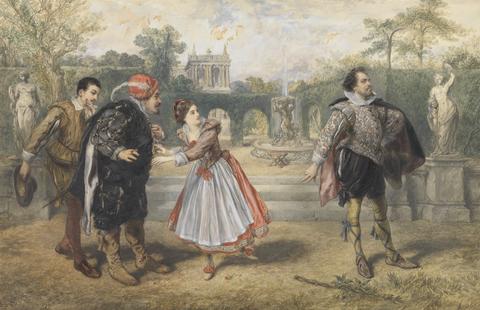
4
- Adina and Dr. Dulcamara, Scene from Donigetti's Elisir d'Amore
- undated
5
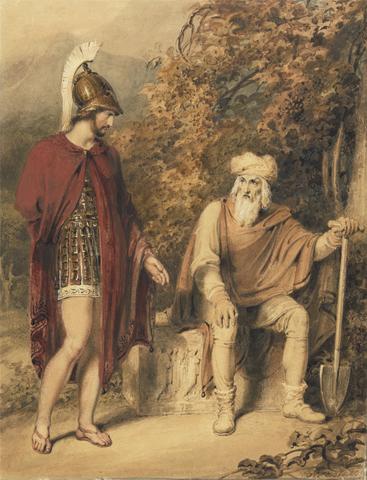
- Alcibiades and Timon
- ca. 1805
6
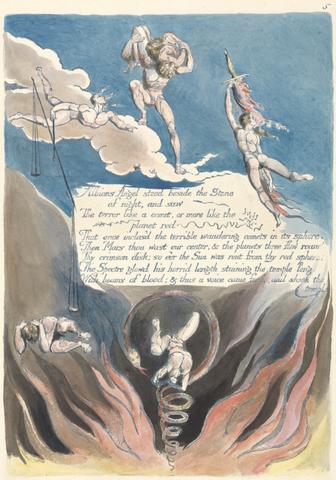
- America. A Prophecy, Plate 7, "Albions Angel stood...."
- 1793
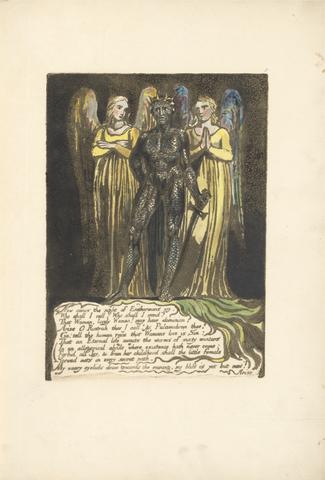
7
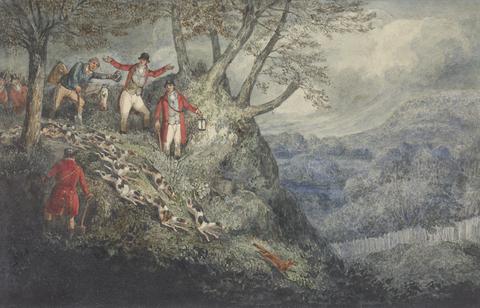
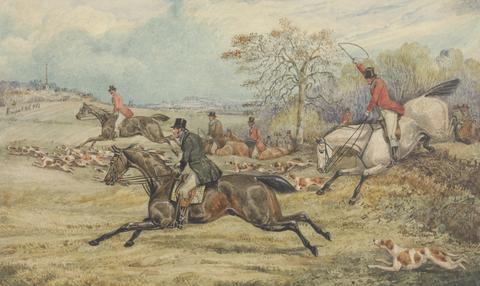
- An Illustration of C.J. Apperley ('Nimrod'), "The Life of a Sportsman": 'A Night Scene with Sir Thomas Mostyn'
- 1842
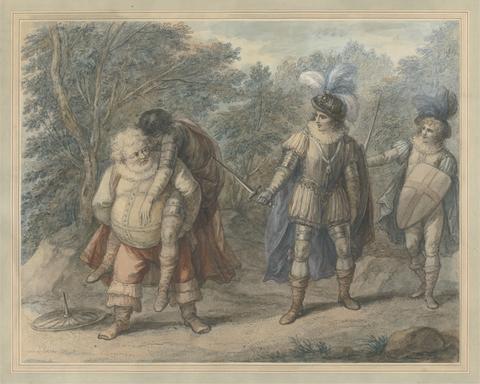
8
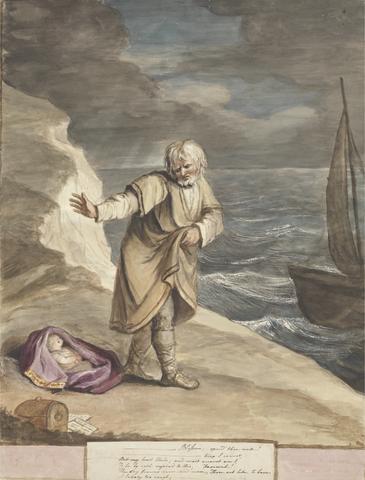
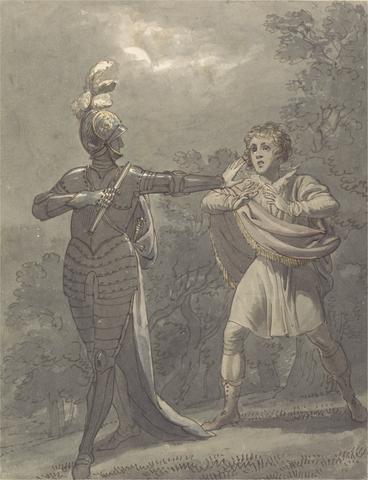
- Antigonus Disposing of Perdita
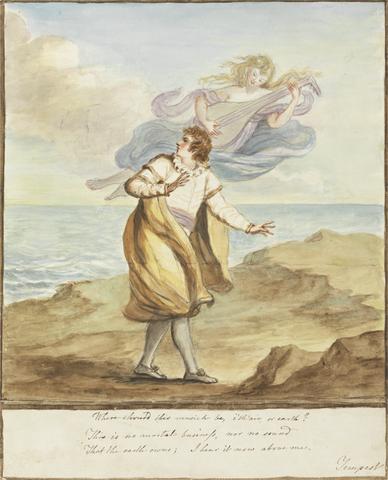
- ca. 1781
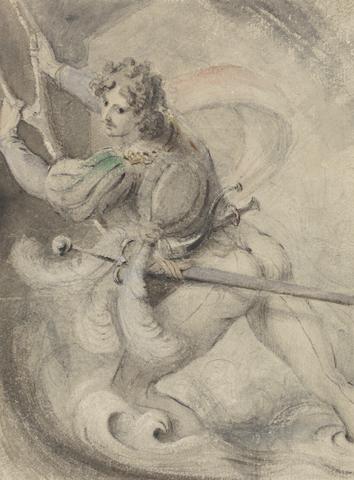
9
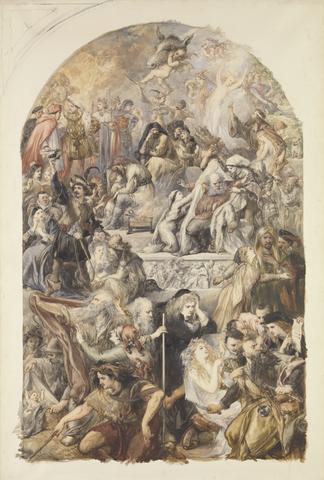
- Apotheosis of Shakespeare's Characters
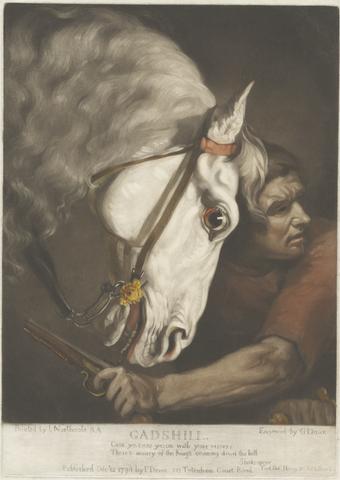
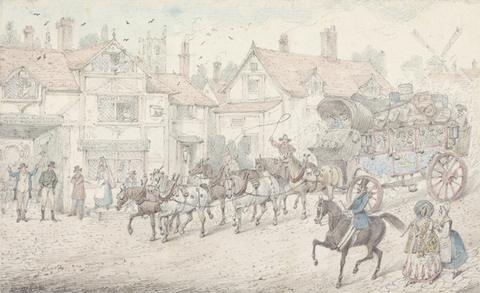
- 1871
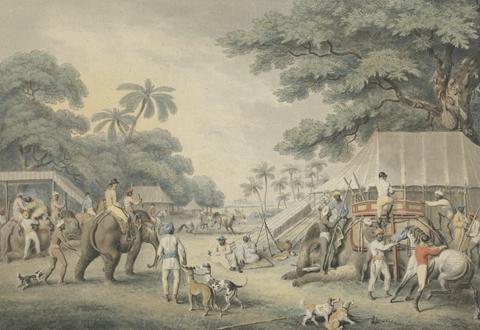
10
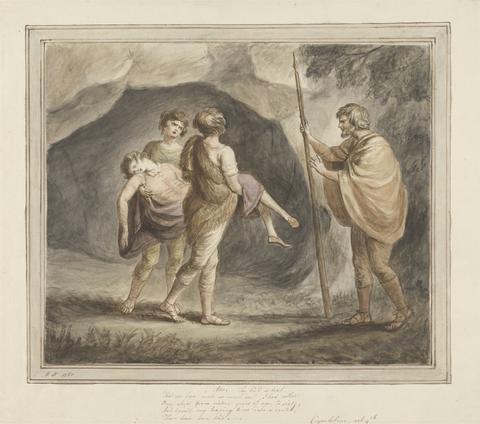
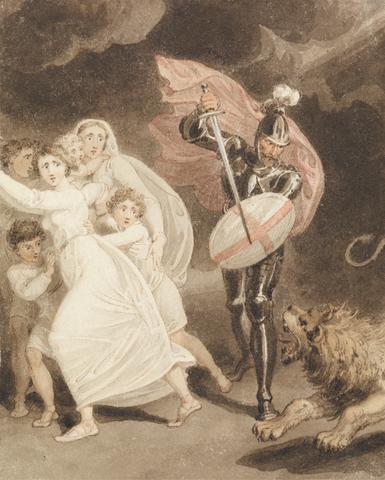
- Arviragus, Bearing Imogen as Dead in his Arms, 'Cymbeline', Act IV, Scene II
- 1780
11
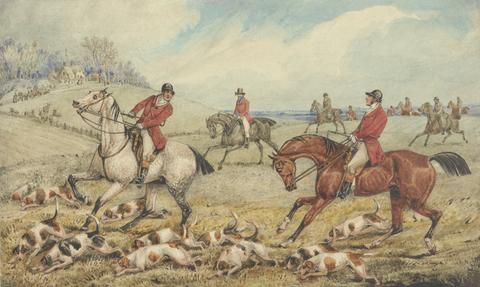
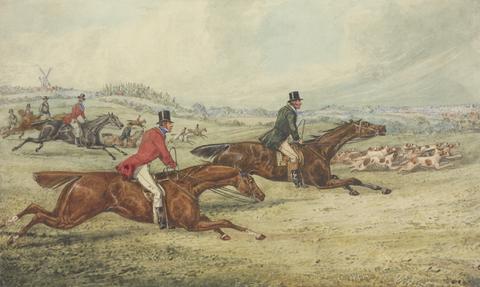
- Castle of Udolpho
- undated
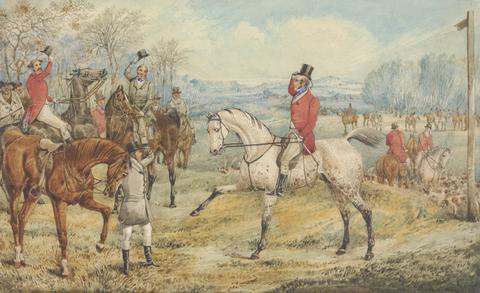
12
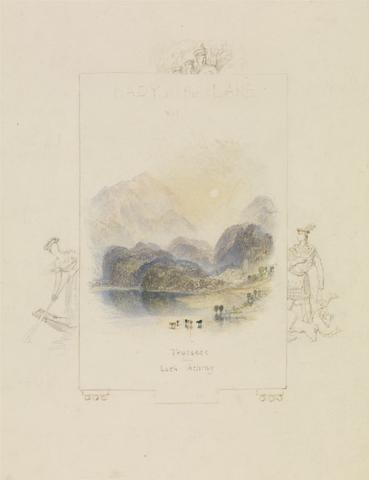
- Design for an Illustration for Walter Scott's "Lady of the Lake", Loch Achray
- ca. 1832
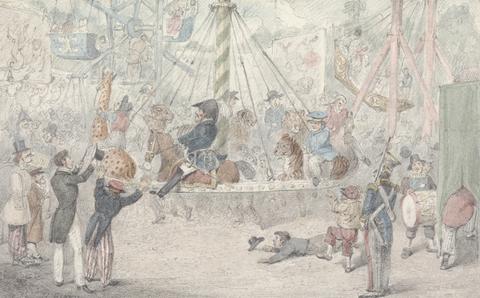
13
- Design for Love's Labour's Lost
- 1839
14
- Design for Midsummer Night's Dream
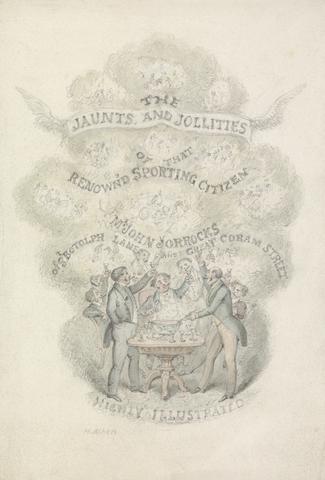
- undated
15
- Design for Setting of Charles Kean's Richard II at the Princess's Theatre on March 12, 1857 - Act 4, Scene 2
- undated
16
- Design for setting of Charles Kean's Richard II at the Princess's Theatre on March 12, 1857, Act 1, Scene 2
- undated
17
- Design for setting of Charles Kean's Richard II at the Princess's Theatre on March 12, 1857, Act 2, Scene 3
- undated
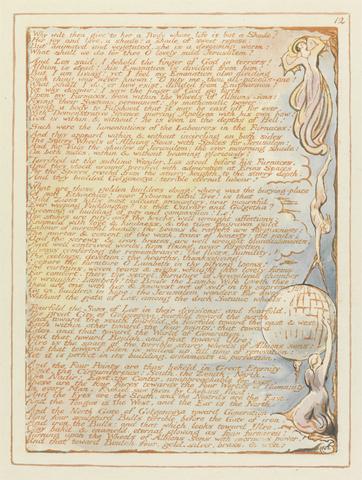
18
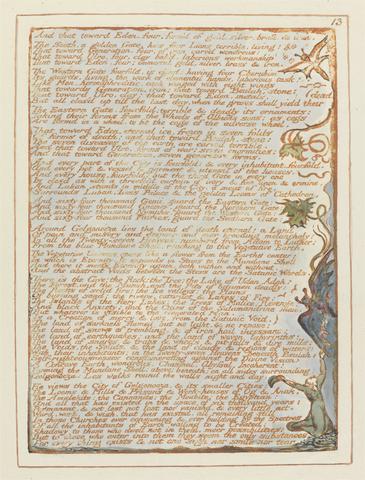
- Design for Setting of Charles Kean's Richard II at the Princess's Theatre on March 12, 1857, Act 4, Scene 1
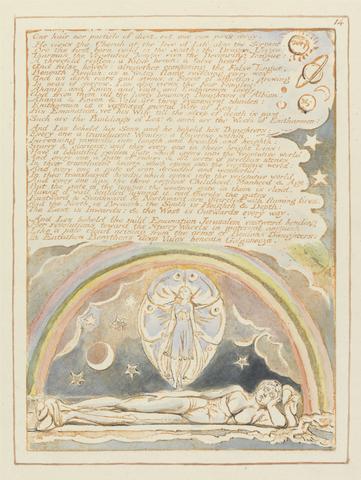
- undated
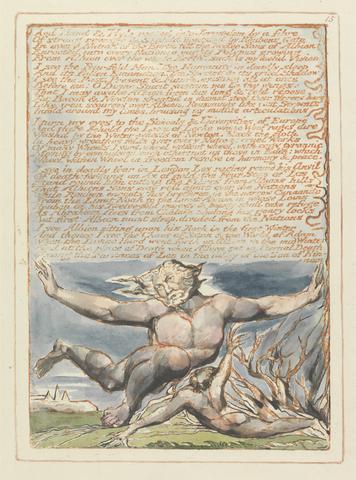
19
- Design for Setting of Charles Kean's Richard II at the Princess's Theatre on March 12, 1857, Act 5, Scene 1
- undated
20
- Design for Setting of Charles Kean's Richard II at the Princess's Theatre on March 12, 1857, Act 5, Scene 3
- undated
21
- Design for Setting of Charles Kean's Richard II at the Princess's Theatre on March 12, 1857, Act 5, Scene 4
- undated
22
- Design for Setting of Charles Kean's Richard II at the Princess's Theatre, March 12, 1857 - Act 5, Scene 2
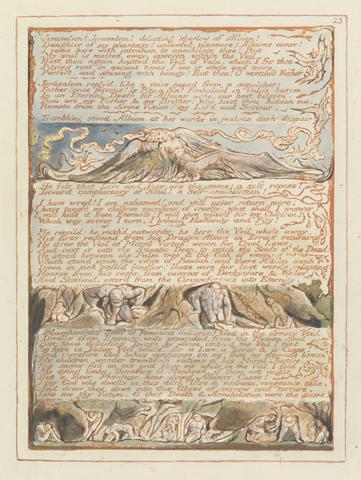
- undated
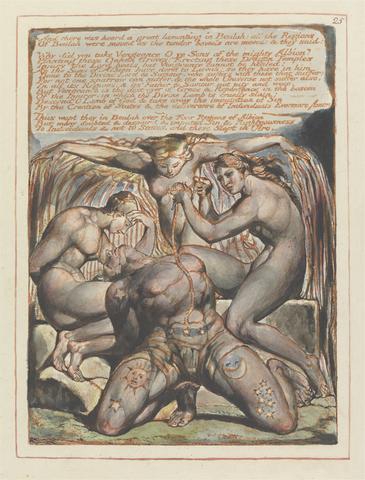
23
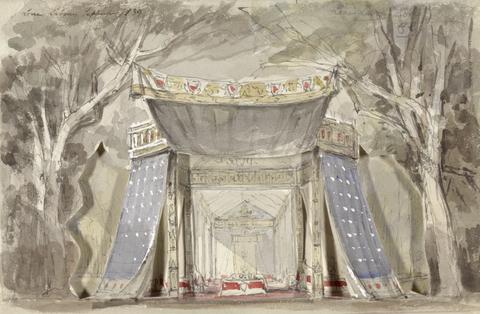
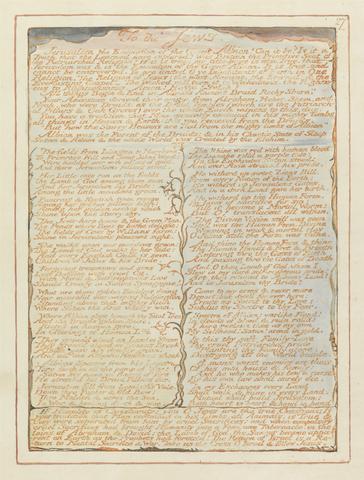
- Design for the Setting of Charles Kean's Production of Richard II at the Princess's Theatre on March 12, 1857
- undated
24
- Enter Malvolio, Crossgartered..
- 1863
25
- Europe. A Prophecy, Plate 7, "Now comes the night . . . . " (Bentley 8)
- 1794
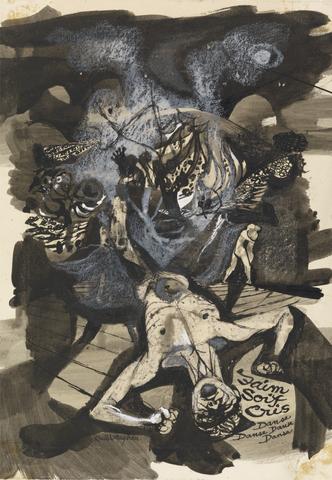
26
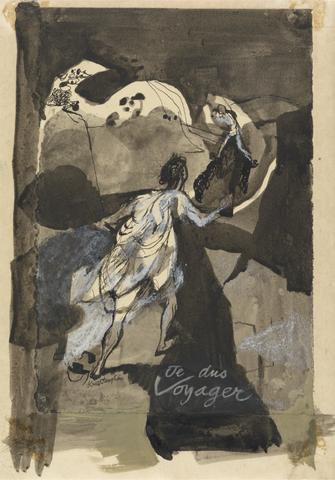
- Faim, Soif, Cris, Danse, Danse, Danse
- 1949
27
- Falstaff Carrying Dead Hotspur
- undated

28
- Faust and Margaret
- undated
29
- Ferdinand and Ariel
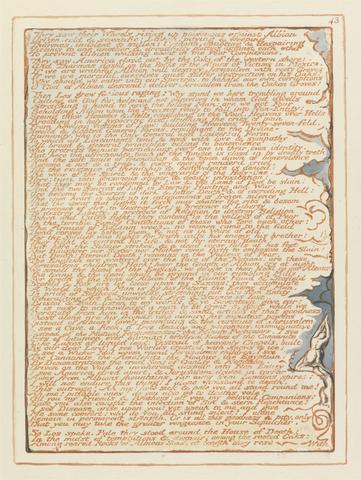
- ca. 1781
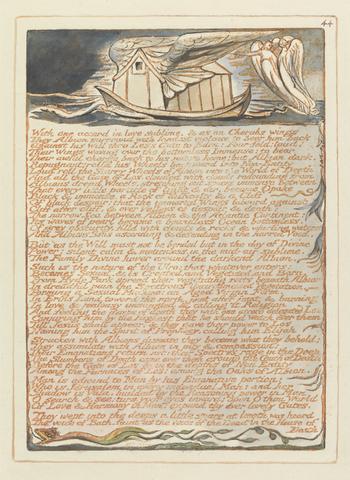
30
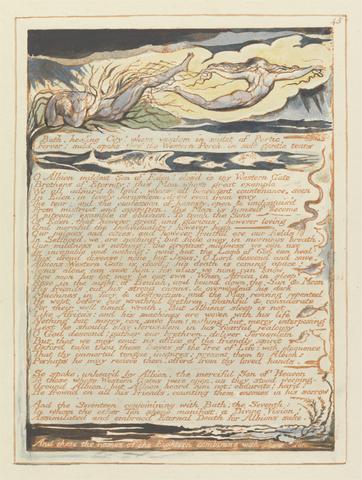
- Ferdinand Riding the Waves
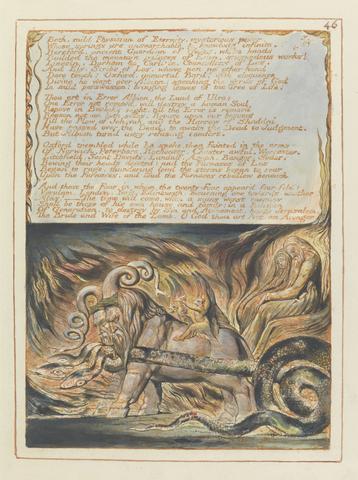
- ca. 1830

31
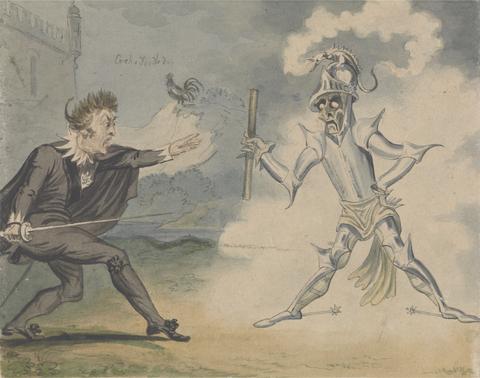
- Fluellen Forcing Pistol to Eat His Leek
- undated
32
- Gadshill
- 1796
33
- Going Out in the Morning: an illustration for Captain Thomas Williamson's "Oriental Field Sports"
- 1807
34
- Greatheart's Battle with Grim
- undated
35
- Hamlet and the Ghost
- ca. 1820
36
- Hamlet and the Ghost
- ca. 1825
37
- Illustration for R.S. Surtees', "The Analysis of the Hunting Field": Getting Away: 'Let's Take the Lead'
- undated
38
- Illustration for R.S. Surtees', "The Analysis of the Hunting Field": The Check: 'What the Devil Do You Do Here..'
- undated
39
- Illustration for R.S. Surtees', "The Analysis of the Hunting Field": The Meet: 'With Bright Faces and Merry Hearts'
- undated
40
- Illustration for R.S. Surtees', "The Analysis of the Hunting Field:" Full Cry: 'Let's Keep the Lead'
- undated
41
- Illustration to Beaumont and Fletcher
- undated
42
- Illustration to R.S. Surtees', "Jorrocks's Jaunts and Jollities": "Water, I do Declare with Worms in it"
- undated
43
- Illustration to R.S. Surtees', "Jorrocks's Jaunts and Jollities": 'Lift me Up! Tie me in my Chair! Fill my Glass'
- undated
44
- Illustration to R.S. Surtees', "Jorrocks's Jaunts and Jollities": 'Mr. Jorrocks Beats the Baron for Speed'
- undated
45
- Illustration to R.S. Surtees', "Jorrocks's Jaunts and Jollities": 'Mr. Jorrocks Takes a Ride at St. Cloud'
- undated
46
- Illustration to R.S. Surtees', "Jorrocks's Jaunts and Jollities": 'Mr. Jorrocks's Surprize on Seeing the Paris Diligence, "My Vig, Here's Wombwell's Wildbeast show" '
- undated
47
- Illustration to R.S. Surtees', "Jorrocks's Jaunts and Jollities": Title page
- undated
48
- Illustration to R.S. Surtees', "Jorrocks's Jaunts and Jollities:" 'Mr. Jorrocks Renounces the Acquaintance of the Yorkshireman'
- undated
49
- Illustration to the Iliad
- between 1760 and 1769

50
- Imogen Entering the Cave, 'Cymbeline', Act III, Scene VI
- 1781

51
- Imogen in the Cave, 'Cymbeline', Act III, Scene VI
- 1782
52
- Je Dus Voyager
- 1949
53
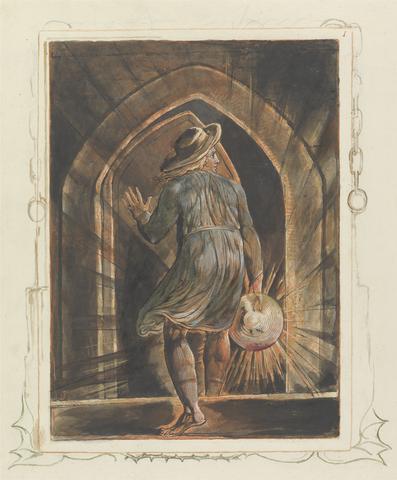
- Jerusalem, Plate 1, Frontispiece
- 1804 to 1820
54
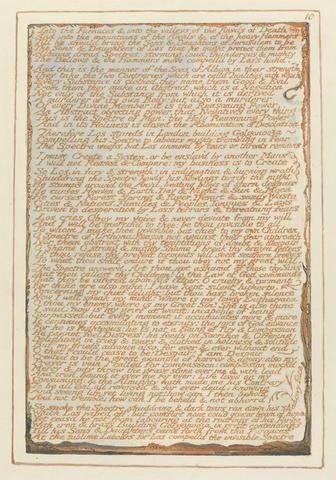
- Jerusalem, Plate 10, "Into the Furnaces...."
- 1804 to 1820

55
- Jerusalem, Plate 100
- 1804 to 1820

56
- Jerusalem, Plate 11, "To labours mighty...."
- 1804 to 1820
57
- Jerusalem, Plate 12, "Why wilt thou give to her...."
- 1804 to 1820
58
- Jerusalem, Plate 13, "And that toward Eden...."
- 1804 to 1820
59
- Jerusalem, Plate 14, "One hair nor particle of dust...."
- 1804 to 1820
60
- Jerusalem, Plate 15, "And Hand & Hyle...."
- 1804 to 1820

61
- Jerusalem, Plate 16, "Hampstead Highgate Finchley...."
- 1804 to 1820

62
- Jerusalem, Plate 17, "His Spectre divides...."
- 1804 to 1820
63
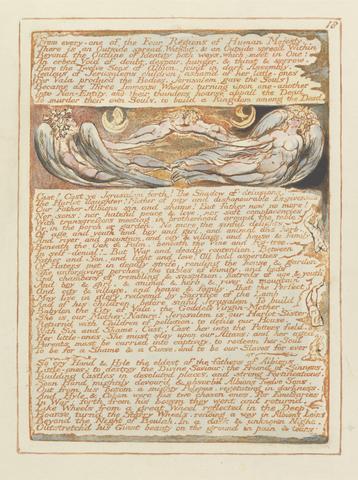
- Jerusalem, Plate 18, "From every-one of the Four Regions...."
- 1804 to 1820
64
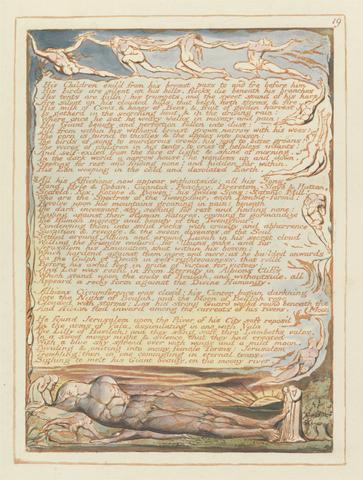
- Jerusalem, Plate 19, "His children exil'd from his breast...."
- 1804 to 1820
65
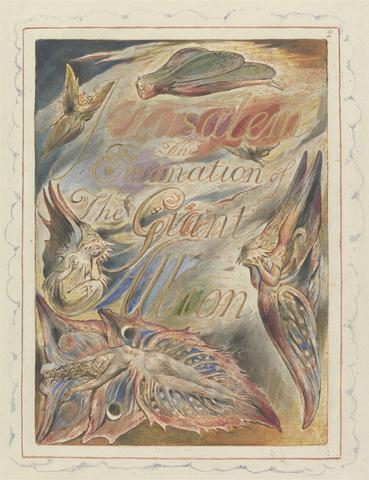
- Jerusalem, Plate 2, Title Page
- 1804 to 1820

66
- Jerusalem, Plate 20, "But when they saw Albion...."
- 1804 to 1820
67
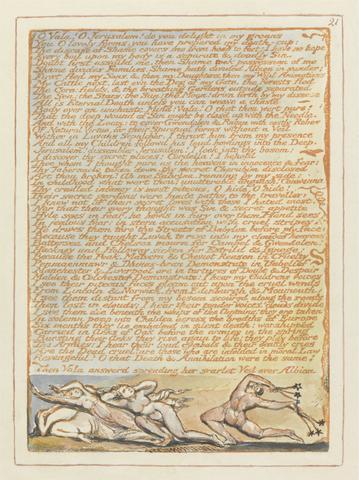
- Jerusalem, Plate 21, "O Vala! O Jerusalem...."
- 1804 to 1820

68
- Jerusalem, Plate 22, "Albion thy Fear has made me tremble...."
- 1804 to 1820
69
- Jerusalem, Plate 23, "Jerusalem! Jerusalem!...."
- 1804 to 1820

70
- Jerusalem, Plate 24, "What have I said?...."
- 1804 to 1820
71
- Jerusalem, Plate 25, "And there was heard...."
- 1804 to 1820

72
- Jerusalem, Plate 26, "Such Visions Have...."
- 1804 to 1820
73
- Jerusalem, Plate 27, "To the Jews...."
- 1804 to 1820
74
- Jerusalem, Plate 28 Proof Impression
- ca. 1820
75
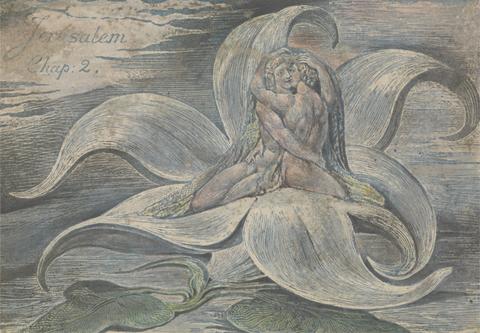
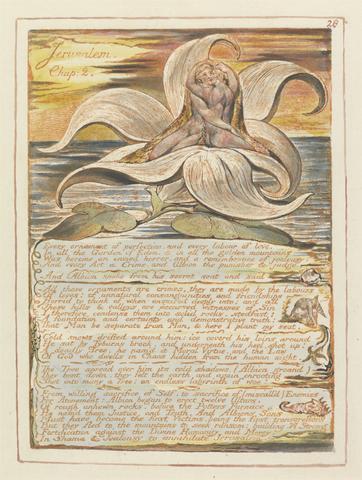
- Jerusalem, Plate 28, "Jerusalem / Chap. 2...."
- 1804 to 1820
76
- Jerusalem, Plate 29, "Then the Divine Vision...."
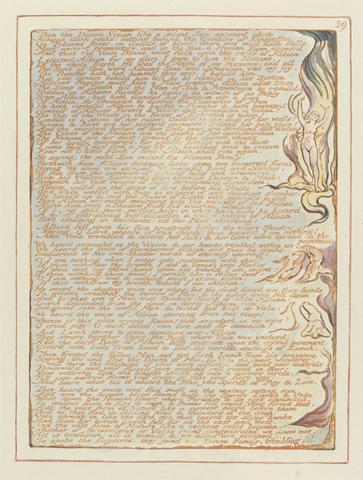
- 1804 to 1820

77
- Jerusalem, Plate 3, "To the Public...."
- 1804 to 1820
78
- Jerusalem, Plate 30, "And the Two that escaped...."
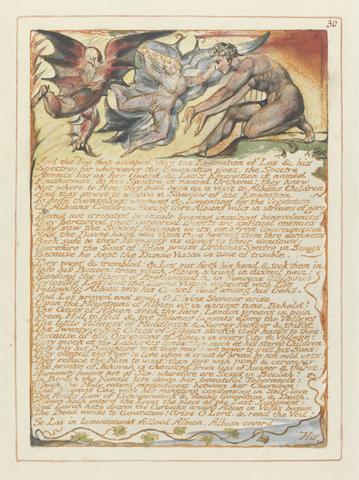
- 1804 to 1820

79
- Jerusalem, Plate 31, "His western heaven...."
- 1804 to 1820

80
- Jerusalem, Plate 32, "Leaning against the pillars...."
- 1804 to 1820
81
- Jerusalem, Plate 33, "Turning his back to the Divine Vision...."
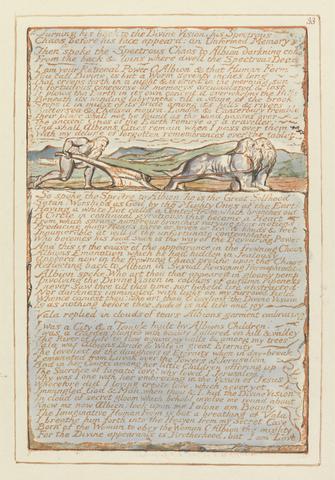
- 1804 to 1820

82
- Jerusalem, Plate 34, "Elevate into the Region of Brotherhood...."
- 1804 to 1820
83
- Jerusalem, Plate 35, "Then the Divine hand...."
- 1804 to 1820
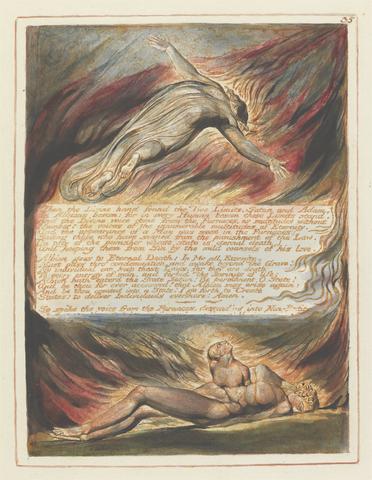
84
- Jerusalem, Plate 36, "Reuben returnd to his place...."
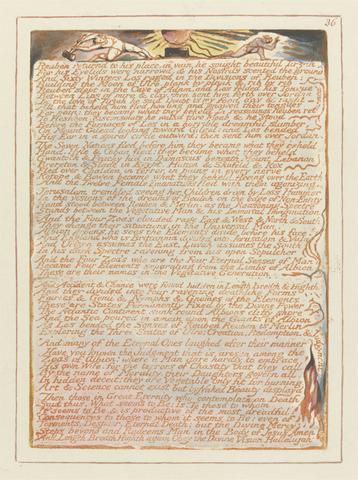
- 1804 to 1820
85
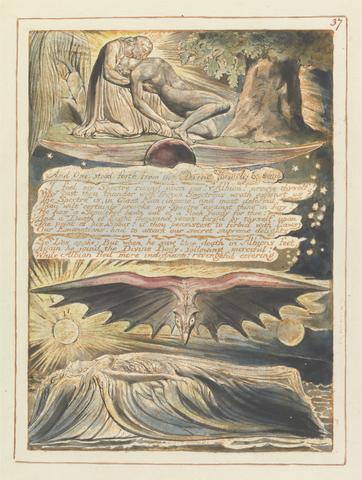
- Jerusalem, Plate 37, "And One stood forth...."
- 1804 to 1820
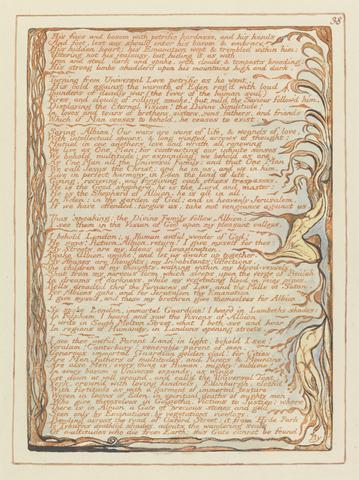
86
- Jerusalem, Plate 38, "His face and bosom...."
- 1804 to 1820

87
- Jerusalem, Plate 39, "By Satans Watch-fiends...."
- 1804 to 1820
88
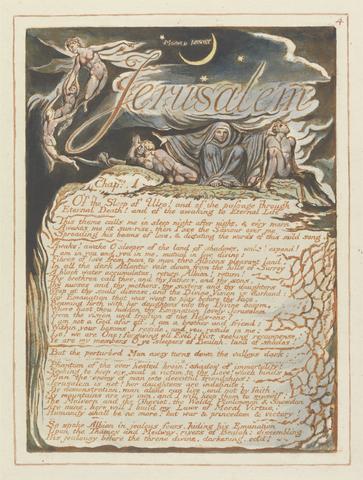
- Jerusalem, Plate 4, "Jerusalem / Chap. 1...."
- 1804 to 1820
89
- Jerusalem, Plate 40, "Los shudderd at beholding Albion...."
- 1804 to 1820
90
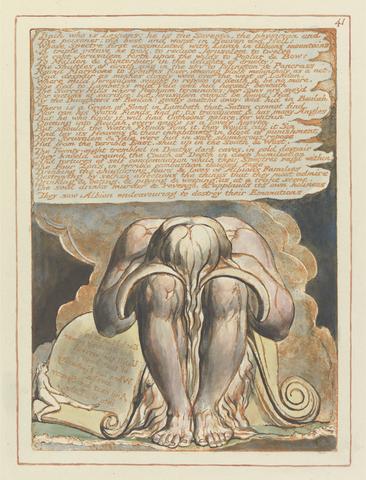
- Jerusalem, Plate 41, "Bath who is Legions...."
- 1804 to 1820
91
- Jerusalem, Plate 42, "Thus Albion sat...."
- 1804 to 1820
92
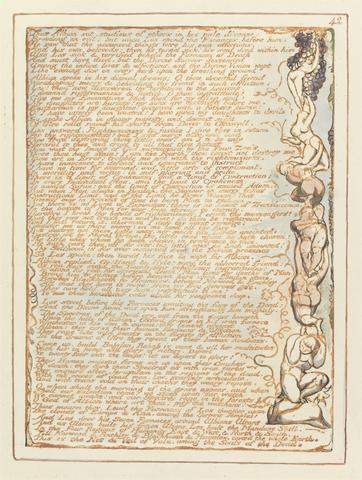
- Jerusalem, Plate 43, "They saw their Wheels...."
- 1804 to 1820
93
- Jerusalem, Plate 44, "With one accord...."
- 1804 to 1820
94
- Jerusalem, Plate 45, "Bath, healing City!...."
- 1804 to 1820
95
- Jerusalem, Plate 46, "Bath, mild Physician...."
- 1804 to 1820

96
- Jerusalem, Plate 47, "From Camberwell to Highgate...."
- 1804 to 1820

97
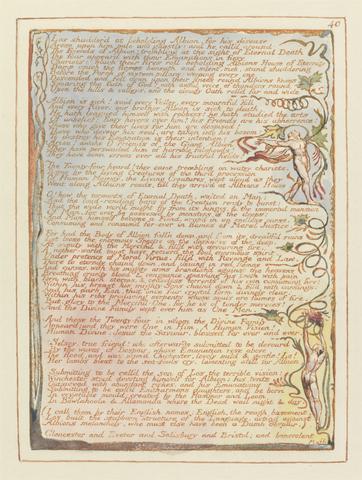
- Jerusalem, Plate 48, "These were his last words...."
- 1804 to 1820

98
- Jerusalem, Plate 49, "The secret coverts of Albion...."
- 1804 to 1820
99
- Jerusalem, Plate 5, "The banks of the Thames...."
- 1804 to 1820
100
- Jerusalem, Plate 50, "The Atlantic Mountains...."
- 1804 to 1820