Search Constraints
You searched for:
Materials & Techniques stipple engraving
Remove constraint Materials & Techniques: stipple engravingImage Available Available
Remove constraint Image Available: AvailableSubject Terms literary theme
Remove constraint Subject Terms: literary themeSearch Results
1
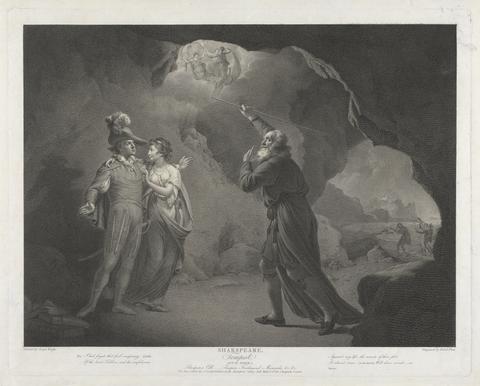
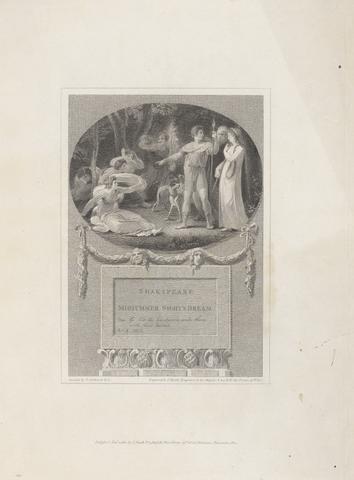
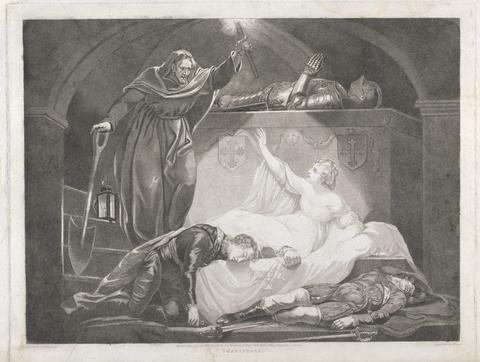
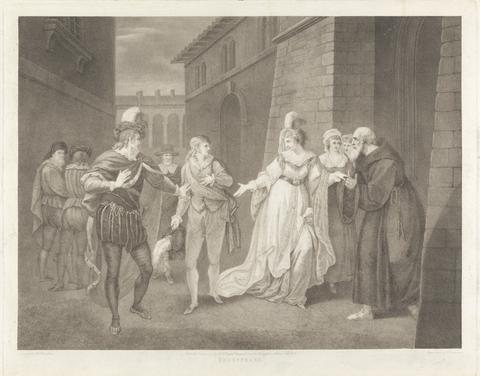
- Shakespeare's Tempest Act IV Scene I. Prospero's Cell
- 1800
2
- As You Like It: Act II, Scene VII: The Seven Ages Man (Third Age)
- 1803
3
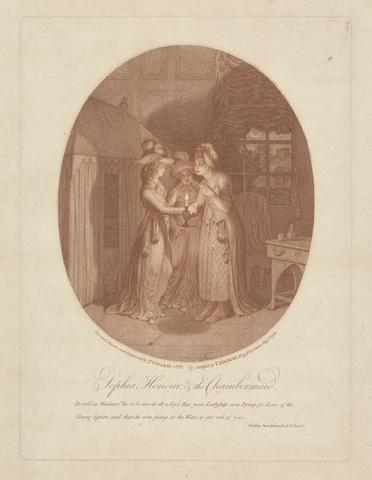
- Sophia, Honour, and the Chambermaid
- 1780

4
- A Plate from Orlando Furioso: Depicting Orlando and Rodomont Fighting
- 1773
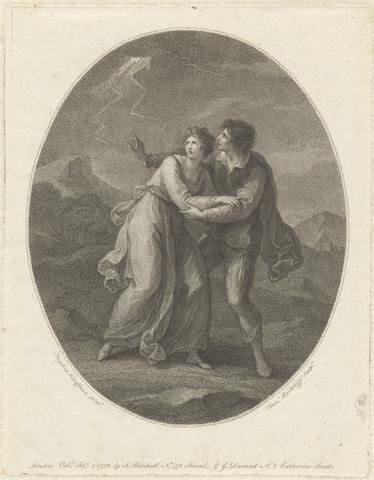
5
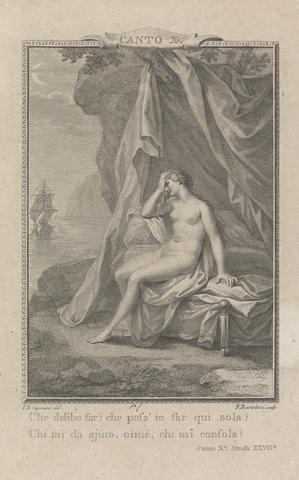
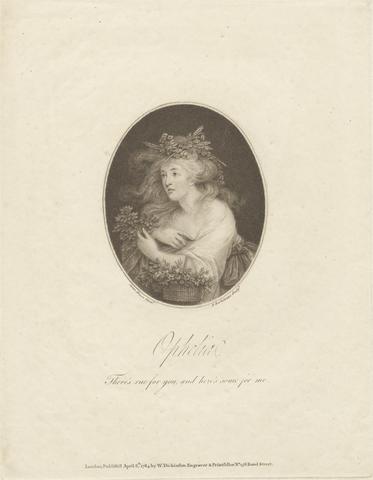
- Illustration from Orlando Furioso: "Che deb'bo sar? che poss'io sar qui sola? / che mi da ajuto, oime, che mi consola?"
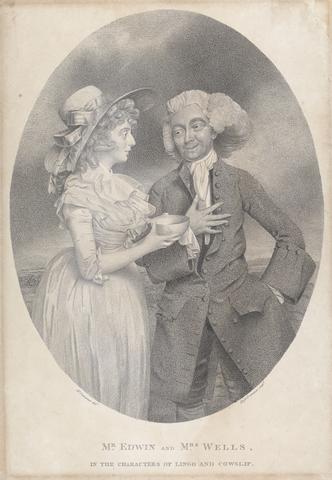
- 1773
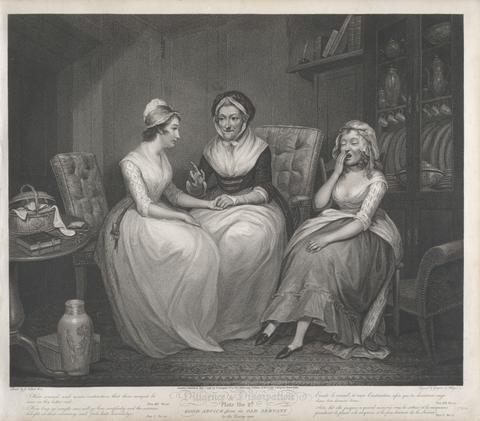
6
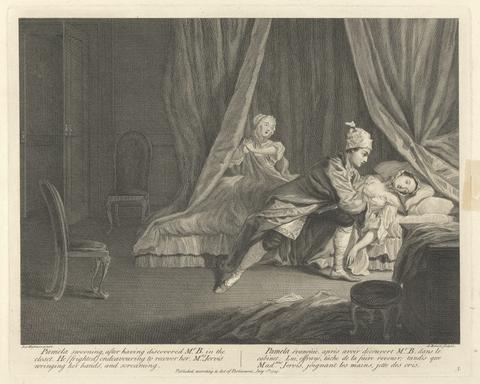
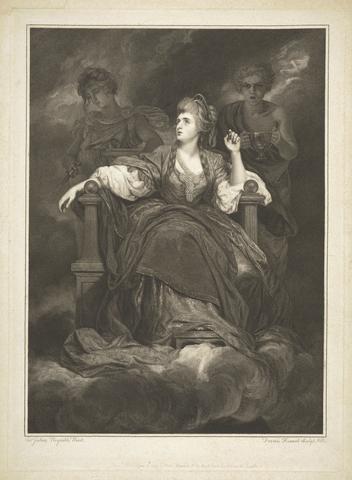
- Pamela Swooning, after having discovered Mr. B. in the closet, He (frighted) endeavouring to recover her, Mrs. Jervis wringing her hands, and screaming
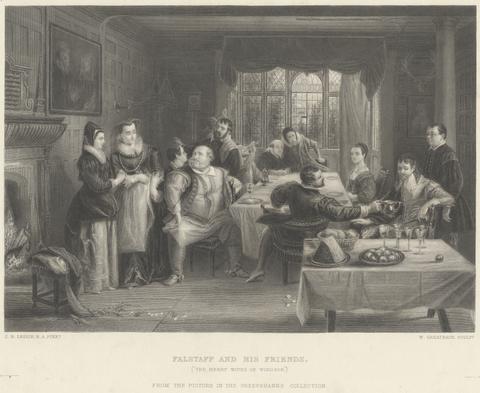
- 1745
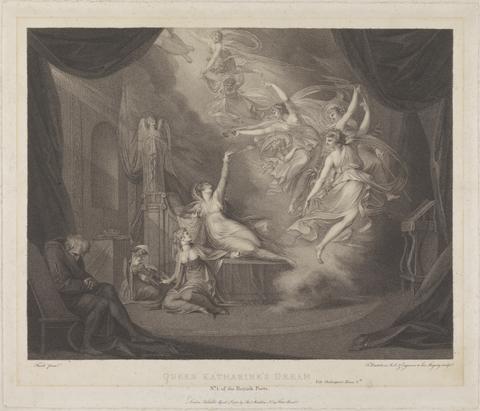
7
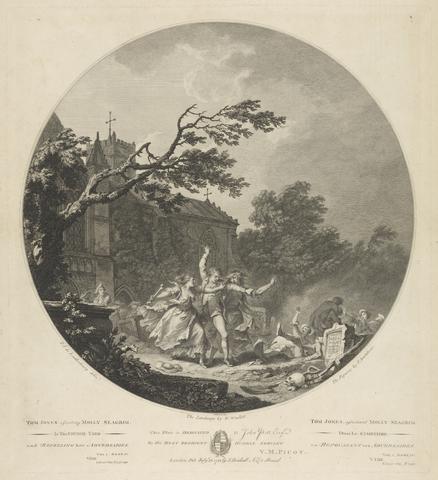
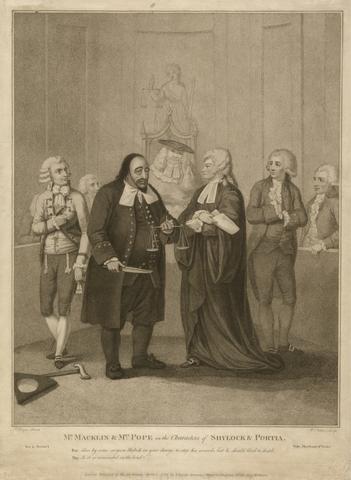
- Tom Jones Assisting Molly Seagrim
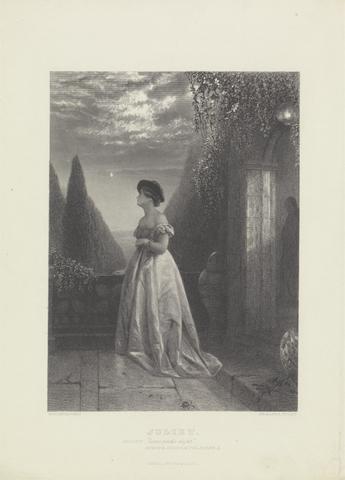
- 1782
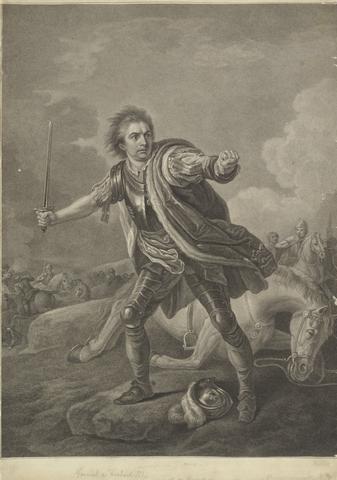
8
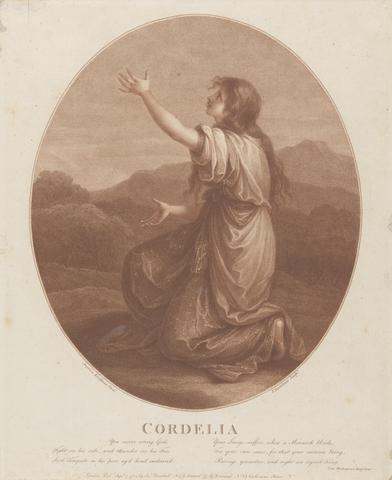
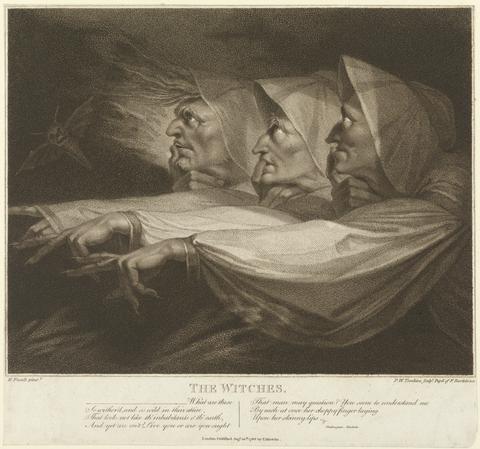
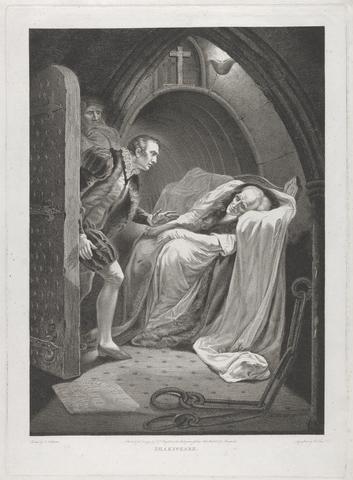
- Cordelia
- 1784
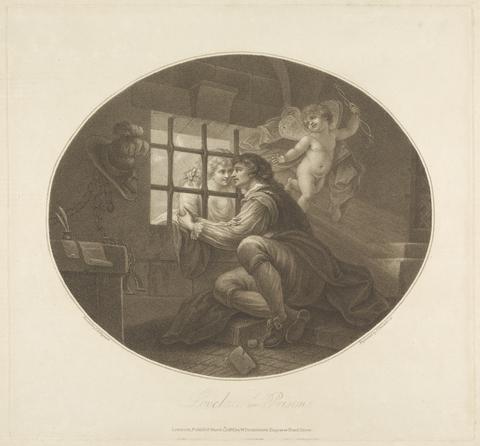
9
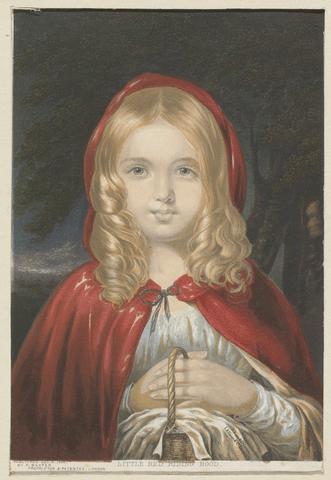
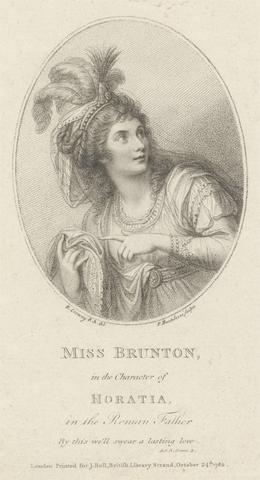
- Little Red Riding Hood
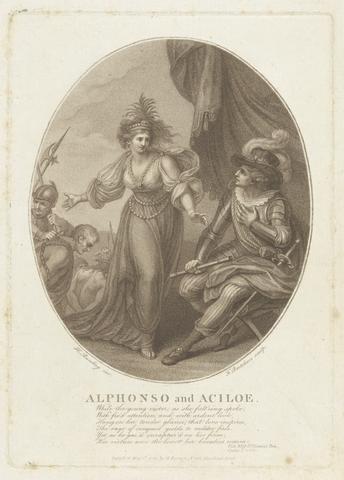
- after 1856
10
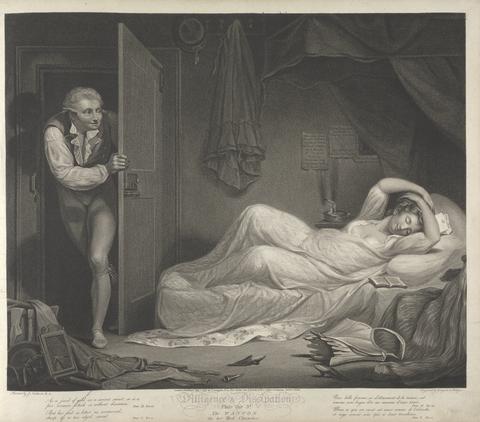
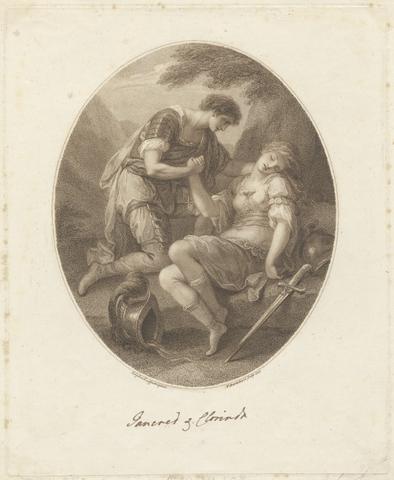
- Diligence and Dissipation: The Wanton in her Bed Chamber (Plate 3)
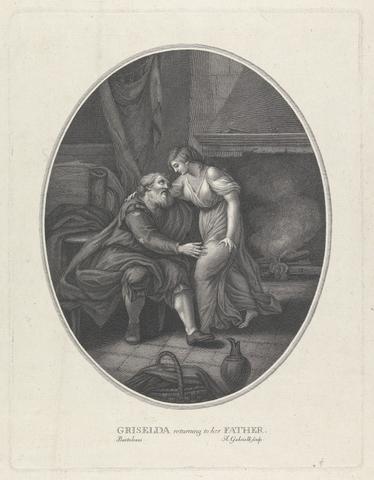
- 1797

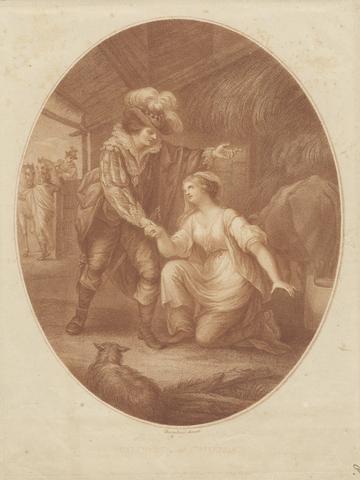
11
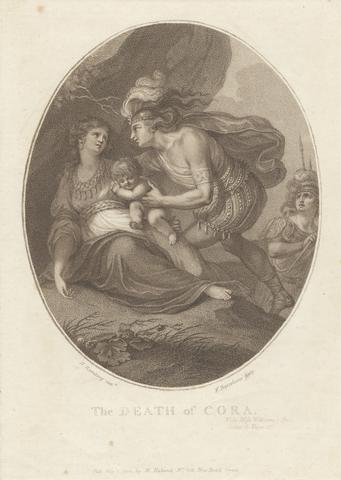
- Diligence and Dissipation: The Wanton Revelling with her Companions (Plate7)
- 1797
12
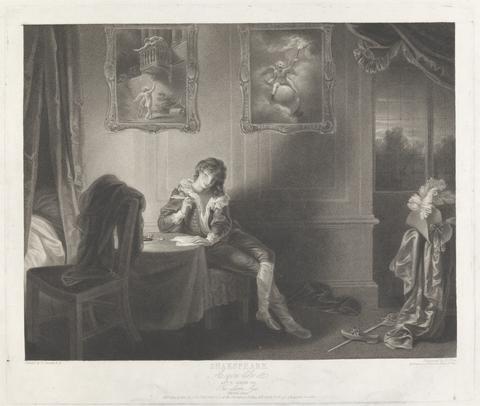
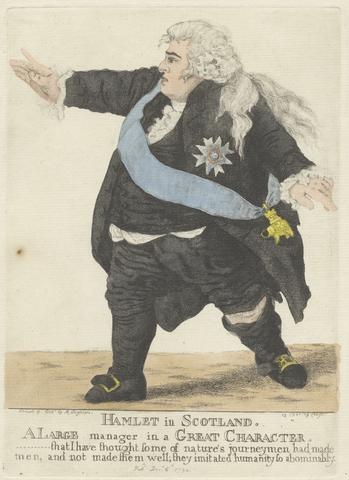
- Hamlet in Scotland
- 1794
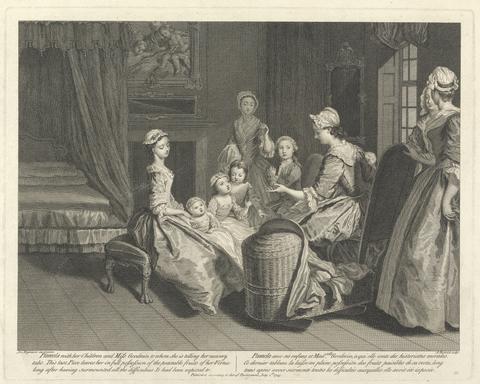
13
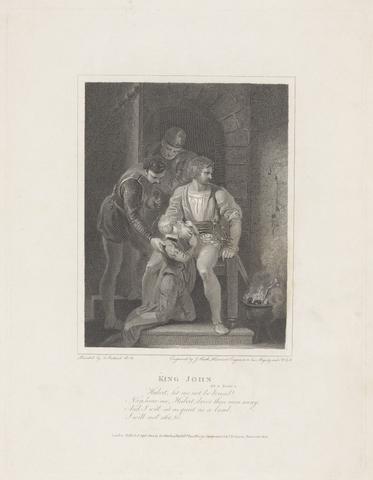
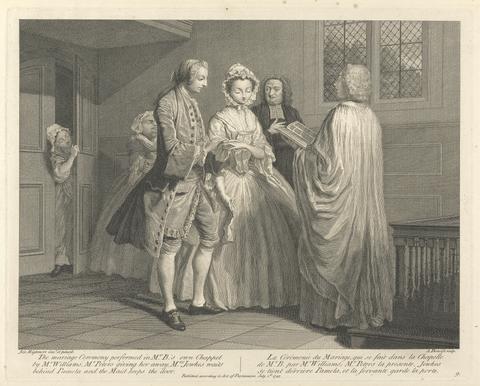
- "Hubert, let me not be bound!"
- 1802
14
- "Here, I and sorrows sit; here is my throne, bid kings come and bow to it"
- 1802

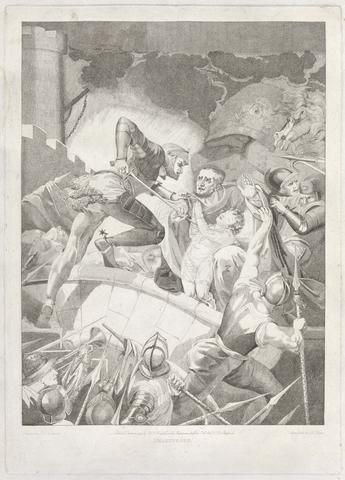
15
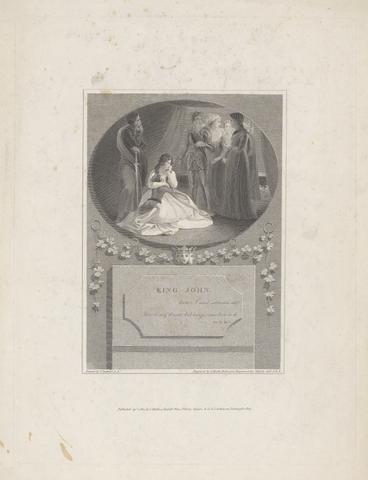
- "Mark your divorce young sir, whom son I dare not call"
- 1804
16
- "Then go, bid the huntsmen wake them with their horns"
- 1802
17
- "We come to visit you: and purpose now, to lead you to our court: vouchsafe it then."
- 1802
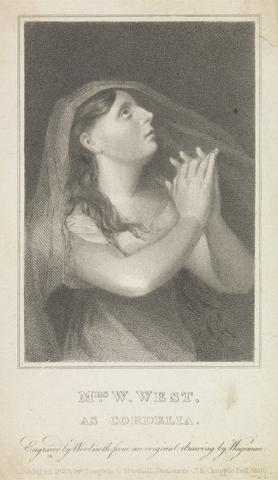
18
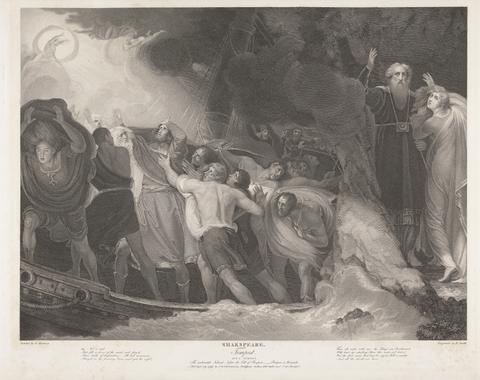
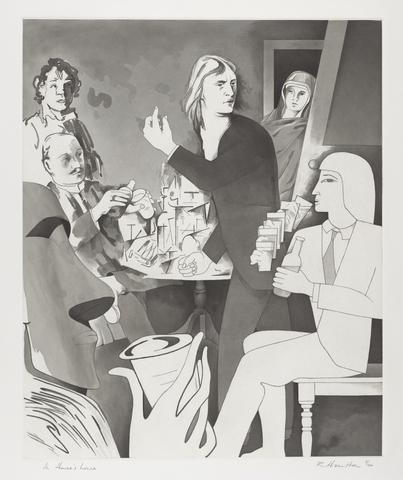
- "Tempest", Act I, Scene I
- 1797
19
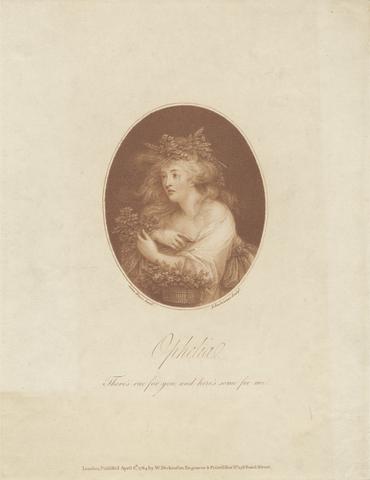
- Ophelia: There Is Rue for You and Here's Some for Me
- 1784
20
- Mr. Edwin and Mrs. Wells in the Characters of Lingo and Cowslip
- ca. 1787
21
- Diligence and Dissipation: Good Advice from an Old Servant to the Young Ones (Plate 2)
- 1797
22
- Mrs. Siddons, in the Character of the Tragic Muse
- 1787
23
- Falstaff and his Friends
- ca. 1868
24
- Queen Katherine's Dream - "Henry VIII"
- 1788
25
- Mr. Macklin and Mrs. Pope in the Characters of Shylock and Portia
- 1789
26
- Come Gentle Night: "Romeo and Juliet," Act III, Scene II
- between 1839 and 1849
27
- David Garrick as Richard III in the Drury Lane Theatre Performance, 1759
- 1811
28
- The Three Witches
- 1786

29
- Aubertus Miræus
- ca. 1635
30
- Lovelace in Prison
- 1788
31
- Miss Anna Brunton
- 1785
32
- Alphonso and Aciloe
- 1788
33
- Celadon and Amelia
- 1782
34
- Tancred and Clorinda
- 1785
35
- Griselda Returning to her Father
- after 1785
36
- Gualtherus and Griselda
- 1784
37
- The Death of Cora
- 1788
38
- Ophelia: There's Rue for You, and Here's Some for Me
- 1784
39
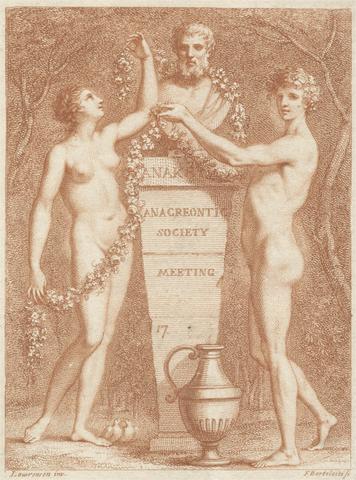
- Ticket: Anacreontic Society Meeting
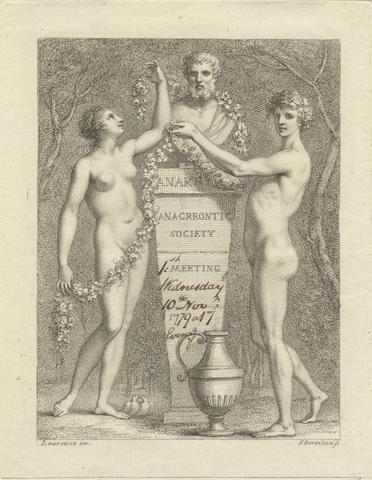
- 1779

40
- The Tempest, Act V, Scene I
- 1795
41
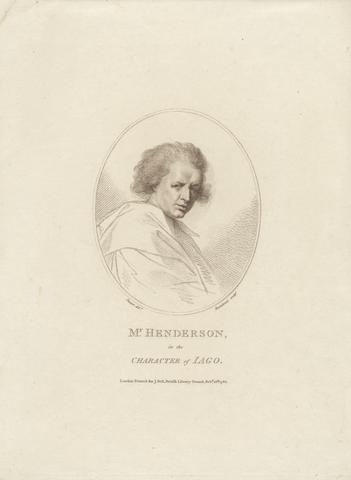
- John Henderson as Iago
- before 1786
42
- Pamela with the Children and Miss Goodwin to whome she is telling her nursery tales. This last Piece leaves her in full possession of the peaceable fruits of her Virtue long after having surmounted all the difficulties it had been exposed to
- 1745
43
- The Marriage Ceremony performed in Mr. B.'s own Chappel by Mr. Williams, Mr. Peters giving her away, Mrs. Jewkes waits behind Pamela and the Maid keeps the door
- 1745

44
- "This is fairy gold, boy, and will prove so"
- 1804
45
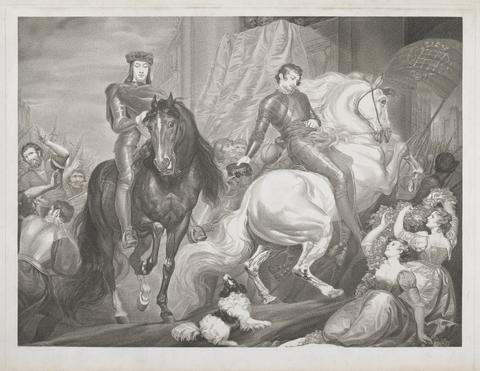
- King Richard the Second, Act V, Scene II (The Entrance of King Richard & Bolingbroke into London)
- 1801
46
- John Henderson as Iago
- 1786
47
- Romeo and Juliet: Act IV, Scene III (A Monument Belonging to the Capulets)
- 1791
48
- Henry VI, Part III: Act I, Scene III, A Field of Battle betwixt Sandal Castle . .
- 1793
49
- King Henry VI, Part I: Act II, Scene V, A Room in the Tower (The Death of Mortimer)
- 1792
50
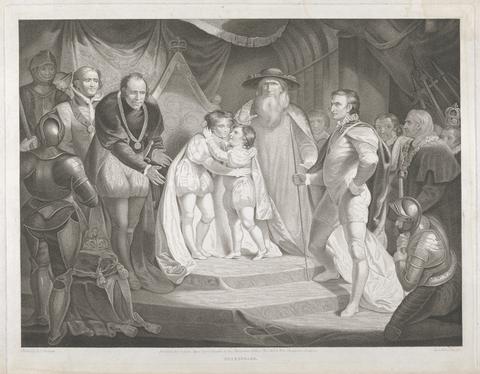
- King Richard III: Act III, Scene I (The Meeting of Edward V and His Brother, Richard, Duke of York)
- 1789
51
- Twelfth Night, Act V, Scene I: The Street
- 1803

52
- Twelfth Night, Act III, Scene IV: Olivia's House
- 1803
53
- Ticket: Anacreontic Society Meeting
- 1773

54
- Pamela having divided her clothes into threee Bundles, in order to leave the House, rejects that containing her Masters presents calling it the wicked bundle, & harangues over her own little Parcel which she huggs in her Arms;..
- 1745
55
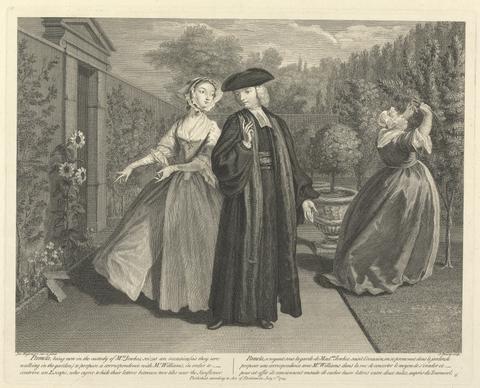
- Pamela, being now in the custody of Mrs. Jenkes, seizes an occasion (as they are walking in the garden) to propose a Correspondence with Mr. Williams in order to contrive an Escape, who agree to hide their letters between two tiles near the Sunflower
- 1745
56
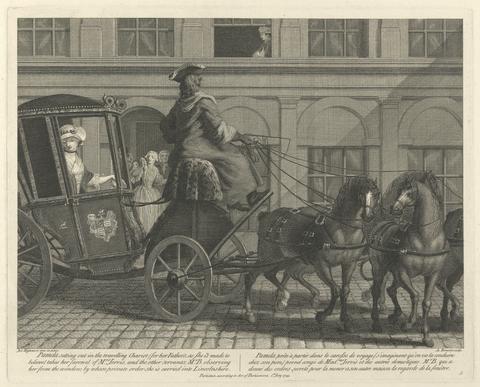
- Pamela setting out in the travelling Chariot (for her Father's as She is made to believe) takes her farewel of Mrs. Jervis, and the other servants; Mr. B. observing her from the window; by whose private order she is carried into Lincolnshire
- 1745
57
- Mrs. W. West as Cordelia
- 1820
58
- In Horne's House
- 1982

59
- How a Great Daily Organ is Turned Out
- 1990