Search Constraints
You searched for:
Genre literary theme
Remove constraint Genre: literary themeSubject Terms literary theme
Remove constraint Subject Terms: literary themeSearch Results
701
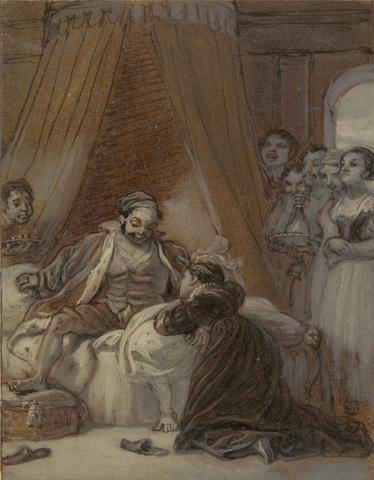
- Christopher Sly and the Page, as His Wife
- 1821
702
- Malvolio abusing Maria, Fabian and Sir Toby
- 1822

703
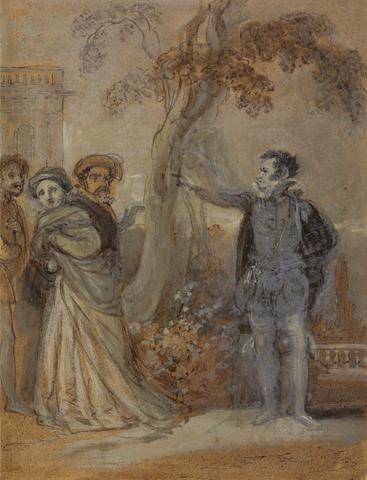
- Viola and Olivia
- 1822
704
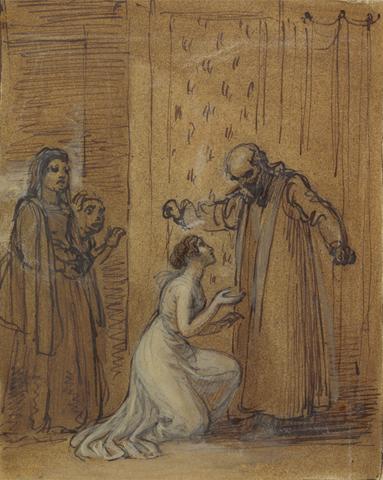
- Feste, as Sir Topas, addressing Malvolio
- 1822
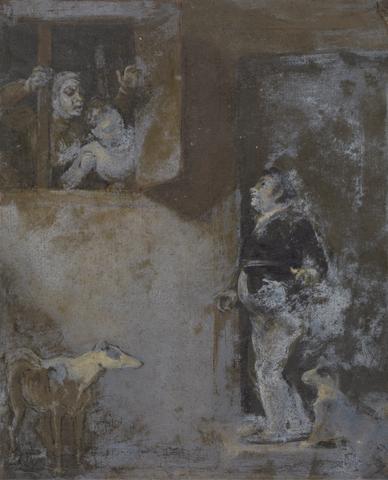
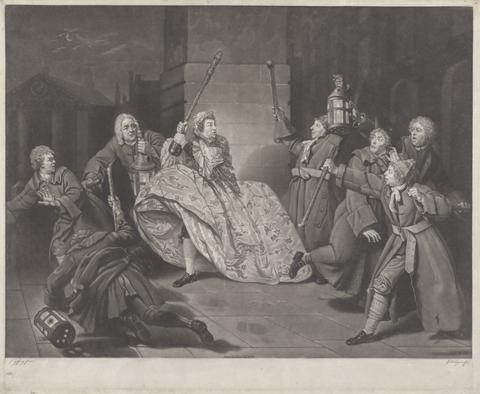
705
- Capulet Railing at his Daughter, Juliet
- 1825
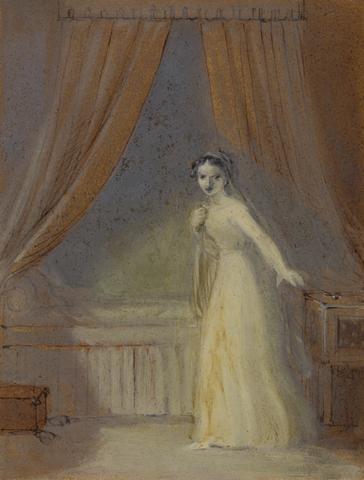
706
- Juliet About to Take her Sleeping Draught
- 1825
707
- Launce with his Dog Crab
- ca. 1821
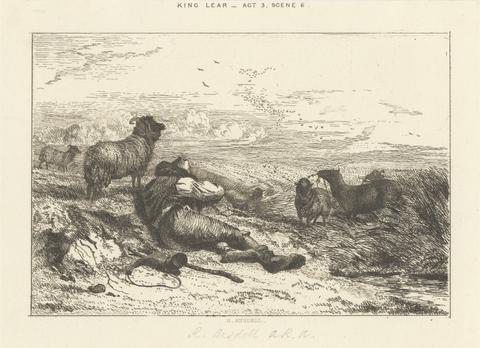
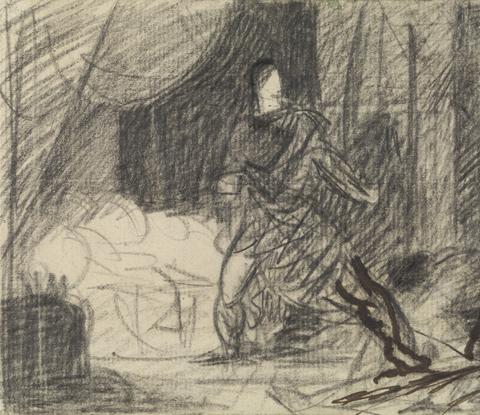
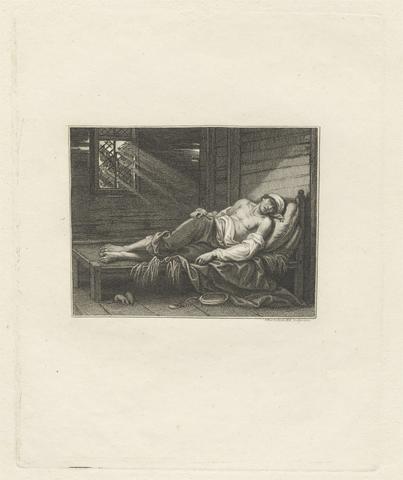
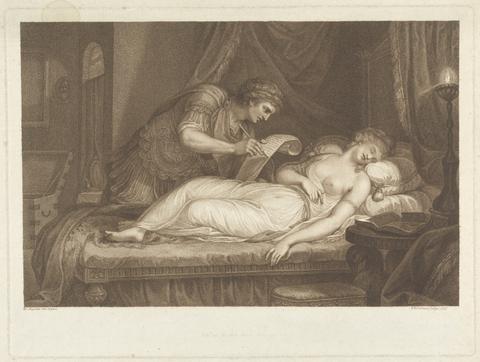
708
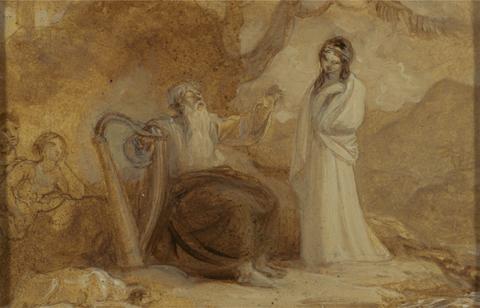
- Sleepest or Wakest Thou?
- ca. 1853
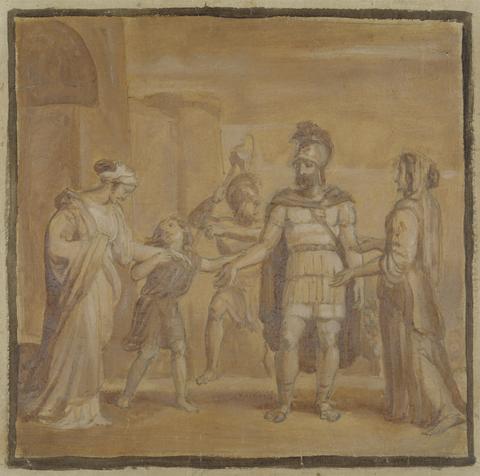
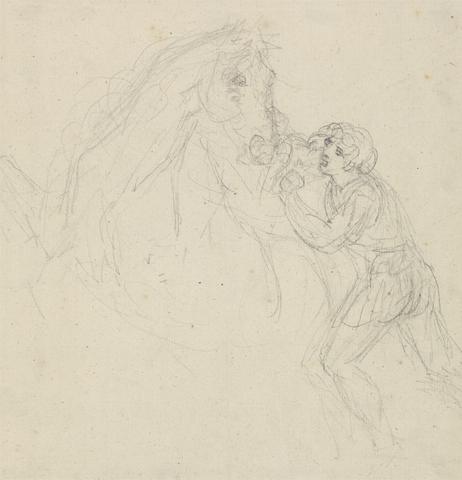
709
- Virgilia and Volumnia Plead with Coriolanus
- ca. 1795

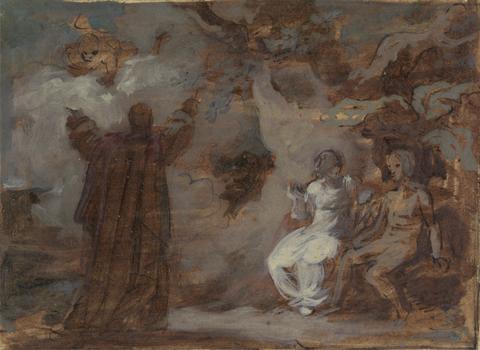
710
- Tempest
- 1821

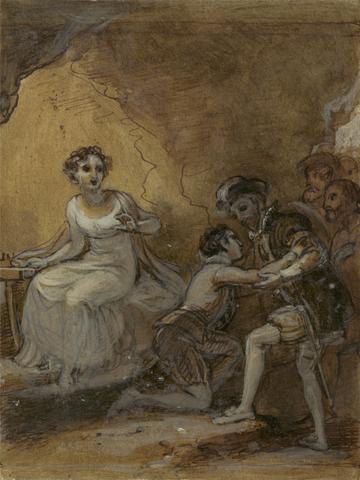
711
- Taming of the Shrew
- 1821

712
- Scene Illustration: Milton's 'L'Allegro'
- between 1860 and 1885
713
- Study for "Gulliver's Travels"
- undated
714
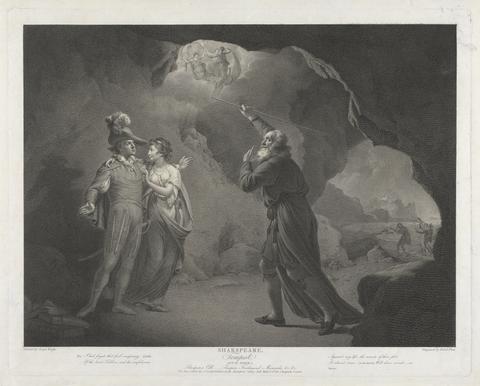
- Prospero Conjuring a Masque for Ferdinand and Miranda
- ca. 1810
715
- Ferdinand Reunited with his Father
- 1821

716
- The Death of Ophelia
- ca. 1810

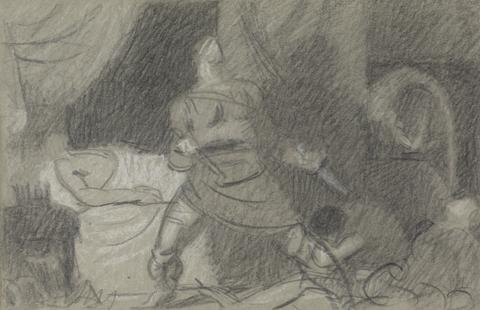
717
- The Murder of Duncan - Macbeth Stabbing Duncan
- between 1809 and 1811
718
- The Murder of Duncan - Macbeth with the Daggers
- between 1809 and 1811
719
- The Murder of Duncan - Macbeth with the Body (and Lady Macbeth Approaching)
- between 1809 and 1811

720
- The Murder of Duncan - Macbeth with the Body (and Lady Macbeth Approaching)
- between 1809 and 1811
721
- Dryburgh Abbey
- 1833
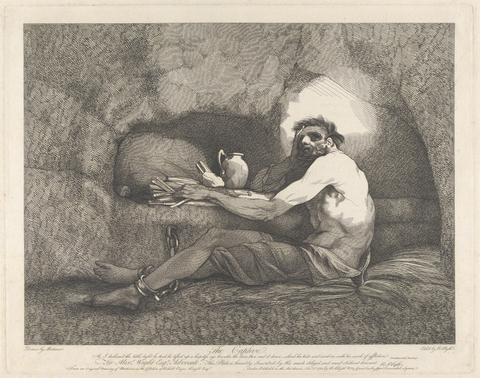
722
- The Captive
- 1781

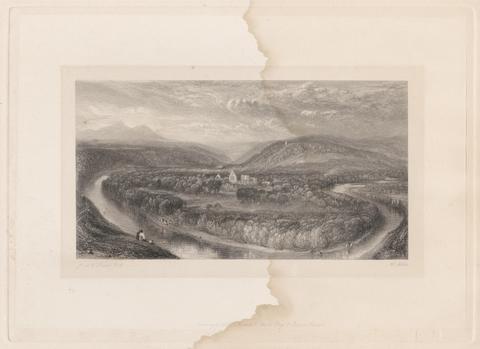
723
- Berwick-on-Tweed
- 1834
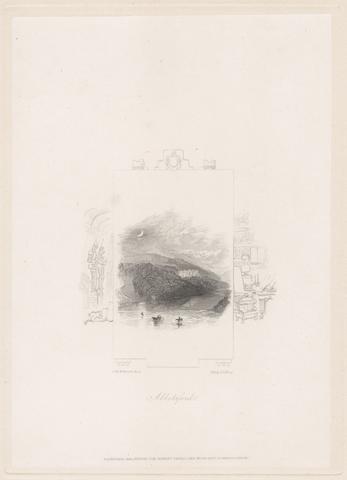
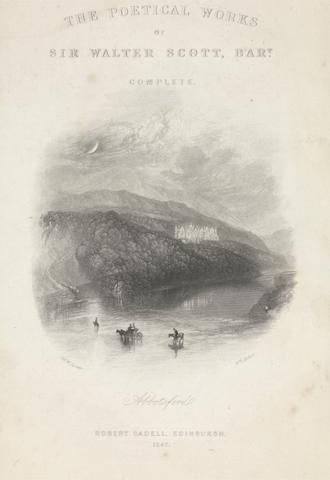
724
- Abbotsford, Vignette Title
- 1834

725
- Abbotsford from the Northern Bank of the Tweed
- 1839
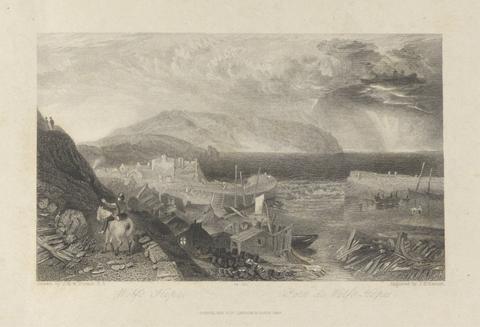
726
- Wolf's Hope
- 1843
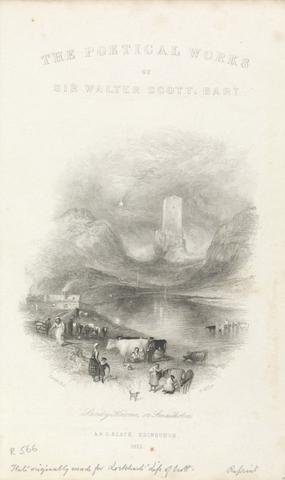
727
- Sandy Knowe, or Smailholm Tower (Vignette)
- 1851
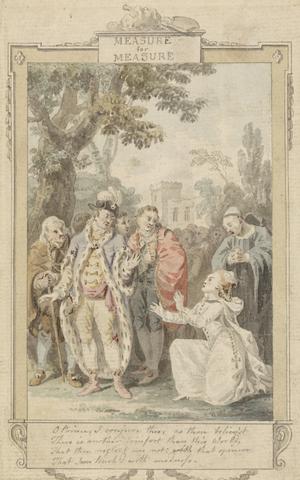
728
- Shakespeare Illustration: "Measure for Measure"
- undated
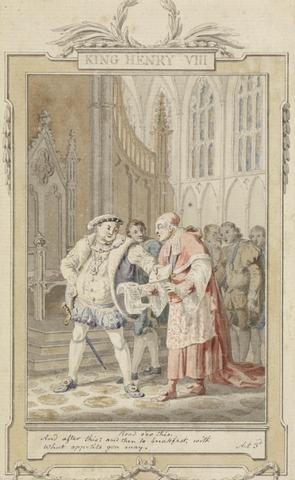
729
- Shakespeare Illustration: "Henry VIII"
- undated
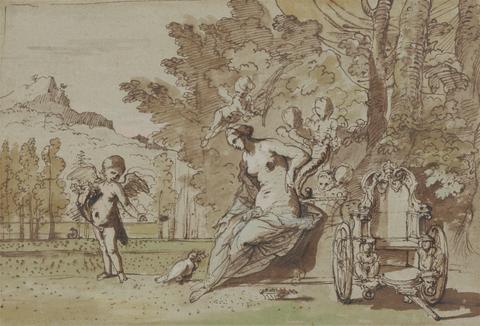
730
- Venus and Cupid
- undated
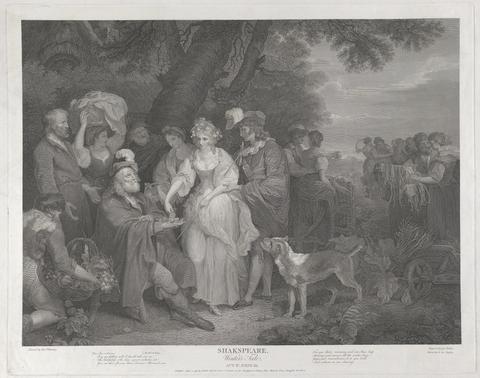
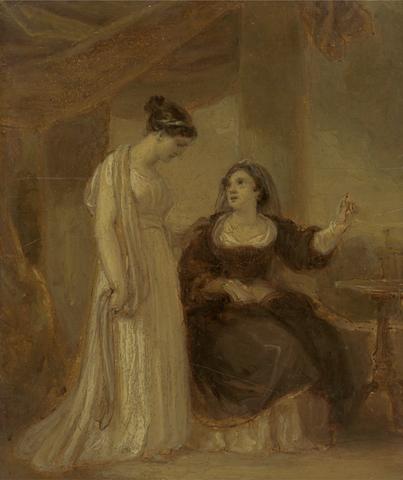
731
- The Winter's Tale, Act IV, Scene III
- 1792
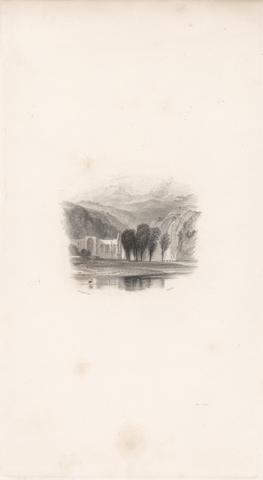
732
- Bolton Abbey
- 1834

733
- The Tempest, Act V, Scene I
- 1795

734
- David Garrick in the Character of 'Kitely'
- 1769
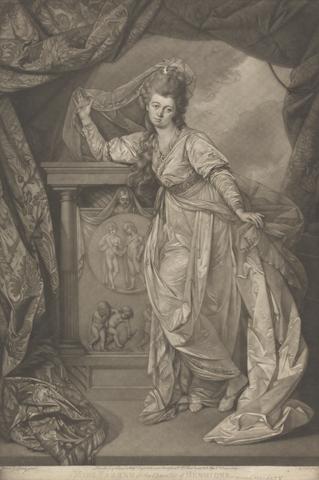
735
- Miss Farren in the Character of Hermione
- 1781
736
- And Ah! Let Pity Turn Her Dewy Eyes..
- 1801
737
- Imogen's Bedchamber in Cymbeline's Palace, 'Cymbeline,' Act II, Scene II
- 1786

738
- Dido and Aeneas
- 1787
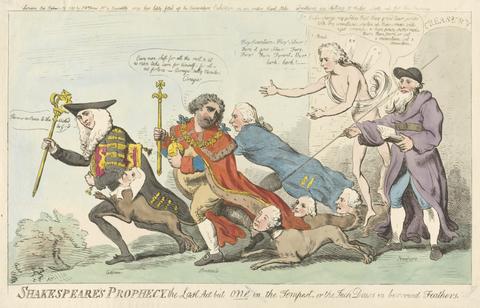
739
- Shakespeare's Prophecy, the Last Act by One in the Tempest, or the Jack Daws in Borrowed Feathers (from: Caricature, vol. 3)
- 1795
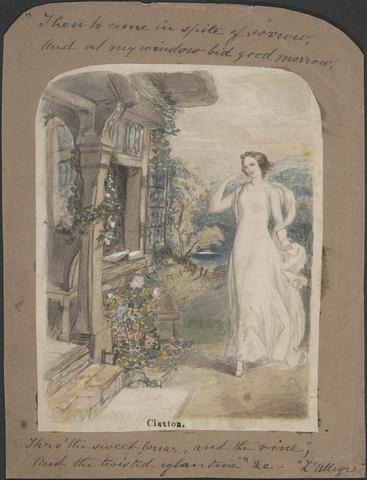
740
- L'Allegro
- undated
741
- Shakespeare's Tempest Act IV Scene I. Prospero's Cell
- 1800
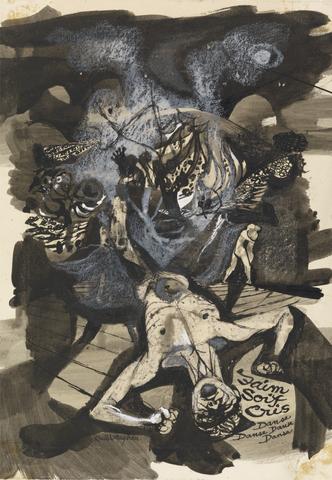
742
- Faim, Soif, Cris, Danse, Danse, Danse
- 1949
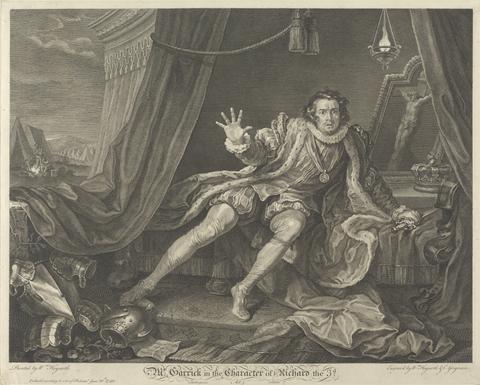
743
- Mr. Garrick in the Charakter (sic) of Richard the 3D
- 1746
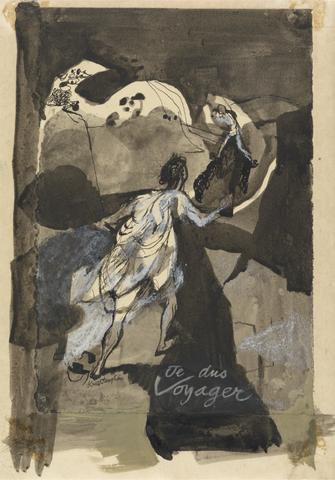
744
- Je Dus Voyager
- 1949
745
- David Garrick as Sir John Brute in Act IV, the Drunken Scene, in Vanburgh's 'The Provok'd Wife'
- 1768
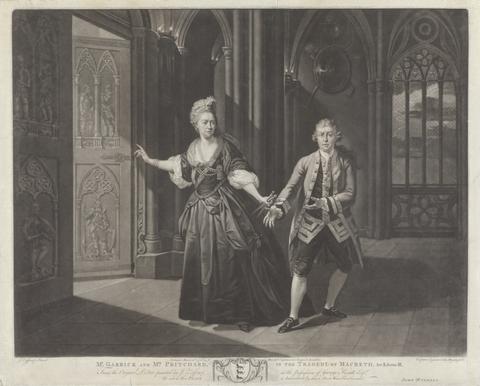
746
- Mr. Garrick and Mrs. Pritchard, in the Tragedy of 'Macbeth.' Act II. Scene III
- 1776
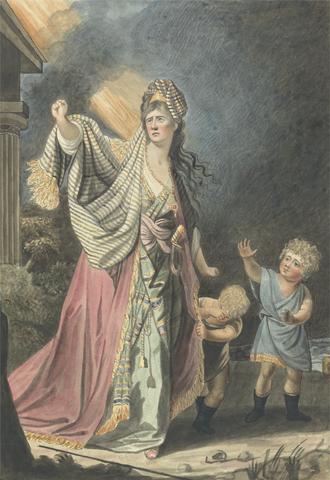
747
- Mrs. Yates in the Character of Medea
- after 1771

748
- The Reconciliation of the Montagues and the Capulets
- 1854
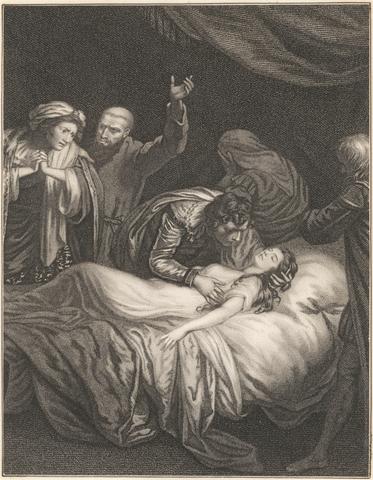
749
- The Death of Juliet
- unknown
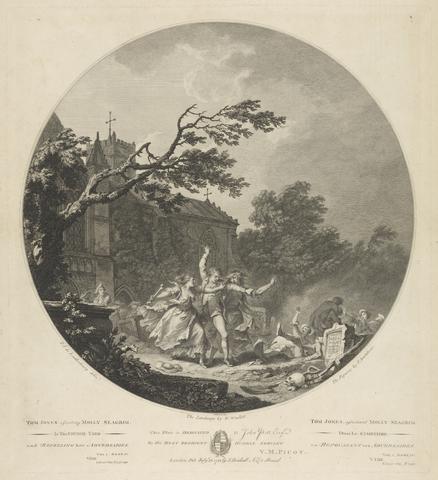
750
- Tom Jones Assisting Molly Seagrim
- 1782
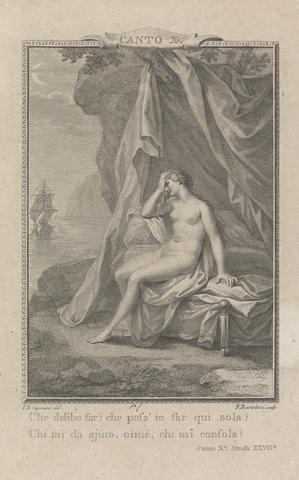
751
- Illustration from Orlando Furioso: "Che deb'bo sar? che poss'io sar qui sola? / che mi da ajuto, oime, che mi consola?"
- 1773
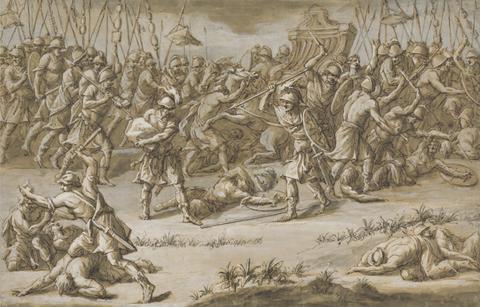
752
- Illustration to the Iliad
- between 1760 and 1769
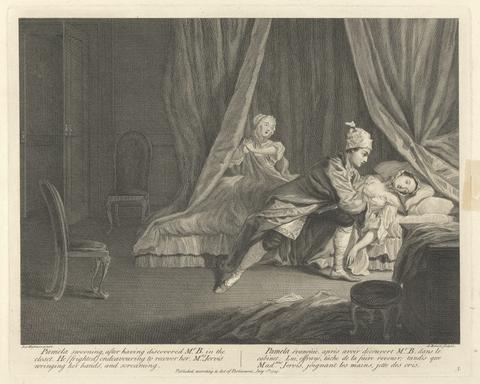
753
- Pamela Swooning, after having discovered Mr. B. in the closet, He (frighted) endeavouring to recover her, Mrs. Jervis wringing her hands, and screaming
- 1745
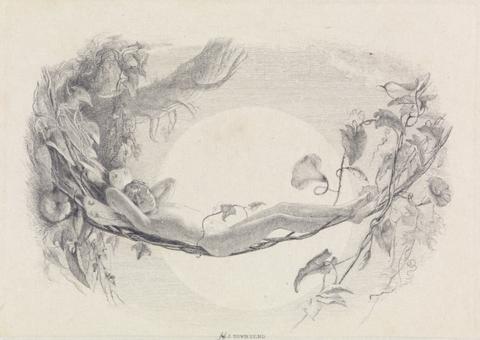
754
- Where the Bee Sucks. The Tempest, Act V, Scene I, Ariel on a Hammock of Convolvulus
- 1853
755
- Abbotsford, Large Vignette
- 1841

756
- A Plate from Orlando Furioso: Depicting Orlando and Rodomont Fighting
- 1773
757
- Pirate's Isle
- 1826
758
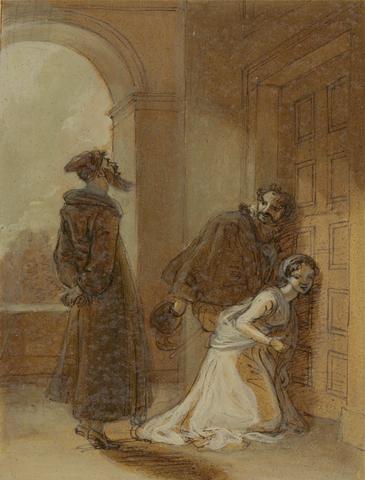
- Olivia and Maria
- 1822
759
- Illustration for Shakespeare's " A Winter's Tale" or '"Cymbeline"
- undated
760
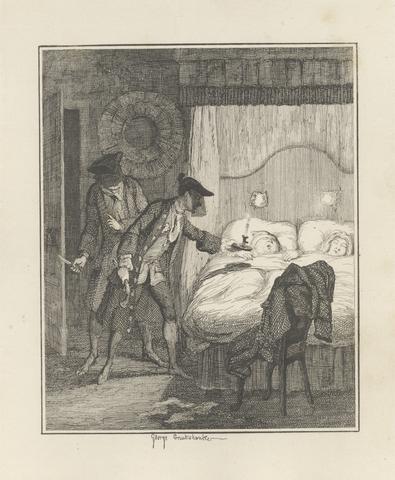
- "May I be Cursed," muttered Jack Sheppard, "if ever I try to be honest again!"
- 1839

761
- Twelfth Night, Act III, Scene IV: Olivia's House
- 1803
762
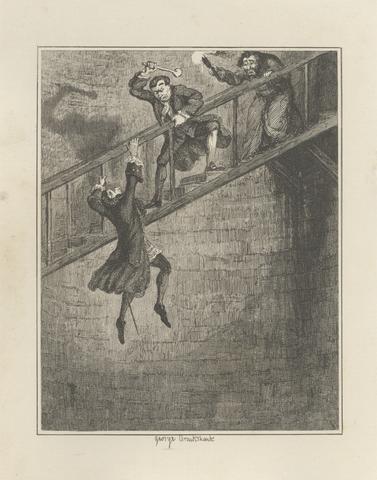
- Jonathan Wild Throwing Sir Rowland Trenchard Down the Well-Hole
- 1839
763
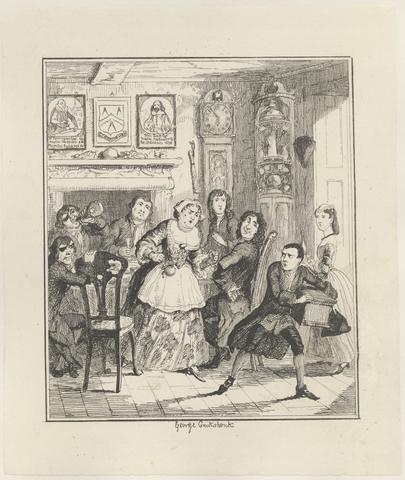
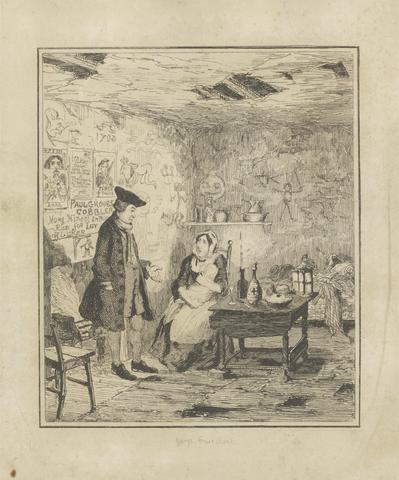
- Jack Sheppard and Blueskin in Mr. Woods Bedroom
- 1839
764
- Mr. Wood Offers to Adopt Little Jack Sheppard
- 1835
765
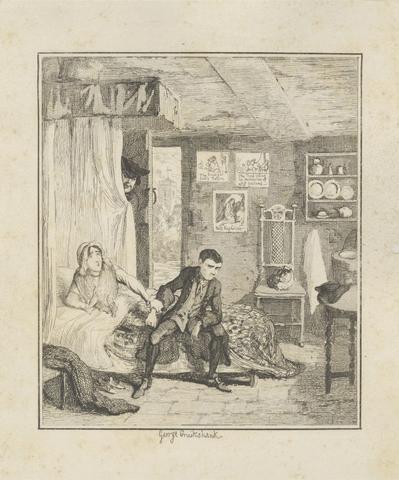
- Mrs. Sheppard Expostulating with her Son
- 1839
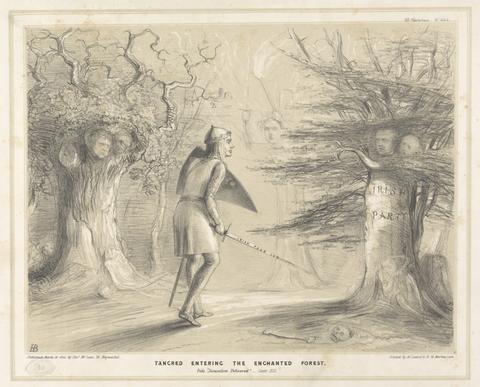
766
- Tancred Entering the Enchanted Forest, Vide "Jerusalem Delivered"--Canto XIII
- 1847
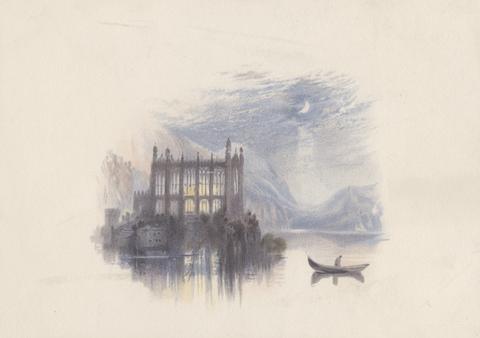
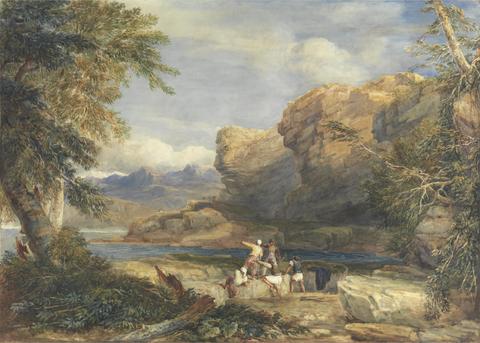
767
- St. Herbert's Chapel
- 1884

768
- A Scene From the Farce of "The Critic," a Little Altered
- 1848
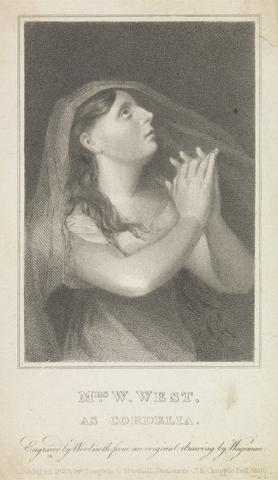
769
- Mrs. W. West as Cordelia
- 1820
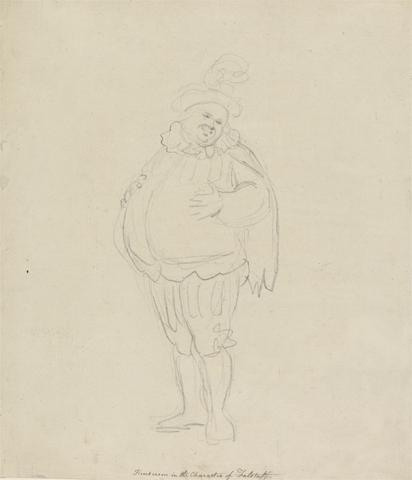
770
- Henderson in the Character of Falstaff
- undated
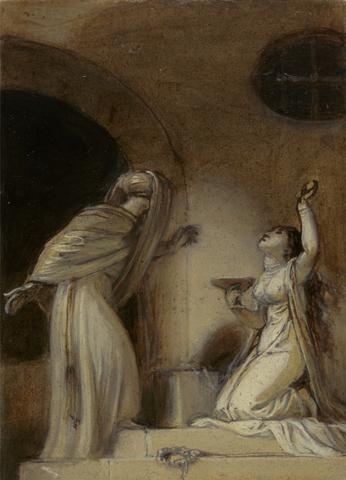
771
- Illustration for an Eastern Romance, possibly "The Arabian Nights", with Kneeling Female Figure at Right)
- undated
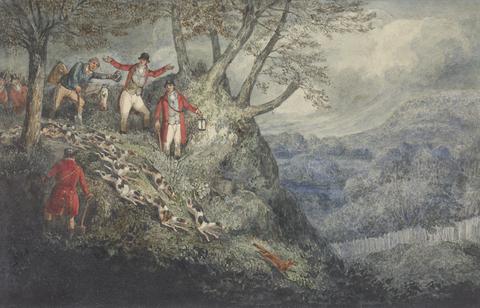
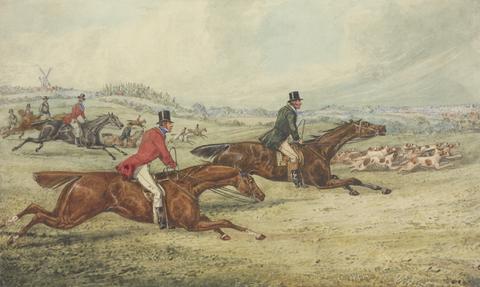
772
- An Illustration of C.J. Apperley ('Nimrod'), "The Life of a Sportsman": 'A Night Scene with Sir Thomas Mostyn'
- 1842
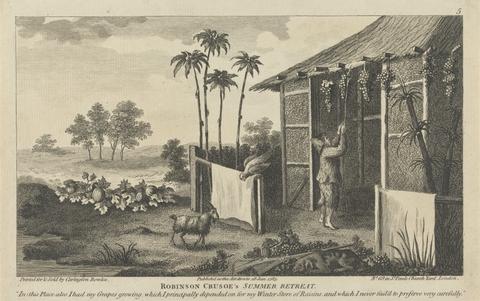
773
- Twelve Illustrations of Robinson Crusoe
- 1783
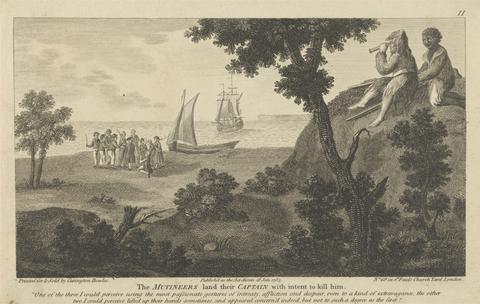
774
- Twelve Illustrations of Robinson Crusoe
- 1783
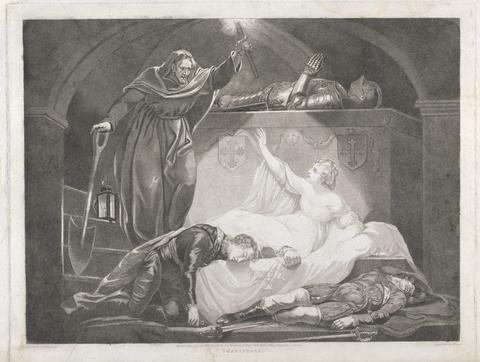
775
- Romeo and Juliet: Act IV, Scene III (A Monument Belonging to the Capulets)
- 1791
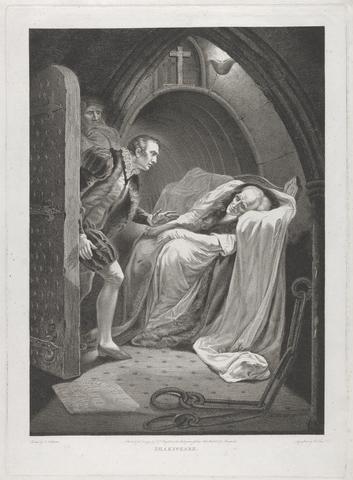
776
- King Henry VI, Part I: Act II, Scene V, A Room in the Tower (The Death of Mortimer)
- 1792
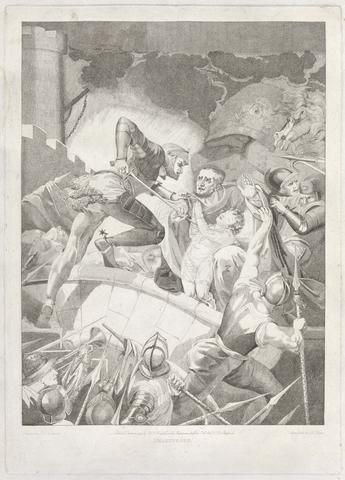
777
- Henry VI, Part III: Act I, Scene III, A Field of Battle betwixt Sandal Castle . .
- 1793
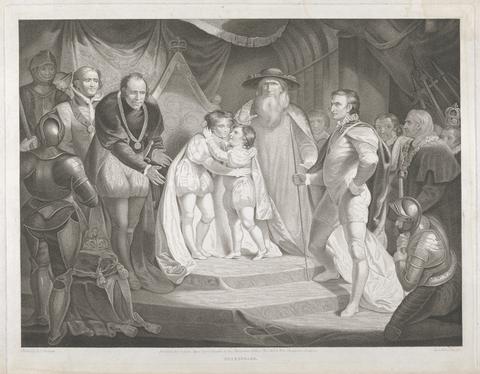
778
- King Richard III: Act III, Scene I (The Meeting of Edward V and His Brother, Richard, Duke of York)
- 1789
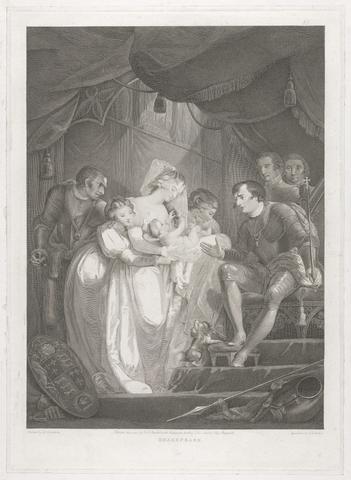
779
- King Henry VI, Part III: Act V, Scene VII (Queen Bess Presenting King Edward . . . with Their Infant Son)
- 1791
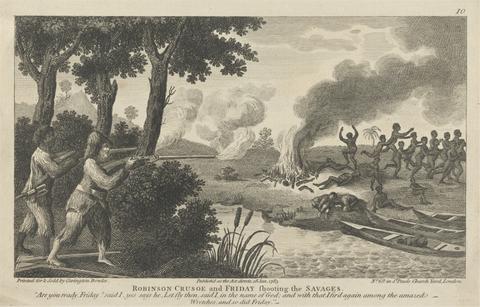
780
- Twelve Illustrations of Robinson Crusoe
- 1783
781
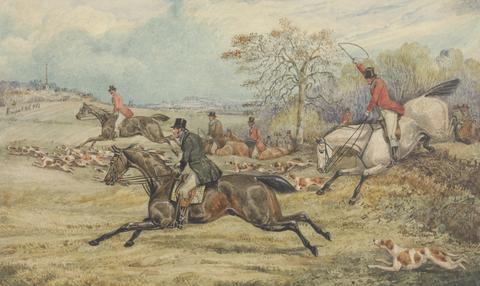
- Illustration for R.S. Surtees', "The Analysis of the Hunting Field": Getting Away: 'Let's Take the Lead'
- undated
782
- Illustration for R.S. Surtees', "The Analysis of the Hunting Field": The Check: 'What the Devil Do You Do Here..'
- undated
783
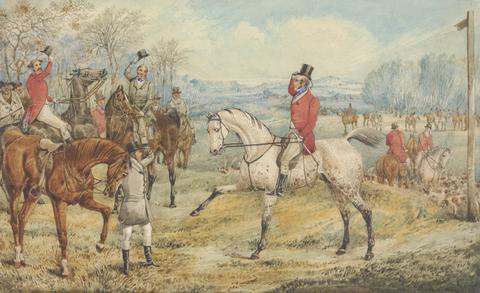
- Illustration for R.S. Surtees', "The Analysis of the Hunting Field": The Meet: 'With Bright Faces and Merry Hearts'
- undated
784
- Jonathan Wild Seizing Jack Sheppard at his Mother's Grave in Willesden Church Yard
- 1839
785
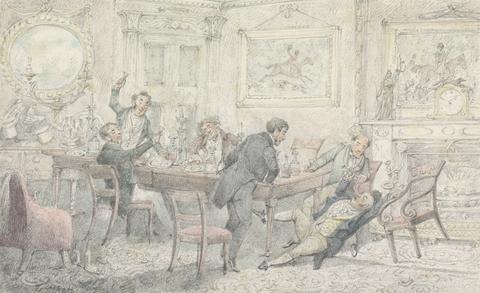
- Illustration to R.S. Surtees', "Jorrocks's Jaunts and Jollities": 'Lift me Up! Tie me in my Chair! Fill my Glass'
- undated
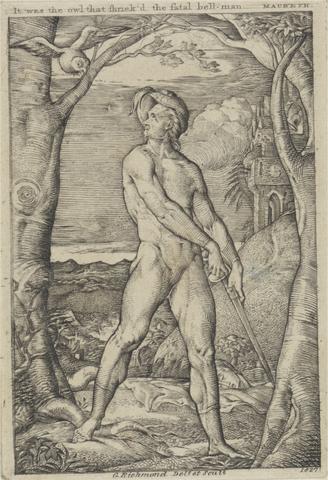
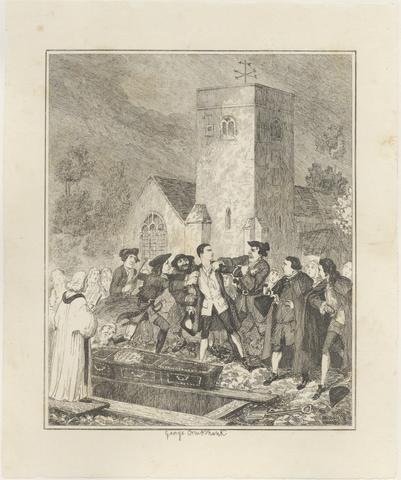
786
- The Fatal Bellman
- 1827
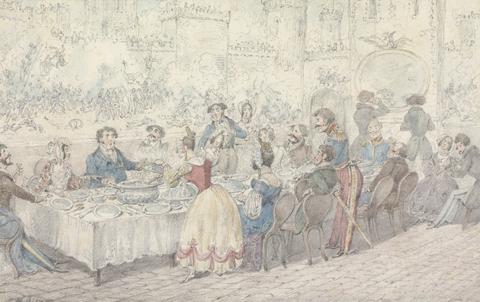
787
- Illustration to R.S. Surtees', "Jorrocks's Jaunts and Jollities": "Water, I do Declare with Worms in it"
- undated
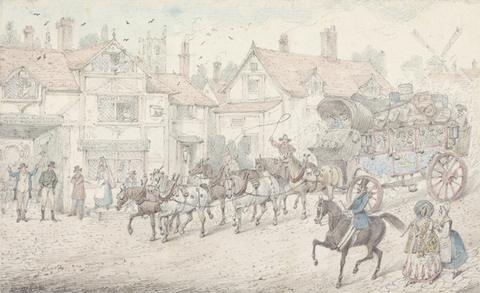
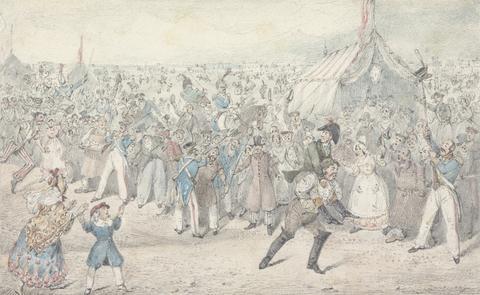
788
- Illustration to R.S. Surtees', "Jorrocks's Jaunts and Jollities": 'Mr. Jorrocks's Surprize on Seeing the Paris Diligence, "My Vig, Here's Wombwell's Wildbeast show" '
- undated
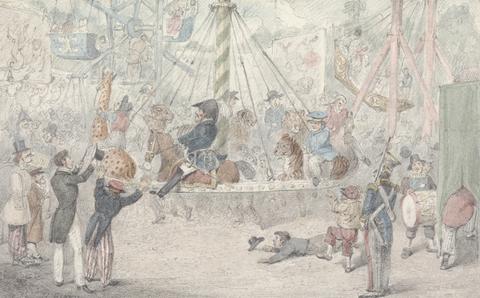
789
- Illustration to R.S. Surtees', "Jorrocks's Jaunts and Jollities": 'Mr. Jorrocks Takes a Ride at St. Cloud'
- undated
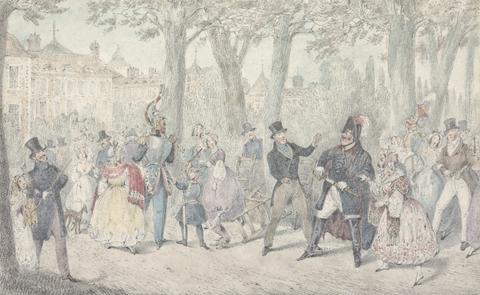
790
- Illustration to R.S. Surtees', "Jorrocks's Jaunts and Jollities:" 'Mr. Jorrocks Renounces the Acquaintance of the Yorkshireman'
- undated
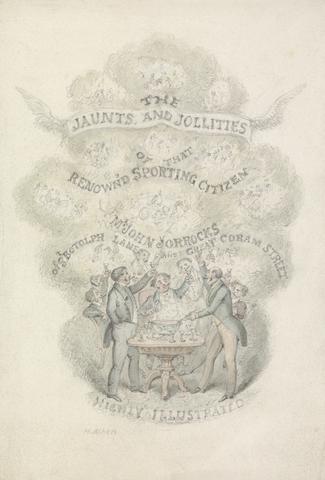
791
- Illustration to R.S. Surtees', "Jorrocks's Jaunts and Jollities": Title page
- undated
792
- Illustration to R.S. Surtees', "Jorrocks's Jaunts and Jollities": 'Mr. Jorrocks Beats the Baron for Speed'
- undated
793
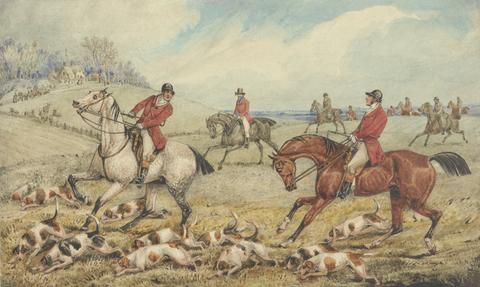
- Illustration for R.S. Surtees', "The Analysis of the Hunting Field:" Full Cry: 'Let's Keep the Lead'
- undated
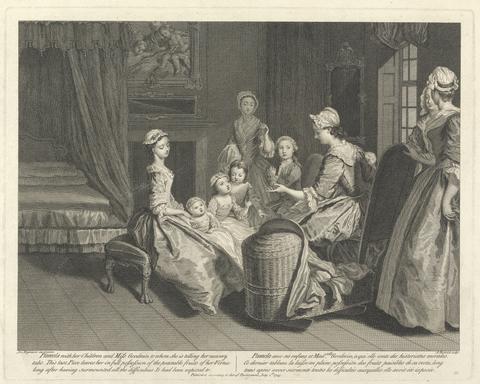
794
- Pamela with the Children and Miss Goodwin to whome she is telling her nursery tales. This last Piece leaves her in full possession of the peaceable fruits of her Virtue long after having surmounted all the difficulties it had been exposed to
- 1745
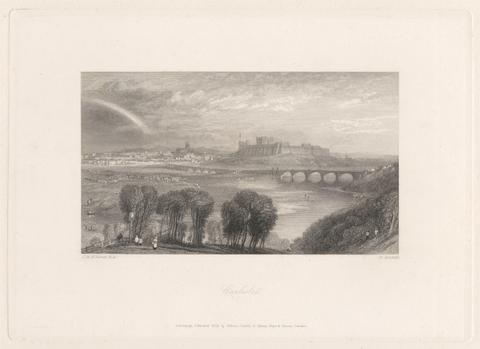
795
- Carlisle
- 1834
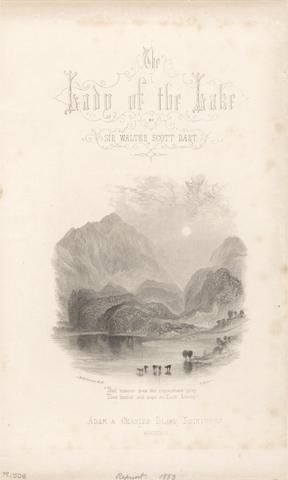
796
- Loch Achray (Vignette)
- 1853 reprint
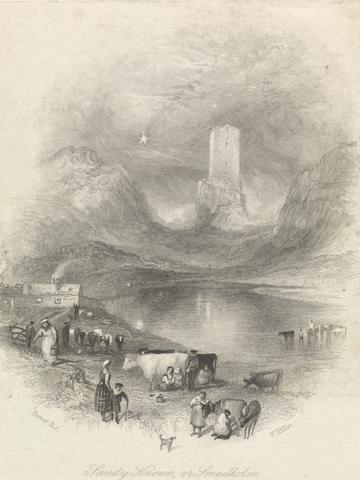
797
- Sandy Knowe, or Smailholm Tower (Vignette)
- 1839
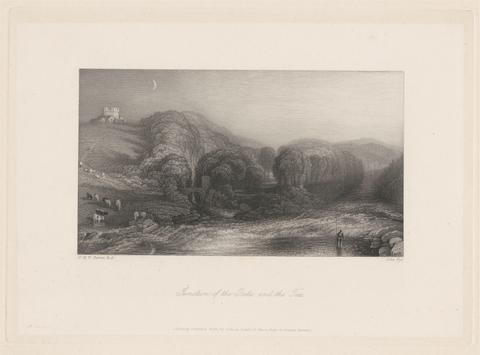
798
- Junction of the Greta and the Tees
- 1834
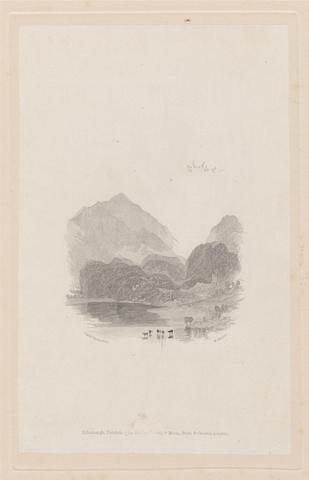
799
- Loch Achray
- 1834
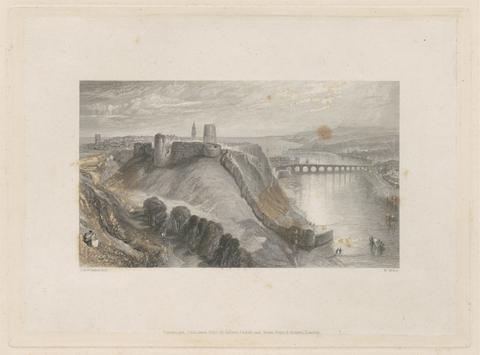
800
- Berwick-on-Tweed
- 1834