Search Constraints
You searched for:
Materials & Techniques wove paper
Remove constraint Materials & Techniques: wove paperCollection Prints and Drawings
Remove constraint Collection: Prints and DrawingsSearch Results
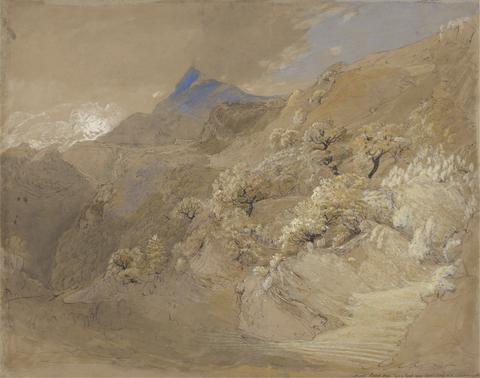
101
- Mount Siabod from Tyn-y-Coed near Capel Curig
- undated
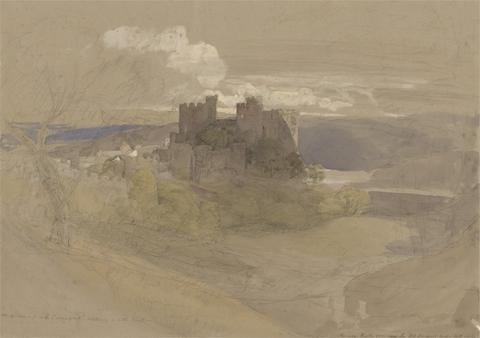
102
- Conway Castle
- 1836
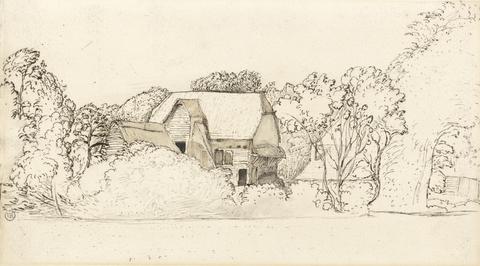
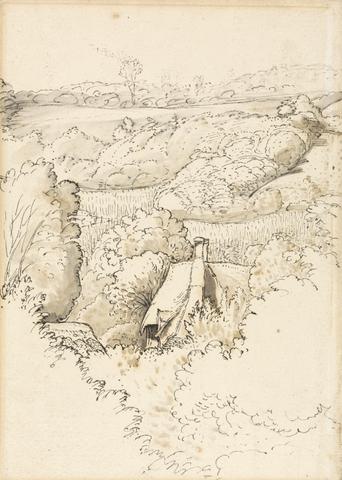
103
- An Ancient Barn at Shoreham
- undated
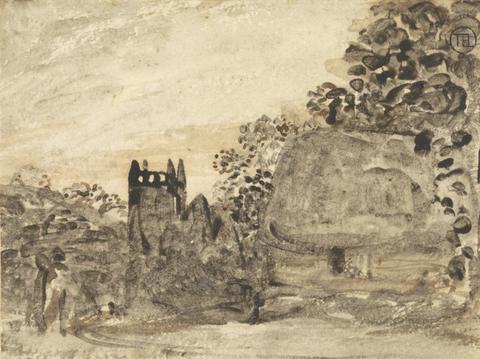
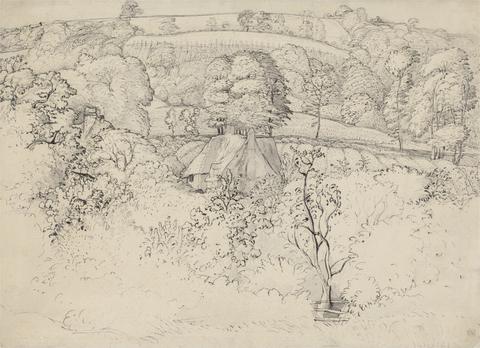
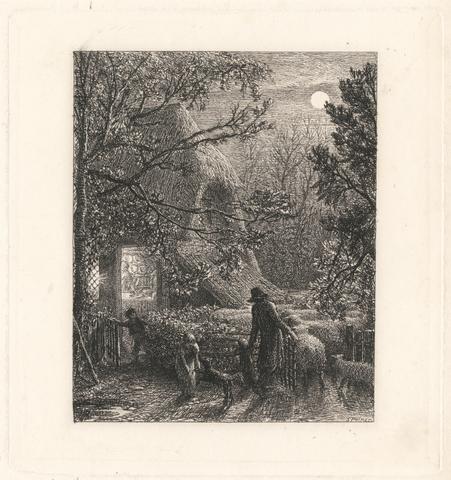
104
- Thatched Cottage and Church
- undated

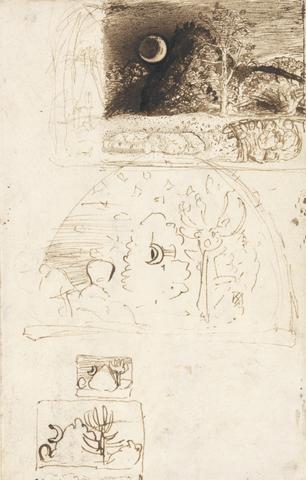
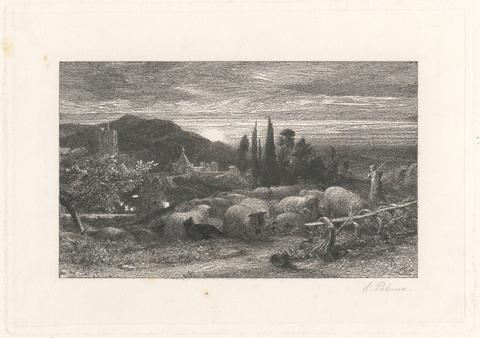
105
- A Page from a Cornish Sketchbook: Cornwall 32
- undated
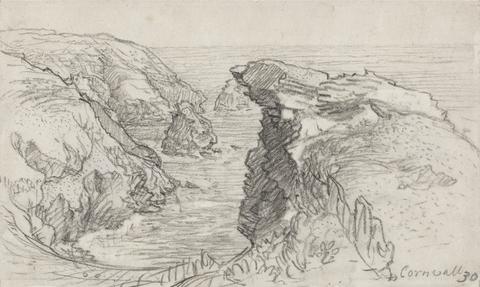
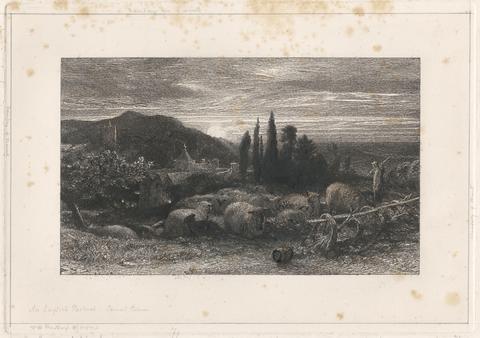
106
- A Page from a Cornish Sketchbook: Cornwall 30
- undated
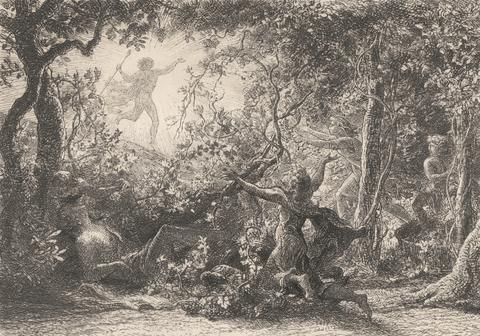
107
- A Pastoral Scene
- 1835
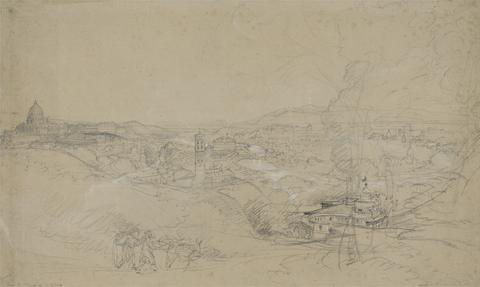
108
- Rome from San Spirito
- undated
109
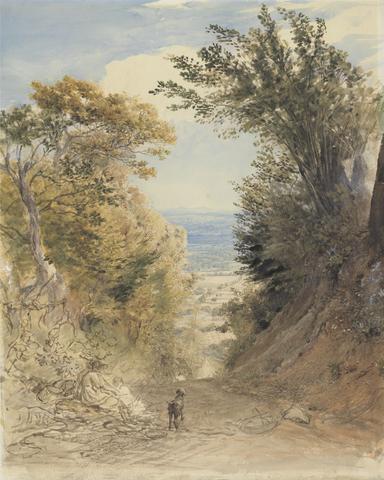
- Wilmot's Hill, Kent
- ca. 1851
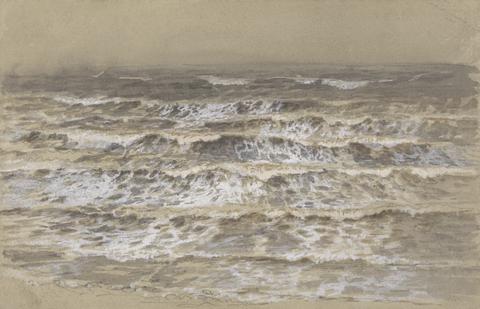
110
- Study of Waves
- undated
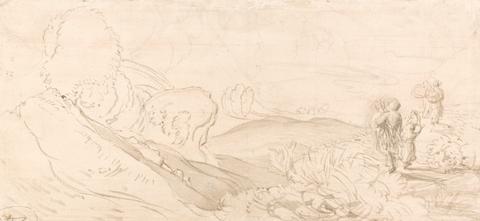
111
- Landscape Sketch
- undated

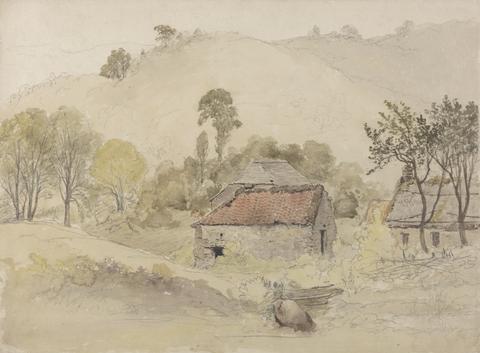
112
- A Cow Lodge with a Mossy Roof
- ca. 1829
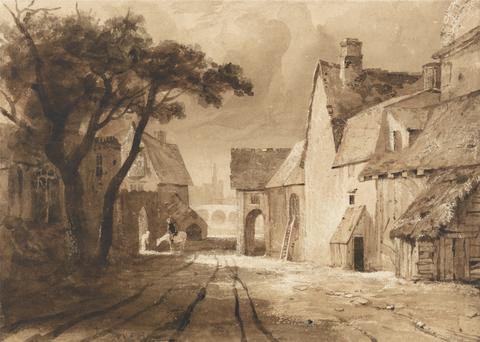
113
- Study of Old Buildings
- undated
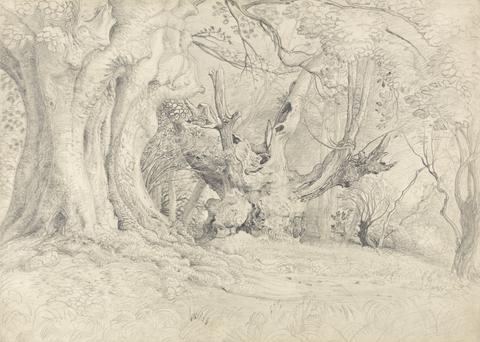
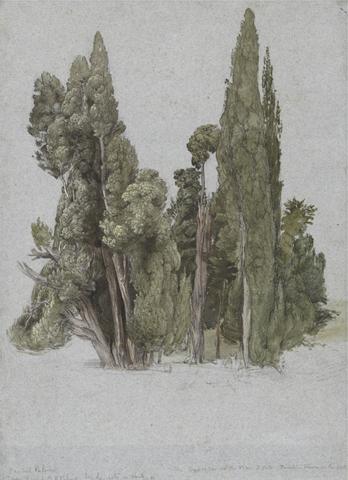
114
- Ancient Trees, Lullingstone Park
- 1828
115
- Ivy Cottage, Shoreham
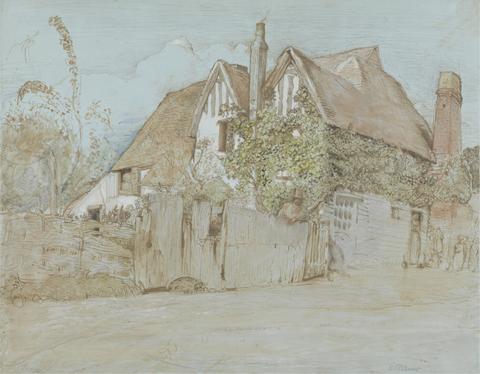
- undated
116
- Boxhill
- 1868
117
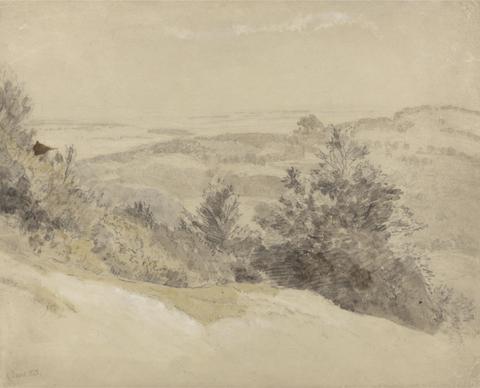
- View from Rook's Hill, Kent
- 1843
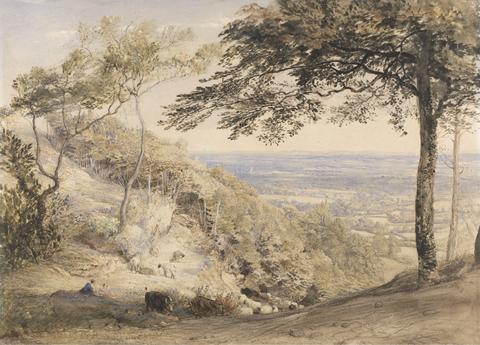
118
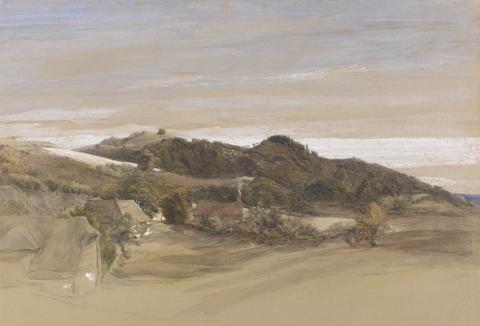
- Underriver Hills, near Sevenoaks, Kent, from the Grounds of J. Herries, Esq
- ca. 1840
119
- A Cottage among Trees, Shoreham
- undated
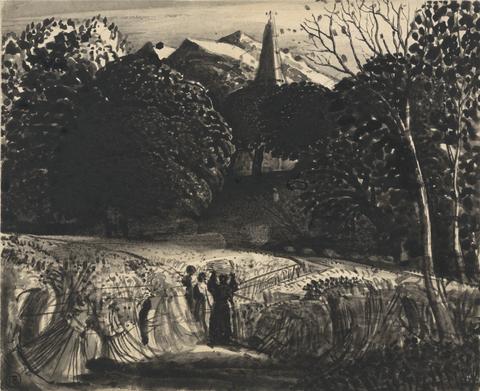
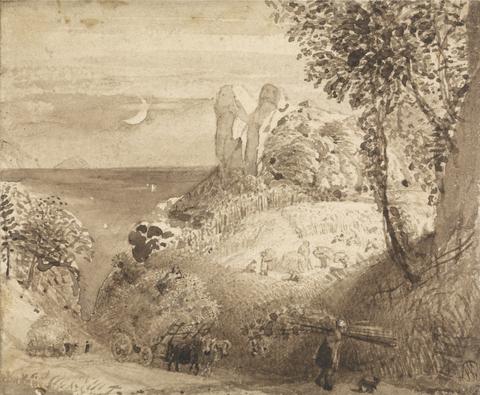
120
- Cornfield and Church by Moonlight
- early 1830s
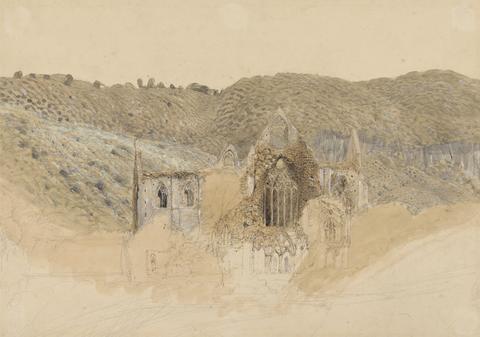
121
- Tintern Abbey
- 1835
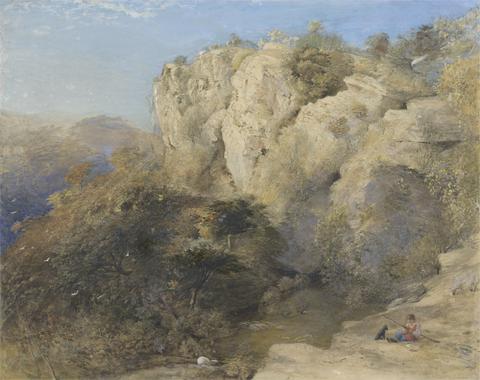
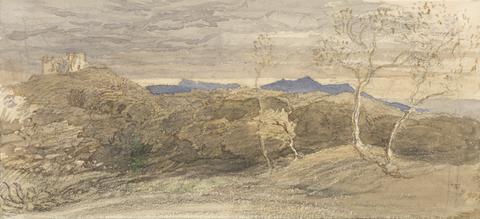
122
- Rocky Landscape in Wales
- 1835 or 1836

123
- Cornfields with Barn, Shoreham
- ca. 1829
124
- The Cypresses at the Villa d'Este, Tivoli
- 1838
125
- A Moonlit Scene with a Winding River
- ca. 1827
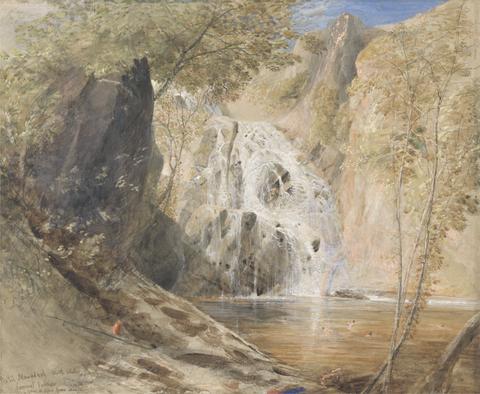
126
- Pistil Mawddach, North Wales
- between 1835 and 1836

127
- Study of a Pilgrim
- undated
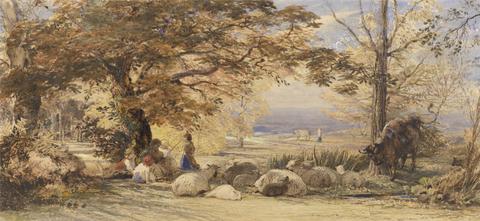
128
- Rustic Contentment
- undated
129
- Scene in Wales
- undated

130
- At Hailsham, Sussex: a Storm Approaching
- 1821
131
- The Primitive Cottage, Shoreham
- undated
132
- The Crescent Moon
- undated
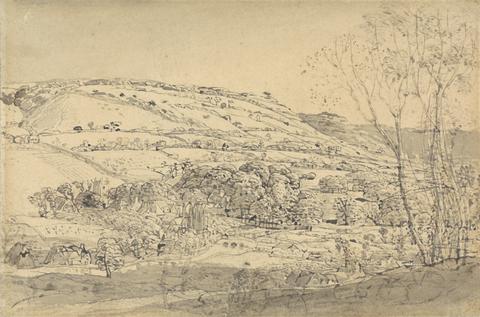
133
- Shoreham, Kent
- between 1831 and 1832

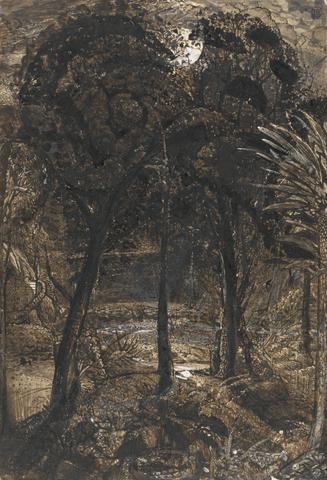
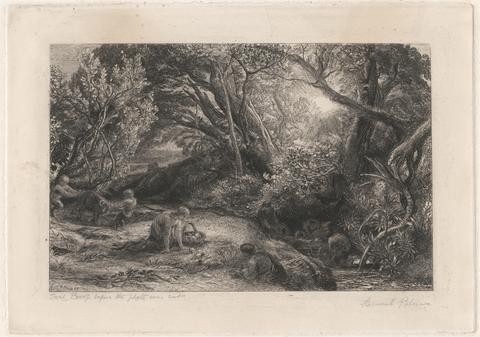
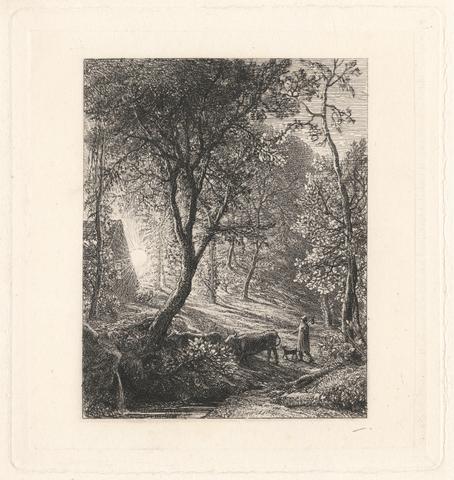
134
- The Valley of Vision
- undated

135
- The Valley of Dolwyddelan
- undated
136
- Llwyngwynedd and Part of Llyn-y-ddina Between Capel Curig and Beddegelert, North Wales
- 1835 or 1836
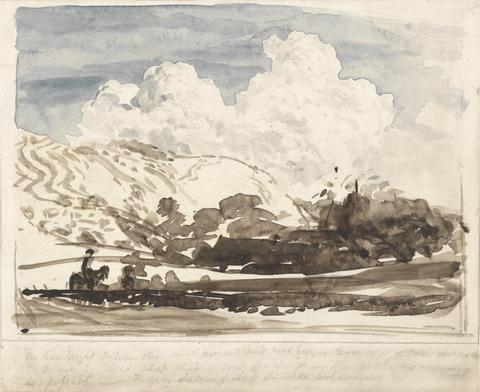
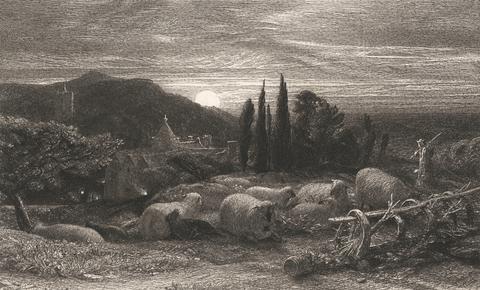
137
- The Bright Cloud
- undated
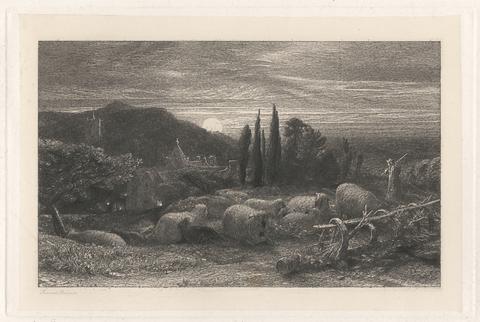
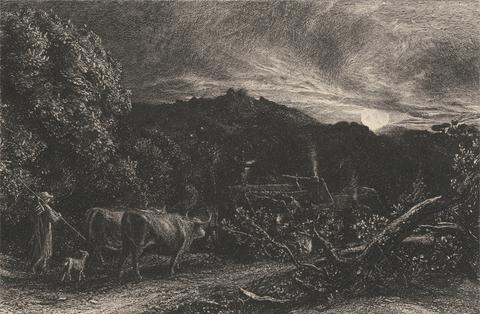
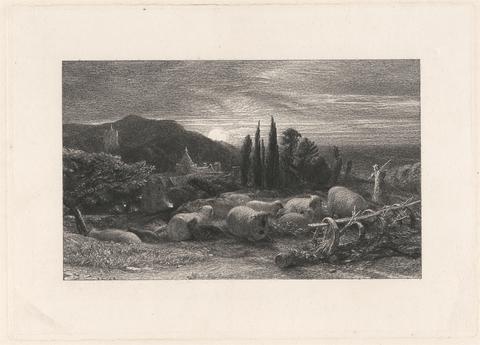
138
- The Rising Moon
- 1857
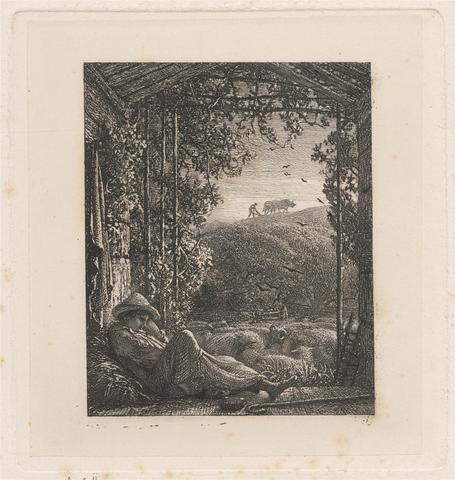
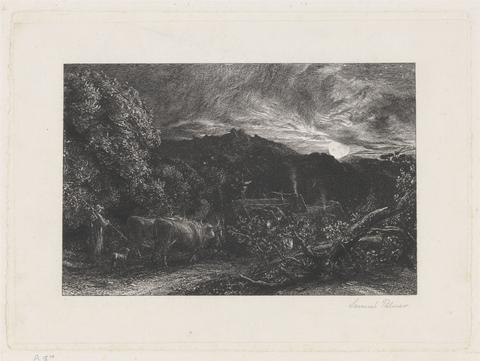
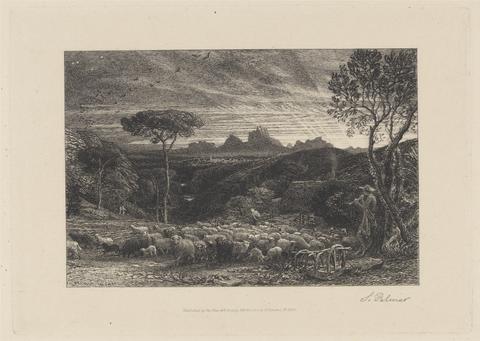
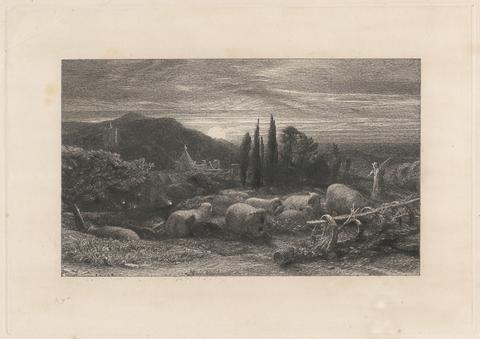
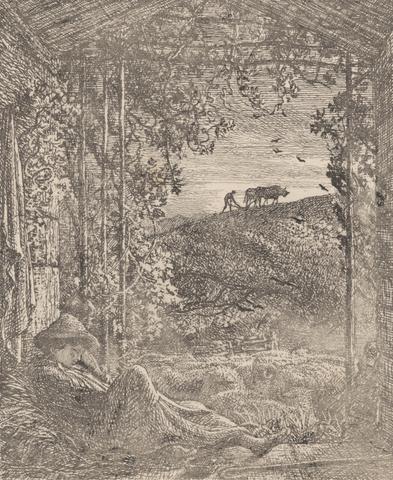
139
- The Sleeping Shepherd
- 1857
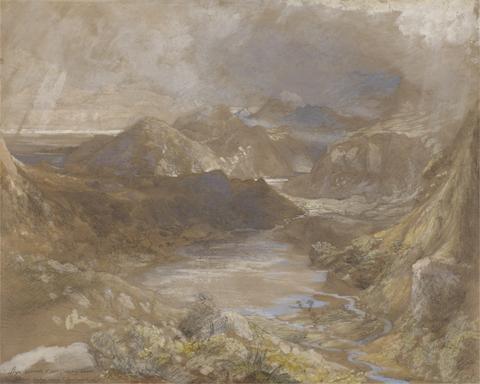
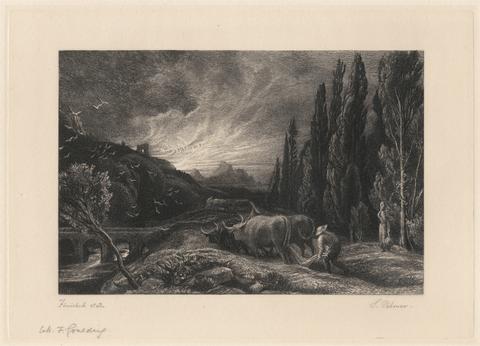
140
- The Weary Ploughman
- 1858
141
- The Weary Ploughman
- 1858
142
- The Rising Moon
- 1857
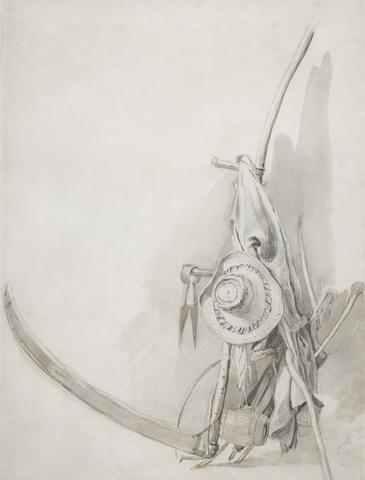
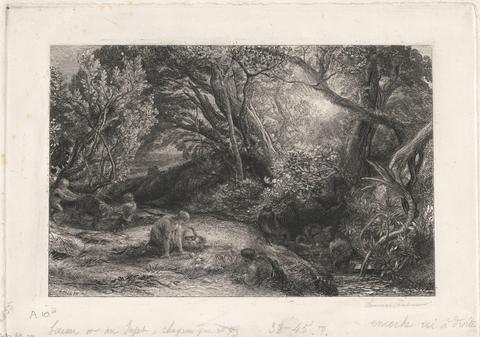
143
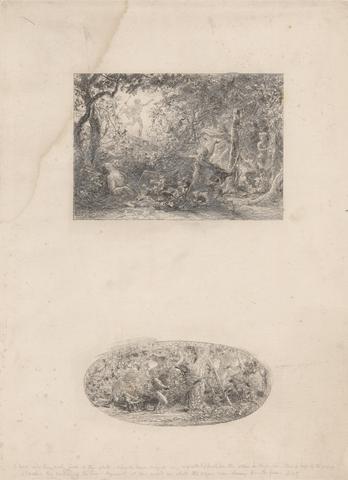
- Study for "The Shearers"
- between 1833 and 1834
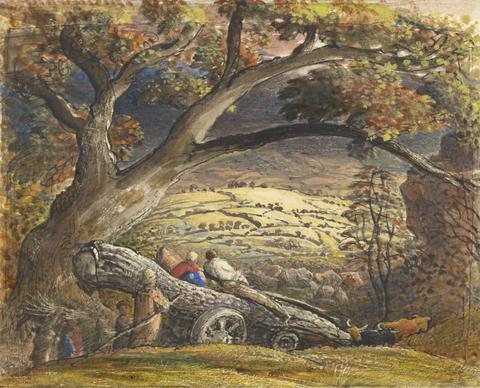
144
- The Timber Wain
- between 1833 and 1834
145
- The Barns
- undated
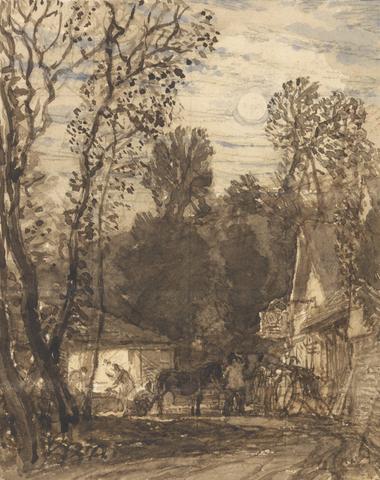
146
- The Wayside Smithy
- undated
147
- The Bellman
- 1879
148
- Christmas
- 1850
149
- The Rising Moon
- 1857
150
- The Rising Moon
- 1857
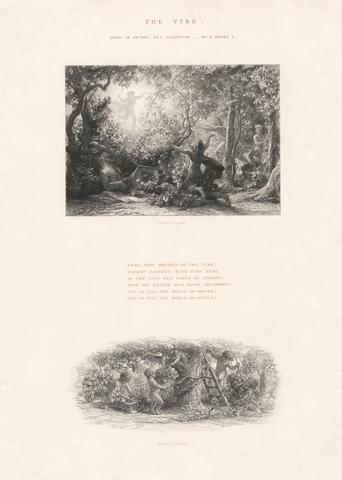
151
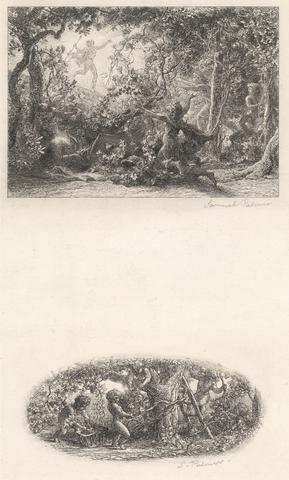
- The Vine
- 1852
152
- Opening the Fold
- 1880
153
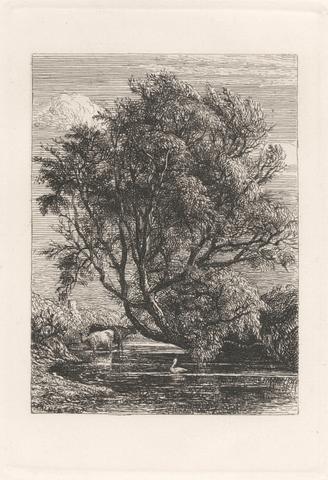
- The Willow
- 1850
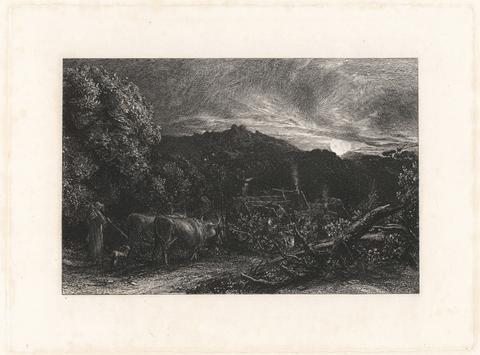
154
- The Early Ploughman
- begun before 1861
155
- The Rising Moon
- 1857
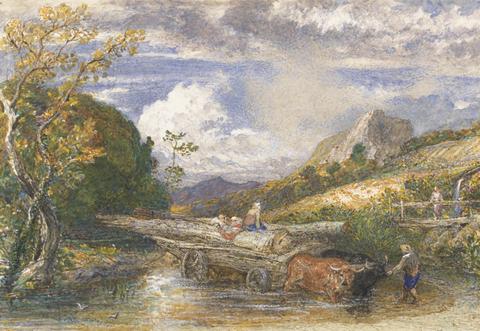
156
- Timber Wagon Crossing a Stream
- undated
157
- The Vine
- 1852
158
- The Weary Ploughman
- 1858
159
- The Morning of Life
- 1860-1861
160
- The Vine
- 1852
161
- The Rising Moon
- 1857
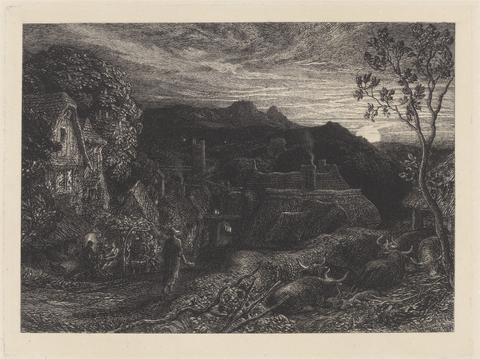
162
- The Herdsman's Cottage
- 1850
163
- The Morning of Life
- 1860-1861
164
- The Sleeping Shepherd
- 1857
165
- The Vine
- 1852
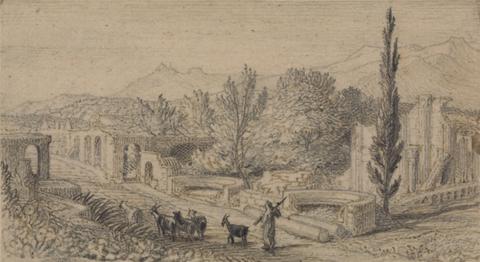
166
- Streets of the Tombs, Pompeii
- undated
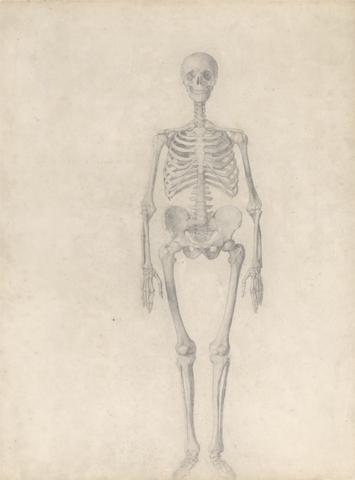
167
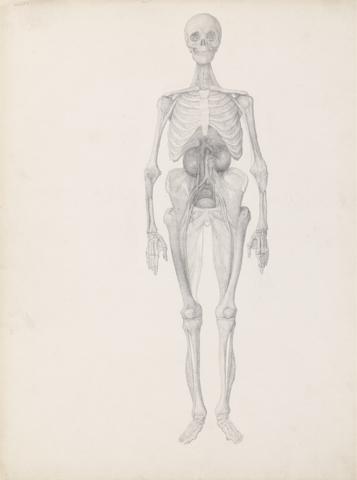
- Human Skeleton, Anterior View (Finished Study for Table I)
- 1795 to 1806
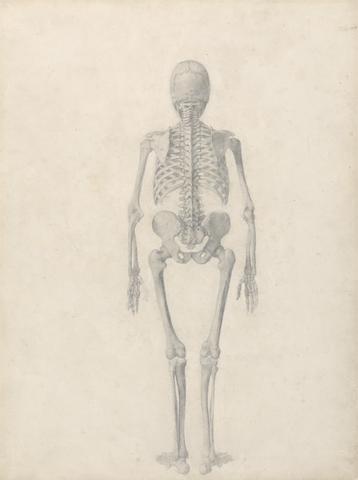
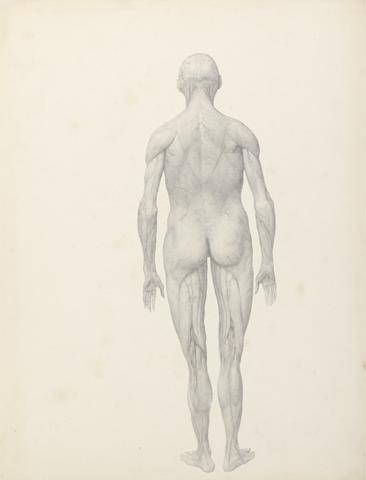
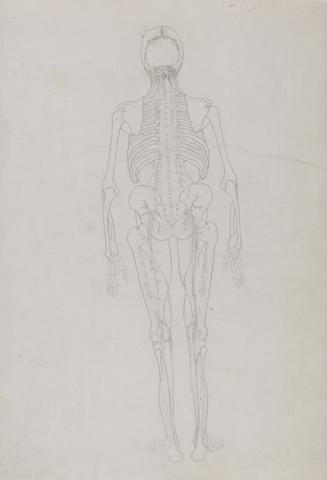
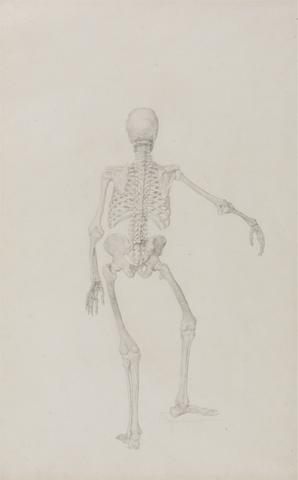
168
- Human Skeleton, Posterior View (Finished Study for Table II)
- 1795 to 1806
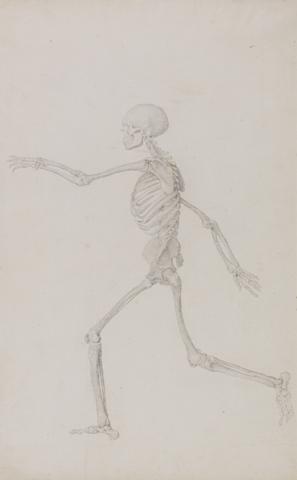
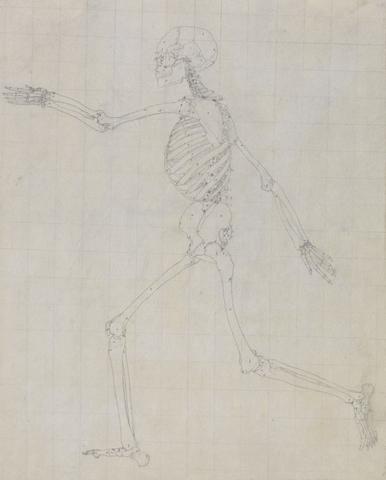
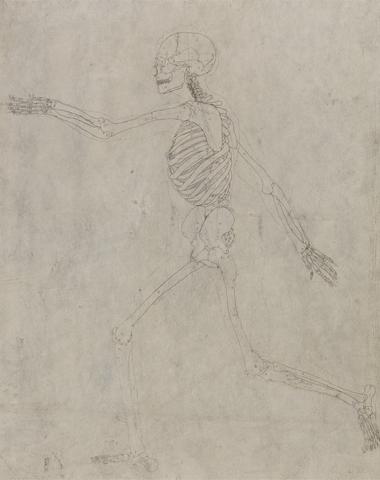
169
- Human Skeleton, Lateral View Seen from the Left, Running (Finished Study for Table III)
- 1795 to 1806
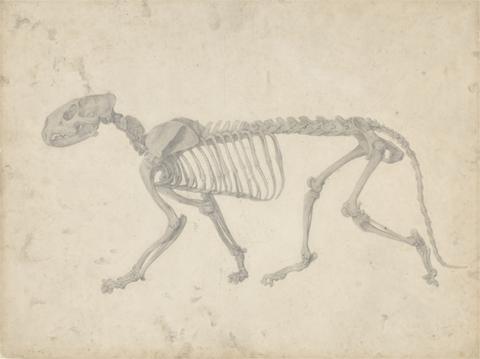
170
- Tiger Skeleton, Lateral View (Finished Study for Table IV)
- between 1795 and 1806

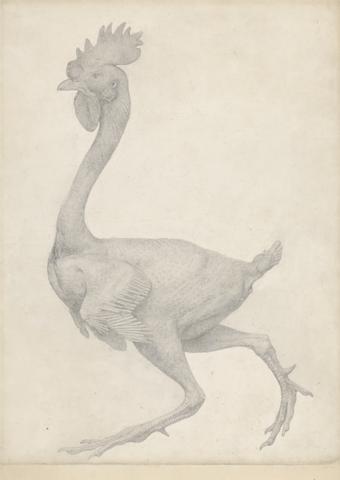
171
- Fowl Skeleton, Lateral View (Finished Study for Table V)
- between 1795 and 1806
172
- Fowl, Lateral View with Most Feathers Removed (Finished Study for Table X)
- between 1795 and 1806
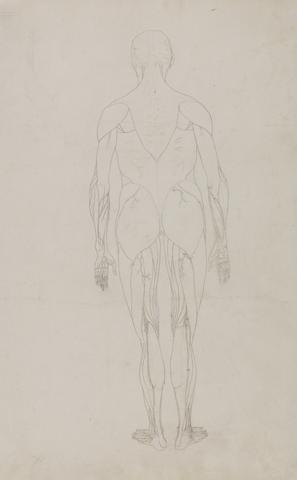
173
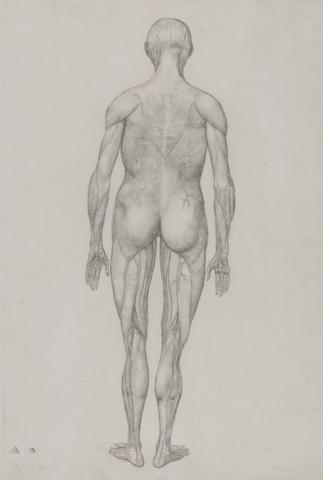
- Human Figure, Posterior View, Partially Dissected (Finished Study for Table XII)
- 1795 to 1806
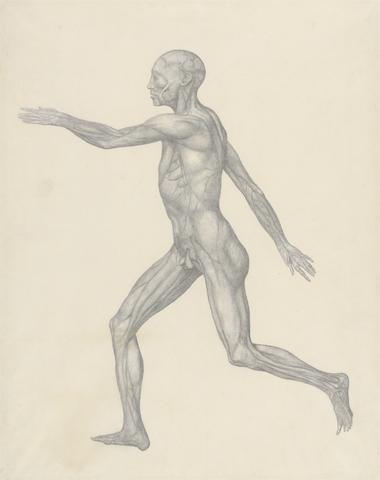
174
- Human Figure, Lateral View, after Removal of the Skin and the Underlying Fascial Layers (Finished Study for Table XIII)
- between 1795 and 1806
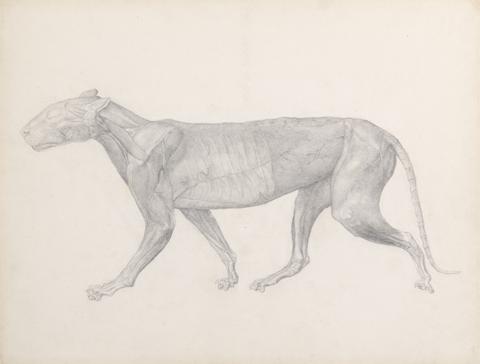
175
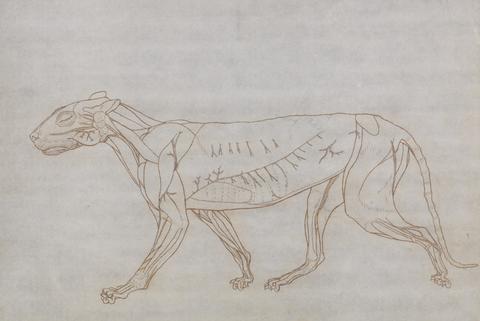
- Tiger, Lateral View, with the Connective Tissue Overlying the Muscles Removed (Finished Study for Table XIV)
- 1795 to 1806
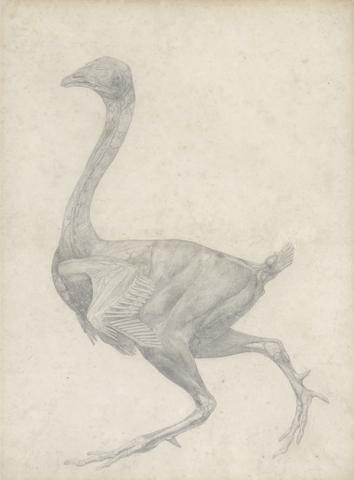
176
- Fowl, Lateral View, with Skin and Underlying Fascial Layers Removed (Finished Study for Table XV)
- between 1795 and 1806
177
- Human Figure, Anterior View (Finished Study of Final Stage of Dissection)
- 1795 to 1806
178
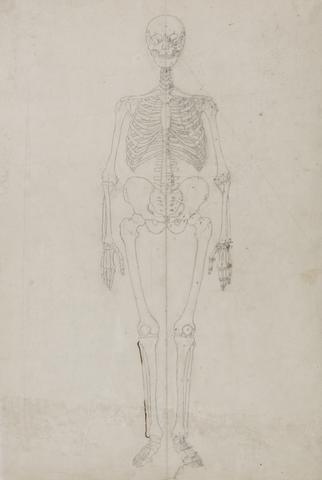
- Human Skeleton, Anterior View (Final study)
- 1795 to 1806
179
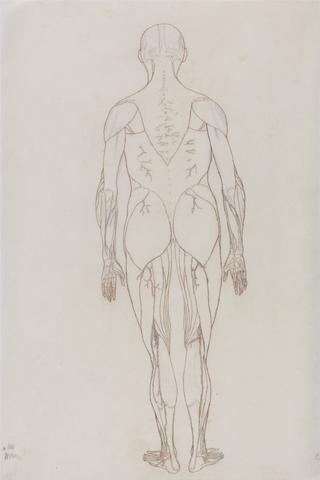
- Human Figure, Posterior View (Outline Drawing for Key Figure to Table XII)
- 1795 to 1806

180
- Human Figure, Posterior View (Outline drawing for key figure to Table XII)
- 1795 to 1806
181
- Human Figure, Posterior View (Almost Identical to Finished Drawing for Table XII)
- 1795 to 1806
182
- Human Figure, Posterior View (Further Study for Table XII)
- 1795 to 1806
183
- Human Figure, Posterior View (Outline drawing for a key figure showing the final stage of dissection)
- 1795 to 1806
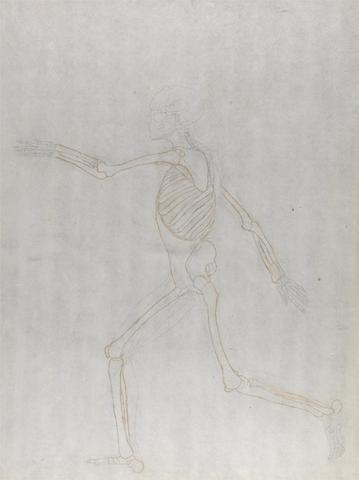
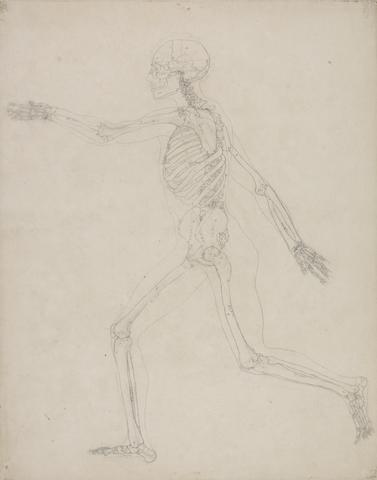
184
- Human Skeleton, Lateral View (Outline of the skeleton for the key figure to Table III)
- 1795 to 1806
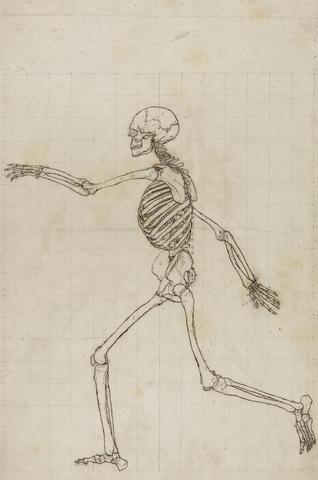
185
- Human Skeleton, Lateral View
- 1795 to 1806
186
- Human Skeleton, Lateral View
- 1795 to 1806
187
- Human Skeleton, Lateral View
- 1795 to 1806
188
- Human Skeleton, Lateral View
- 1795 to 1806
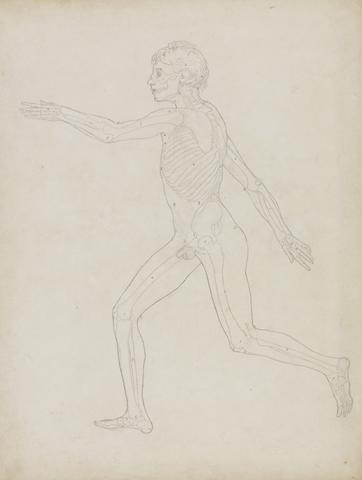
189
- Human Figure, Lateral View
- 1795 to 1806

190
- Human Skeleton, Anterior View
- 1795 to 1806
191
- Human Skeleton, Posterior View (Right Arm Outstretched; finished study for an unpublished table)
- 1795 to 1806
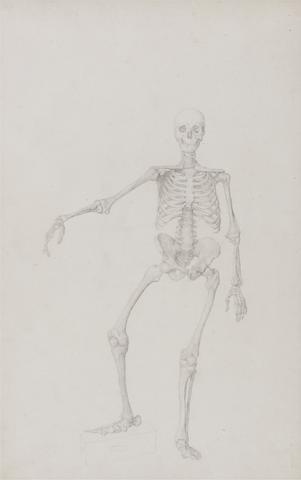
192
- Human Skeleton, Anterior View (Right Arm Outstretched; finished study for unpublished table)
- 1795 to 1806

193
- Human Skeleton, Posterior View
- 1795 to 1806
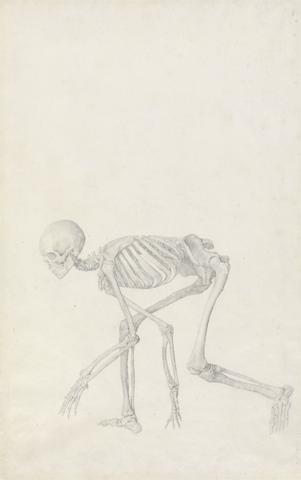
194
- Human Skeleton, Lateral View
- 1795 to 1806
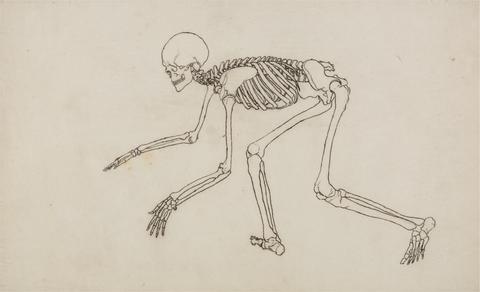
195
- Human Skeleton, Lateral View (in Crouching Posture; finished study for an unpublished table)
- 1795 to 1806

196
- Tiger Skeleton, Lateral View
- 1795 to 1806
197
- Tiger Body, Lateral View
- 1795 to 1806
198
- Tiger Body, Lateral View (Study of the muscles for the key figure to Table IX)
- 1795 to 1806
199
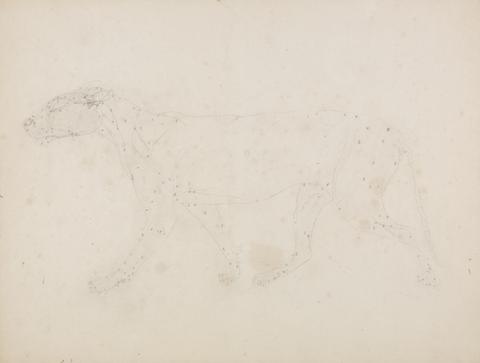
- Tiger Body, Lateral View (Study of the upper layers of muscles and their blood supply prepared for the key figure to Table XIV)
- 1795 to 1806

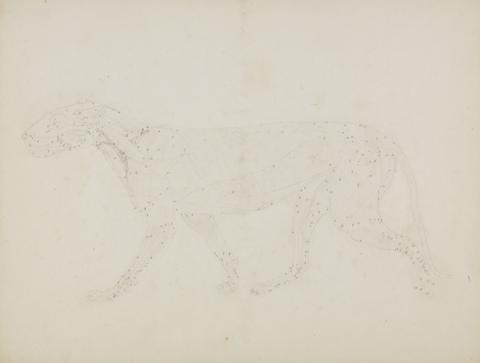
200
- Tiger Body, Lateral View (Finished Drawing for Unpublished Table; Shows the Third Stage in Dissection)
- 1795 to 1806