Search Constraints
You searched for:
Materials & Techniques wove paper
Remove constraint Materials & Techniques: wove paperImage Use Free to Use
Remove constraint Image Use: Free to UseSearch Results
101
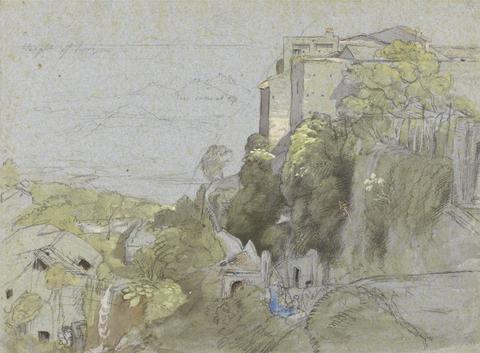
- Italian Hill Town
- after 1838
102
- Harlech Castle
- undated
103
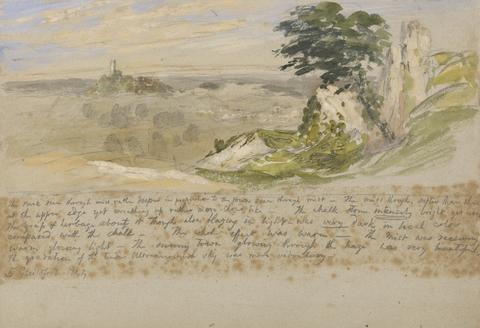
- Guildford
- 1844
104
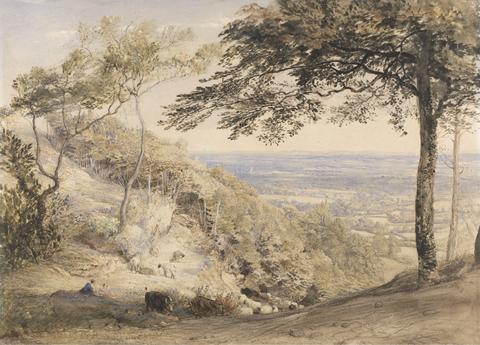
- Wilmot's Hill, Kent
- ca. 1851
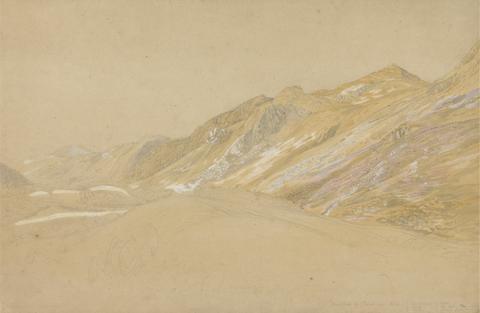
105
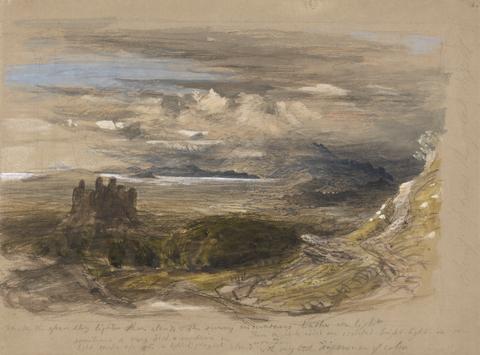
- Mountains by the Traveller's Rest near Dolgelly
- 1835
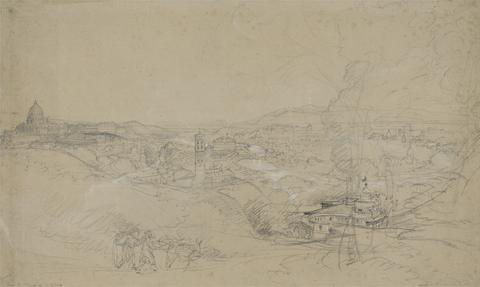
106
- Rome from San Spirito
- undated
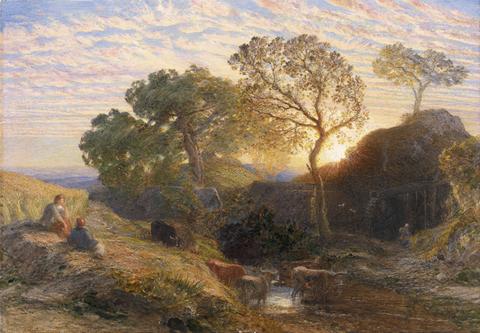
107
- Sunset
- ca. 1861
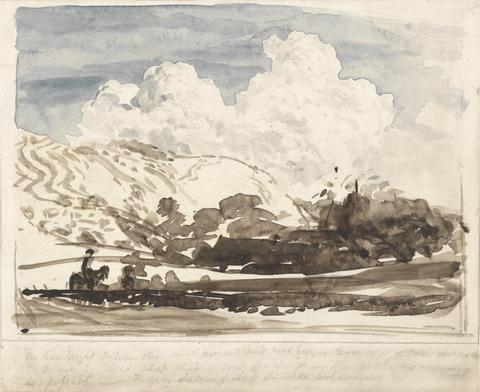
108
- The Bright Cloud
- undated
109
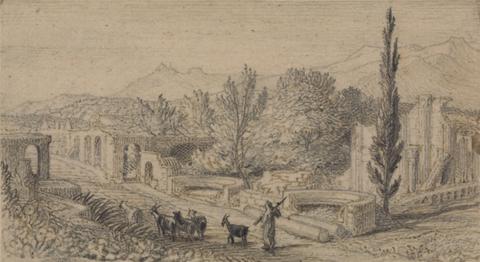
- Streets of the Tombs, Pompeii
- undated
110
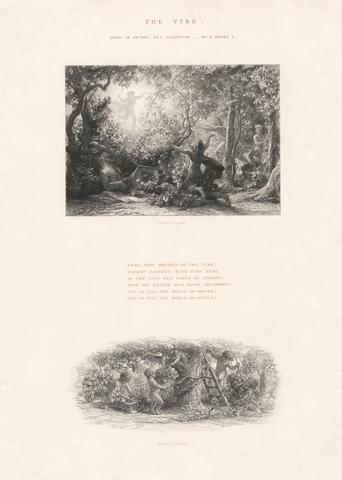
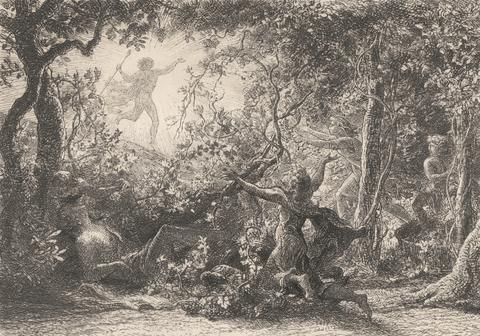
- The Vine
- 1852
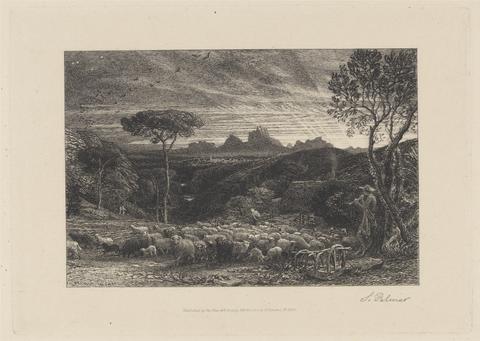
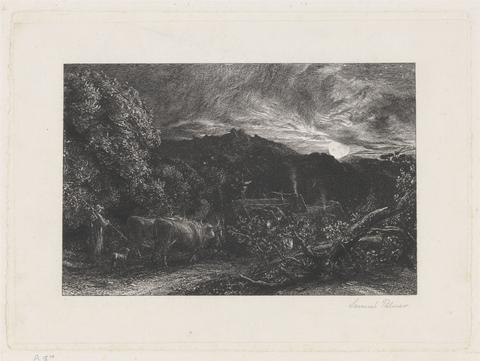
111
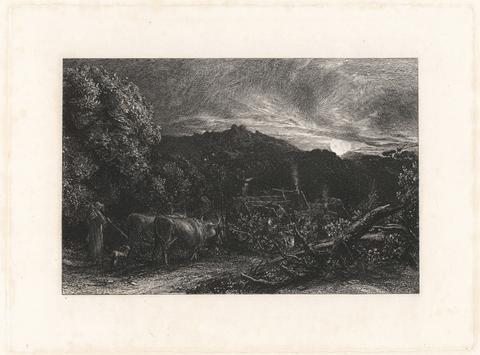
- The Weary Ploughman
- 1858
112
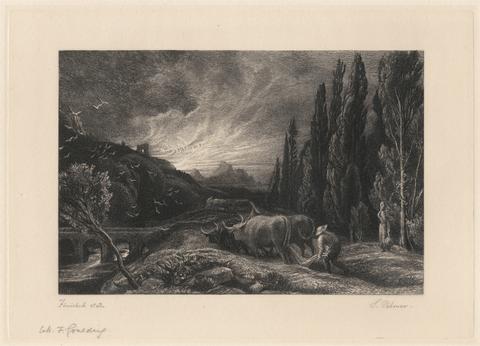
- The Early Ploughman
- begun before 1861
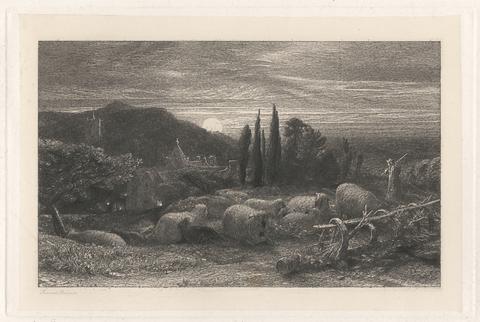
113
- The Rising Moon
- 1857
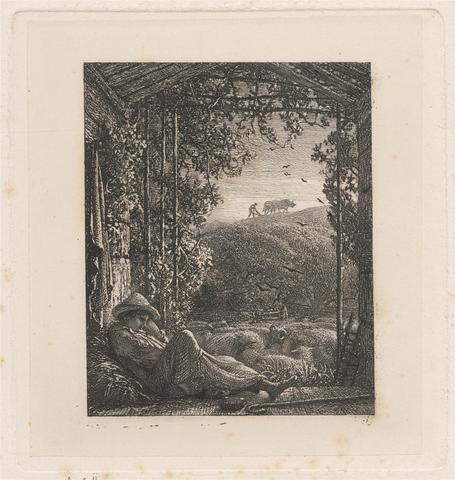
114
- The Sleeping Shepherd
- 1857
115
- The Bellman
- 1879
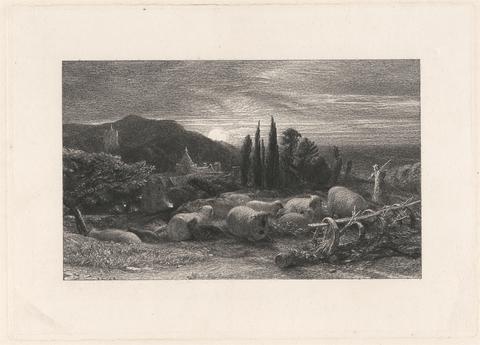
116
- The Rising Moon
- 1857
117
- The Rising Moon
- 1857
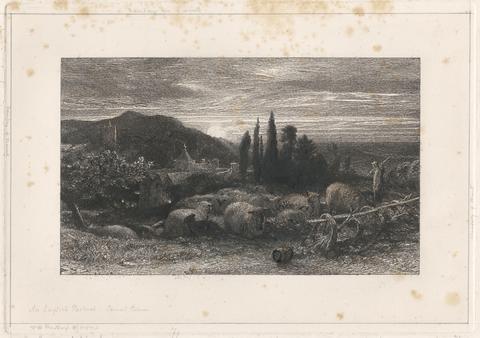
118
- The Rising Moon
- 1857
119
- Opening the Fold
- 1880
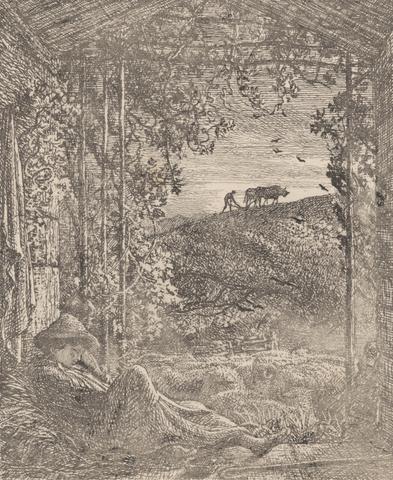
120
- The Sleeping Shepherd
- 1857
121
- The Barns
- undated
122
- The Wayside Smithy
- undated
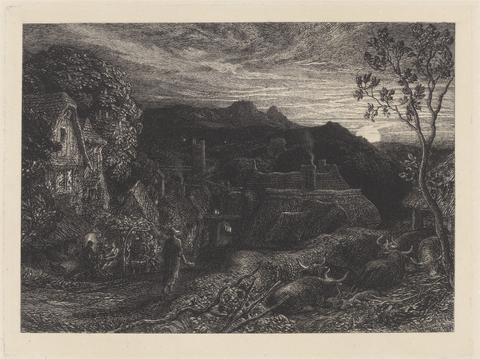
123
- Christmas
- 1850
124
- The Herdsman's Cottage
- 1850
125
- The Weary Ploughman
- 1858
126
- The Rising Moon
- 1857
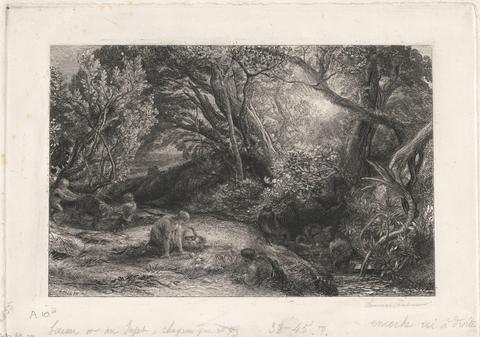
127
- The Morning of Life
- 1860-1861
128
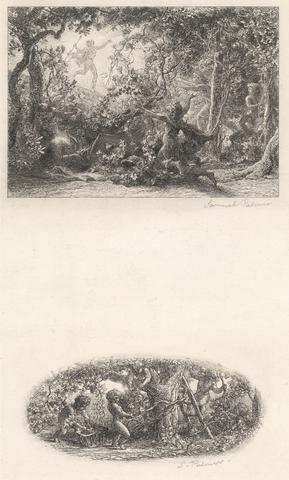
- The Vine
- 1852
129
- The Vine
- 1852
130
- Study for "The Shearers"
- between 1833 and 1834
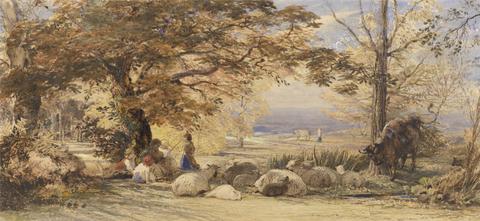
131
- Rustic Contentment
- undated
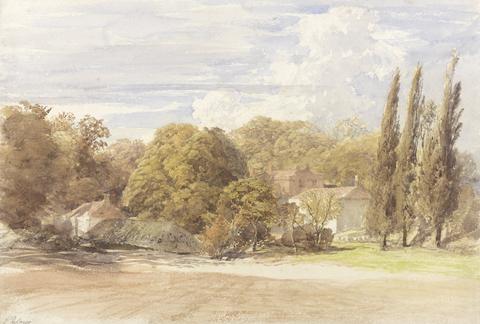
132
- Kensington Gardens
- ca. 1848
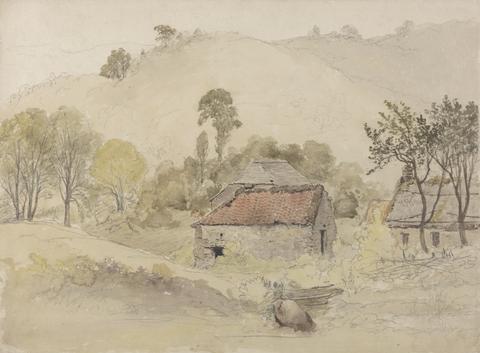
133
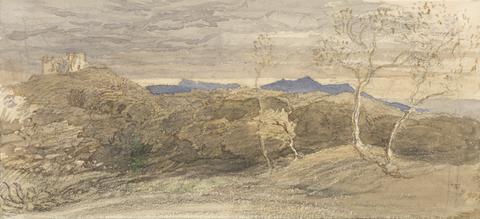
- Scene in Wales
- undated
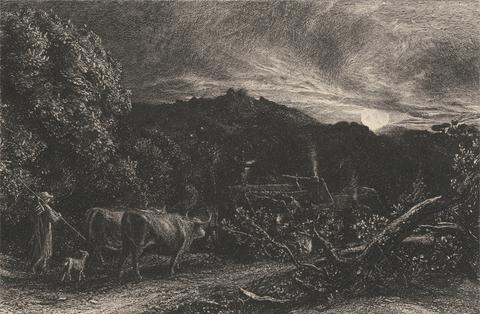
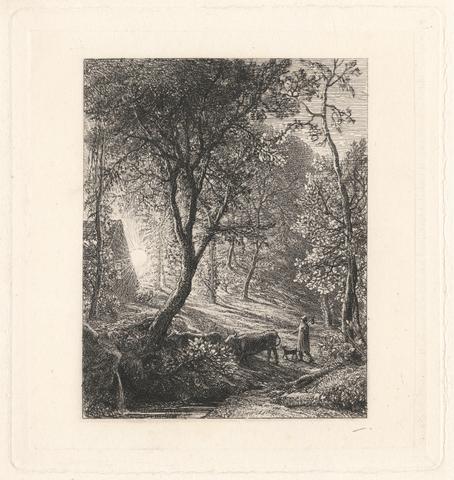
134
- The Weary Ploughman
- 1858
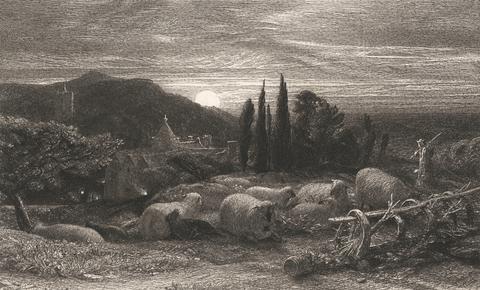
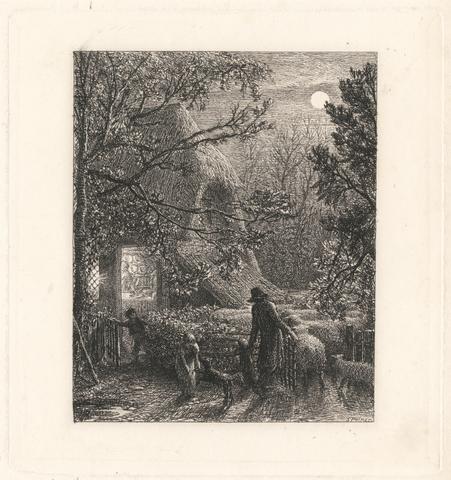
135
- The Rising Moon
- 1857
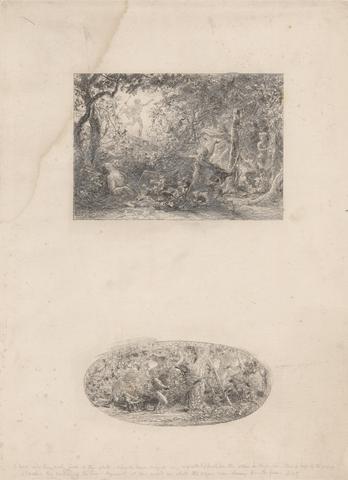
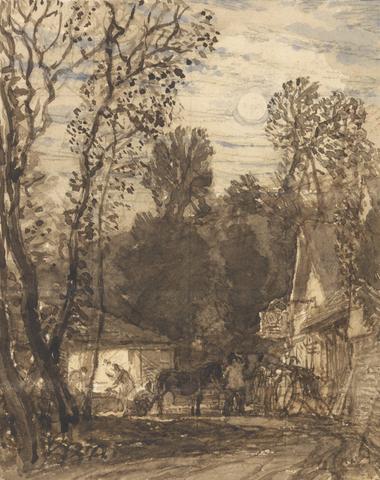
136
- The Vine
- 1852
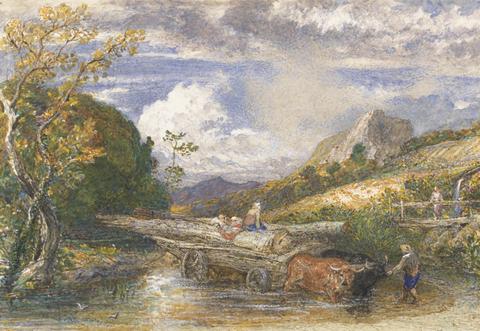
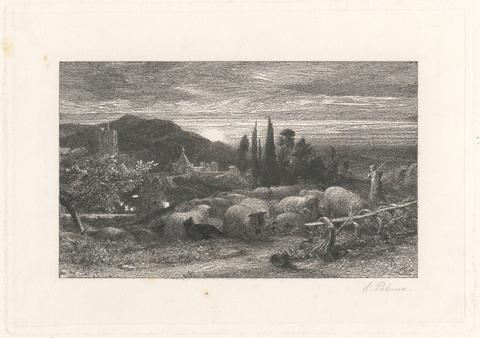
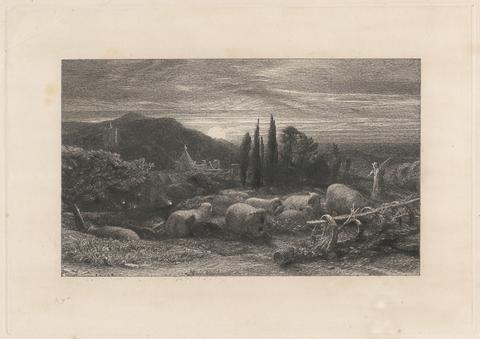
137
- Timber Wagon Crossing a Stream
- undated
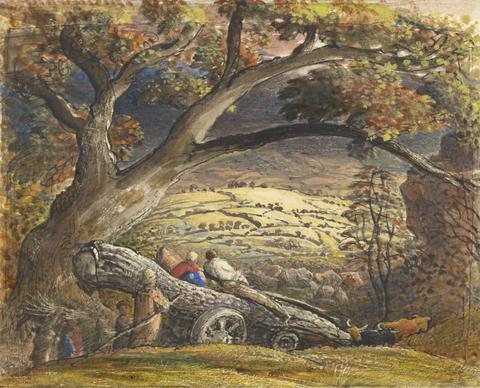
138
- The Timber Wain
- between 1833 and 1834
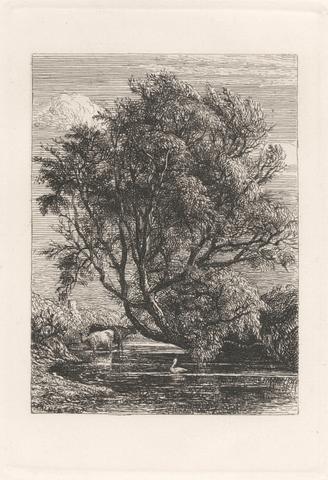
139
- The Willow
- 1850
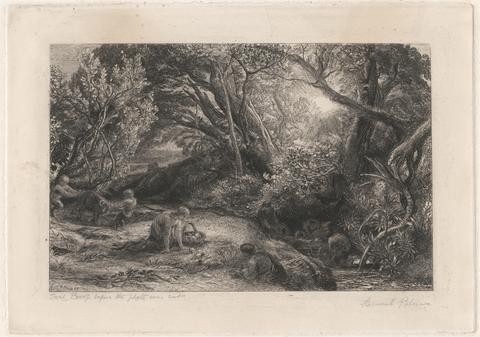
140
- The Morning of Life
- 1860-1861
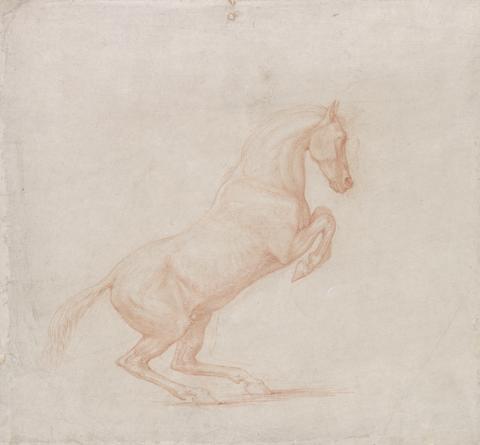
141
- A Prancing Horse, Facing Right
- ca. 1790
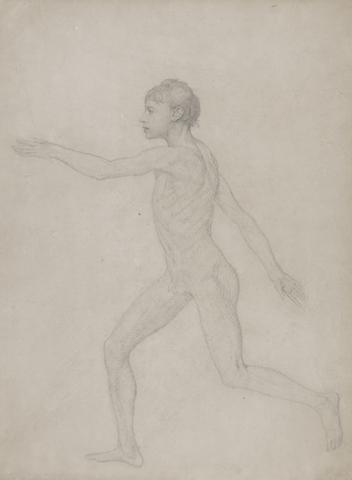
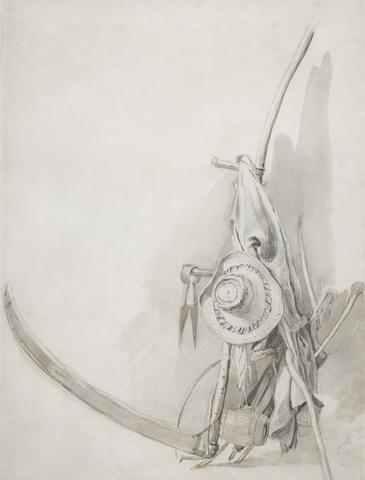
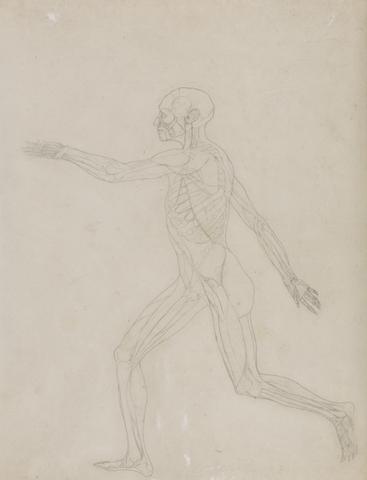
142
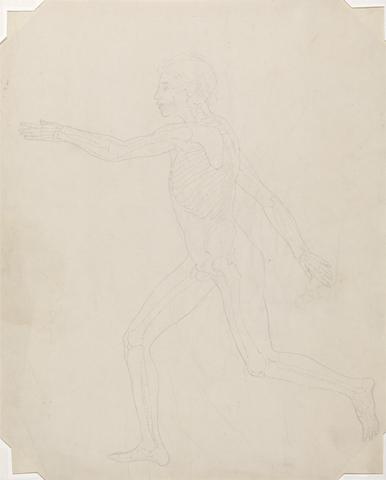
- Human Figure, Lateral View (Preliminary draft for the final study for Table VIII)
- 1795 to 1806

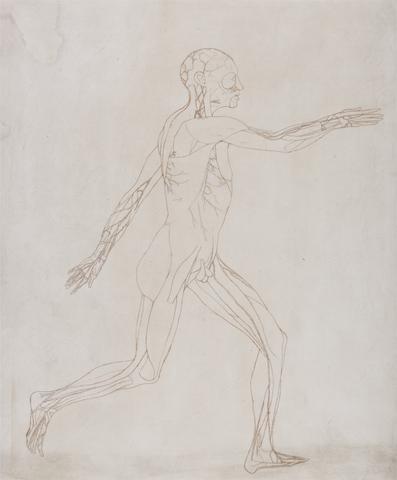
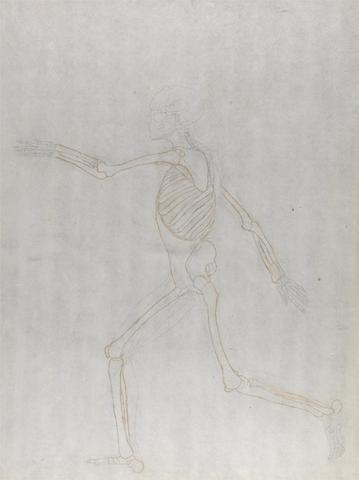
143
- Human Figure, Lateral View (Related to Table XIII, detailed study of the blood vessels supplying the muscles)
- 1795 to 1806
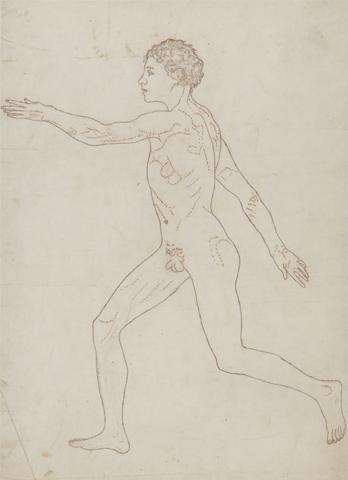
144
- Human Figure, Lateral View (Prepared for transfer to the plate of the key figure to Table XIII)
- 1795 to 1806
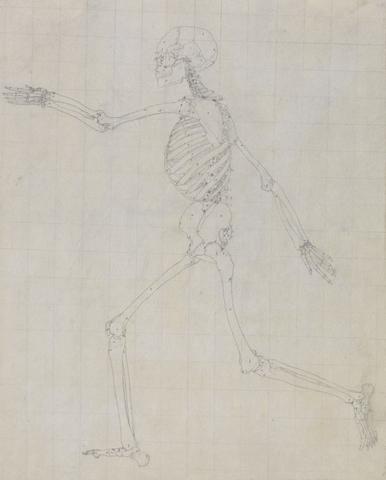
145
- Human Figure, Lateral View (Finished study for an unpublished table, representing the last stage in the dissection)
- between 1795 and 1806
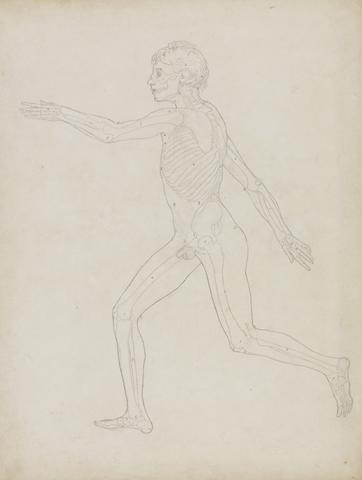
146
- Human Figure, Lateral View
- 1795 to 1806
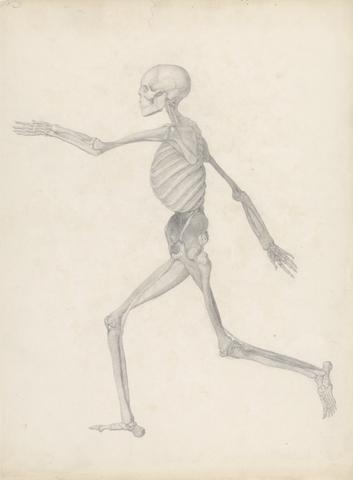
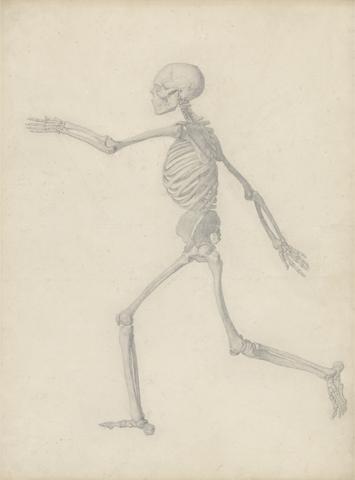
147
- Human Skeleton, Lateral View
- 1795 to 1806
148
- Human Figure, Lateral View (Outline Study in Reverse of Table VIII)
- 1795 to 1806
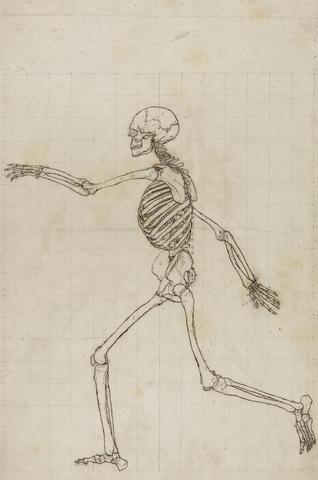
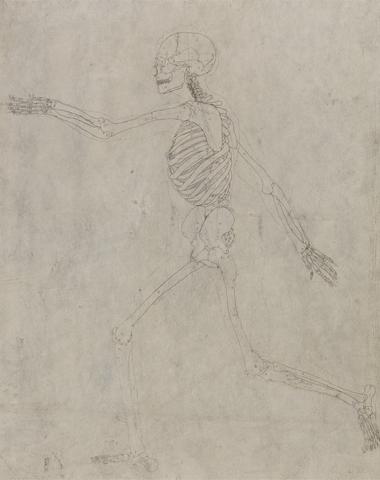
149
- Human Skeleton, Lateral View (Outline of the skeleton for the key figure to Table III)
- 1795 to 1806
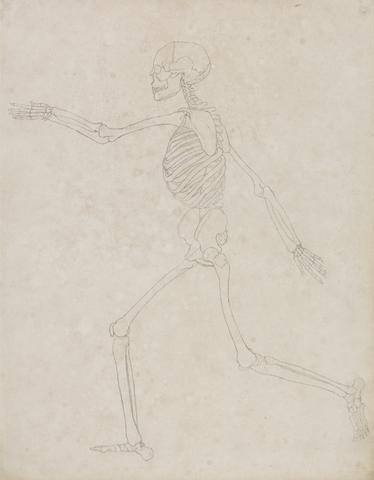
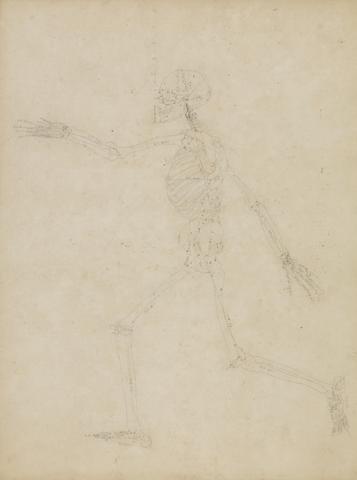
150
- Human Skeleton, Lateral View
- 1795 to 1806
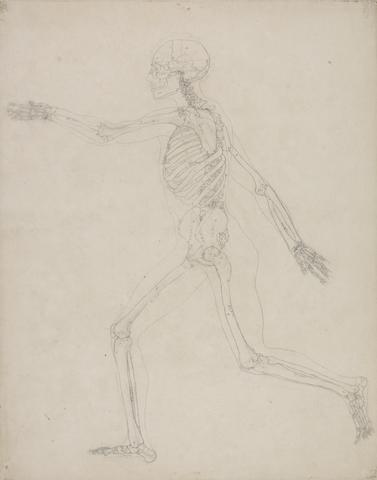
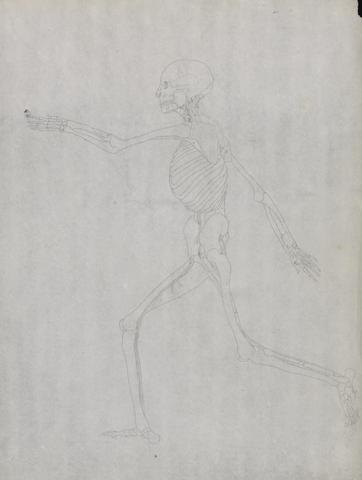
151
- Human Skeleton, Lateral View
- 1795 to 1806
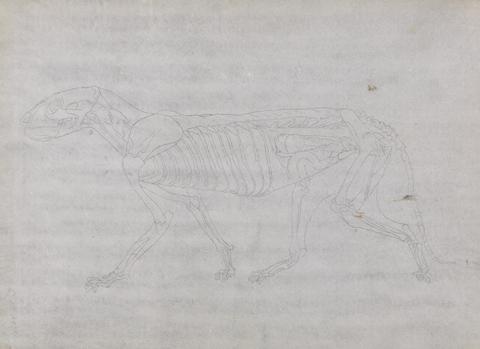
152
- Human Skeleton, Lateral View (May have been initially prepared for use as a key figure to Table III but later abandoned)
- 1795 to 1806
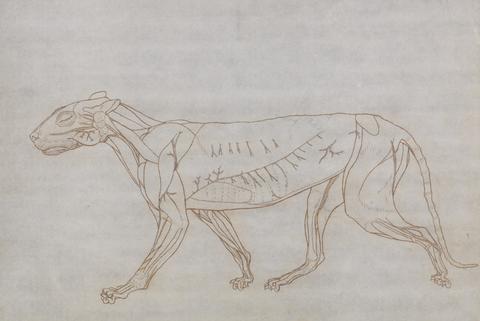
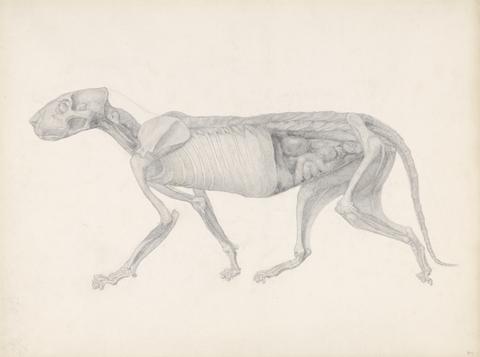
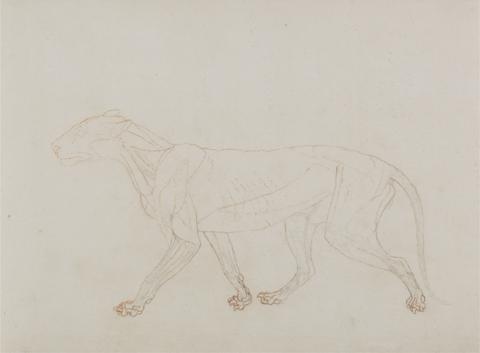
153
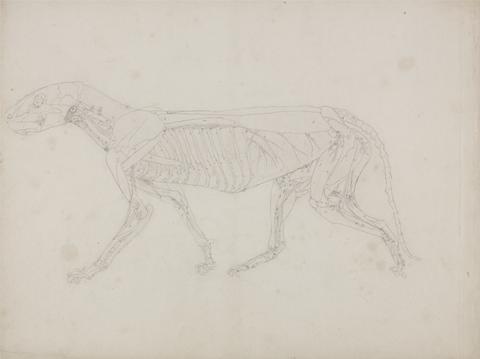
- Human Figure, Lateral View
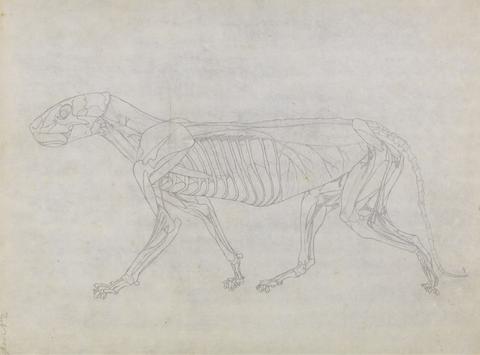
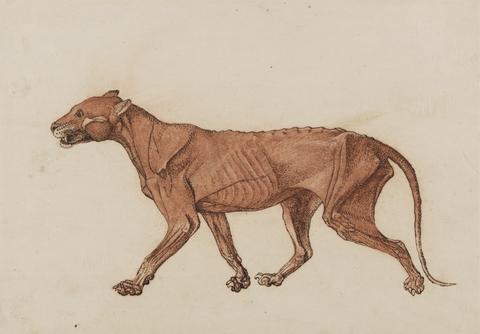
- 1795 to 1806
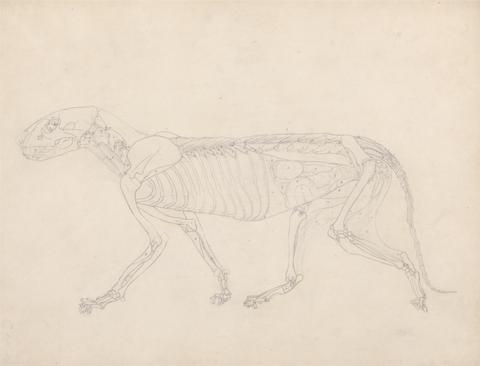
154
- Human Figure, Lateral View
- 1795 to 1806
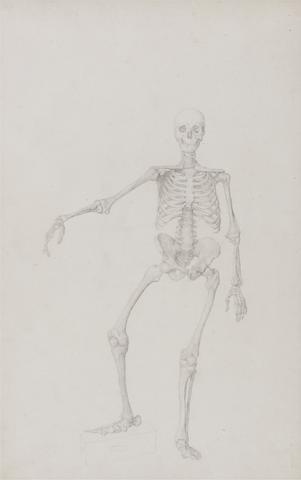
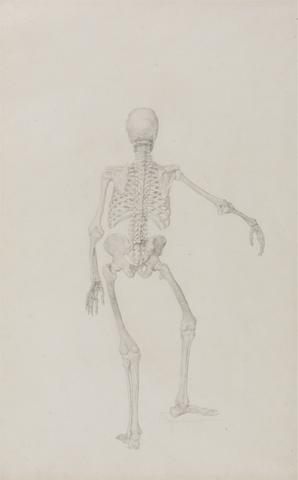
155
- Human Skeleton, Anterior View (Right Arm Outstretched; finished study for unpublished table)
- 1795 to 1806

156
- Human Skeleton, Lateral View
- 1795 to 1806
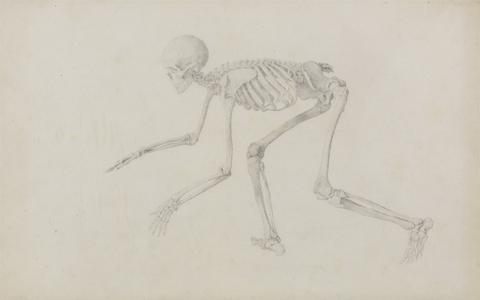
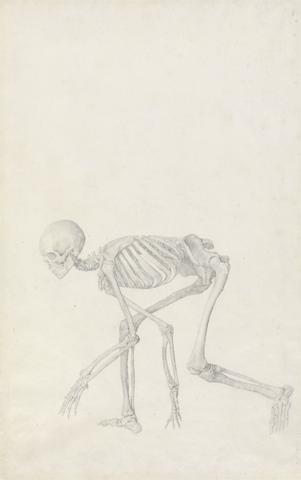
157
- Human Skeleton, Lateral View (in Crawling Posture; finished study for an unpublished table)
- 1795 to 1806
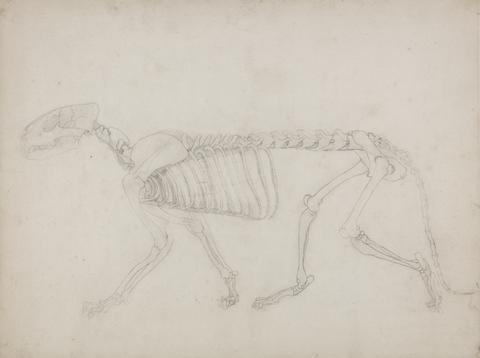
158
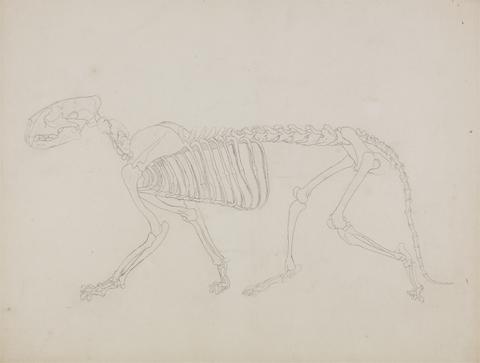
- Tiger Skeleton, Lateral View
- 1795 to 1806
159
- Tiger Skeleton, Lateral View
- 1795 to 1806
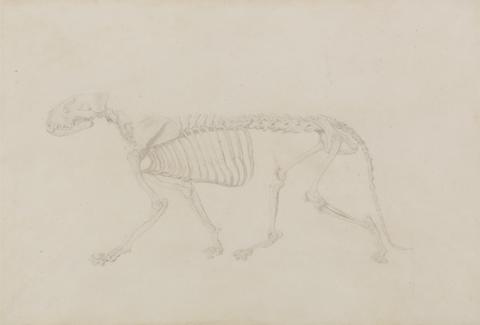
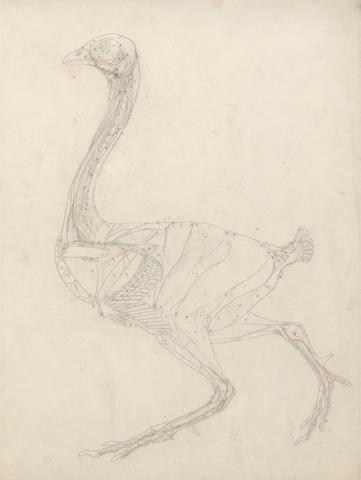
160
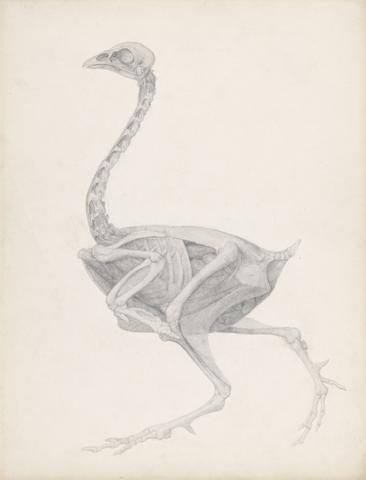
- Tiger Skeleton, Lateral View (Highly finished study for Table IV)
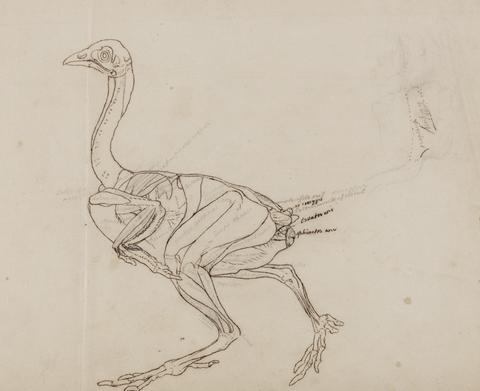
- 1795 to 1806
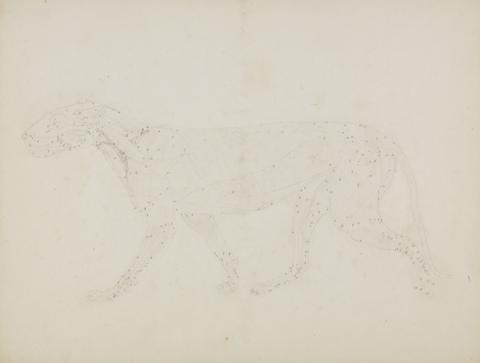
161
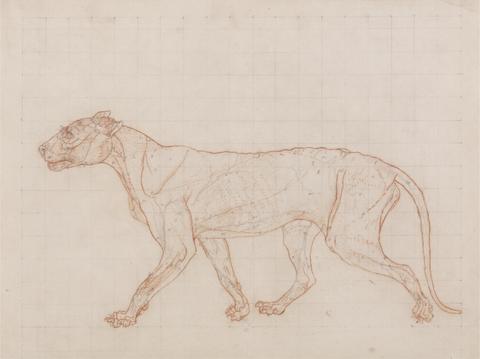
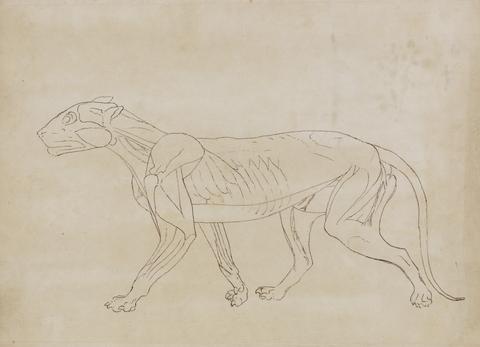
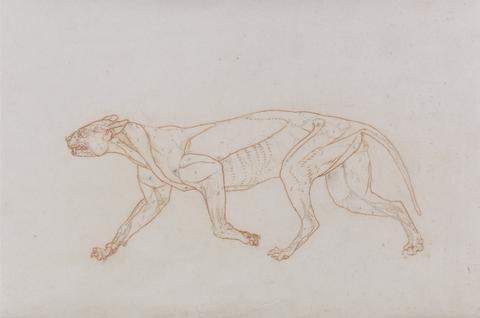
- Tiger Body, Lateral View (Study of the upper layers of muscles and their blood supply prepared for the key figure to Table XIV)
- 1795 to 1806
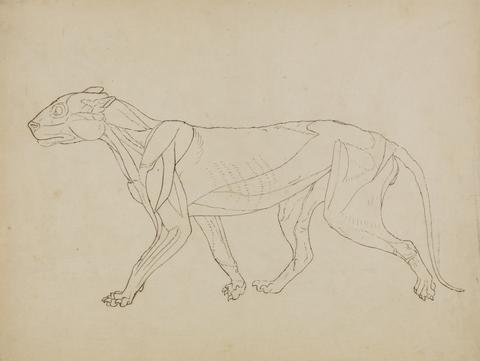
162
- Tiger Body, Lateral View (Study of the muscles for the key figure to Table IX)
- 1795 to 1806
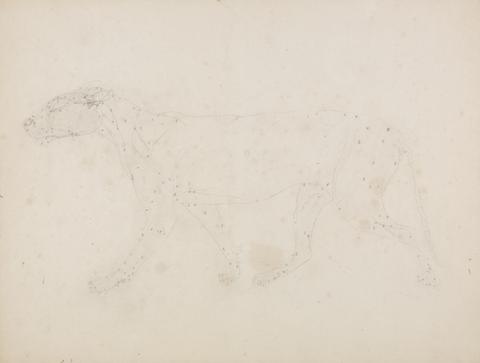
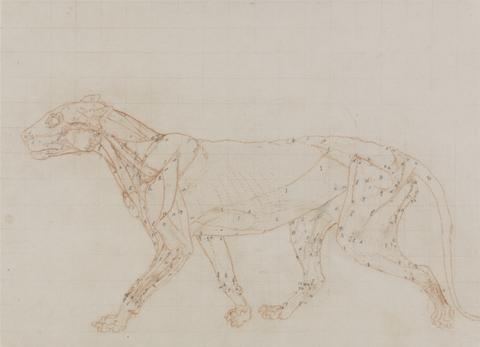
163
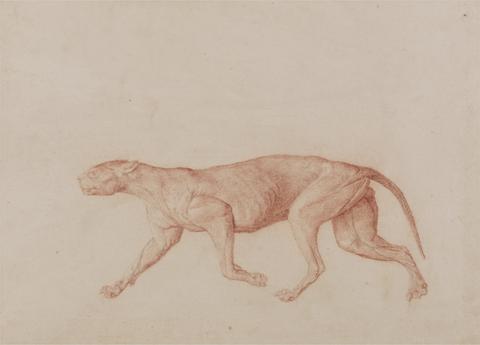
- Tiger Body, Lateral View
- 1795 to 1806

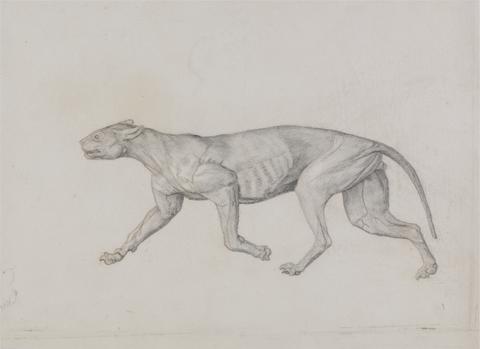
164
- Tiger Body, Lateral View (Finished Drawing for Unpublished Table; Shows the Third Stage in Dissection)
- 1795 to 1806
165
- Tiger Body, Lateral View
- 1795 to 1806
166
- Tiger Body, Lateral View
- 1795 to 1806
167
- Tiger Body, Lateral View
- 1795 to 1806
168
- Tiger Body, Lateral View (Study for an unpublished table; shows a late stage in dissection)
- between 1795 and 1806
169
- Tiger Body, Lateral View
- 1795 to 1806
170
- Tiger Body, Lateral View
- 1795 to 1806
171
- Tiger Body, Lateral View (Shows the third stage in dissection)
- 1795 to 1806
172
- Tiger Body, Lateral View
- 1795 to 1806
173
- Tiger Body, Lateral View (Probably made as the basis for a key figure)
- 1795 to 1806
174
- Tiger Body, Lateral view (Study of the muscles exposed at the third stage of dissection)
- 1795 to 1806
175
- Leopard Body, Lateral View
- 1795 to 1806
176
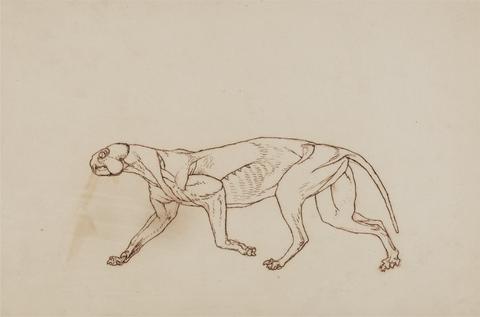
- Tiger Body, Lateral View (Outline drawing for a key figure)
- 1795 to 1806
177
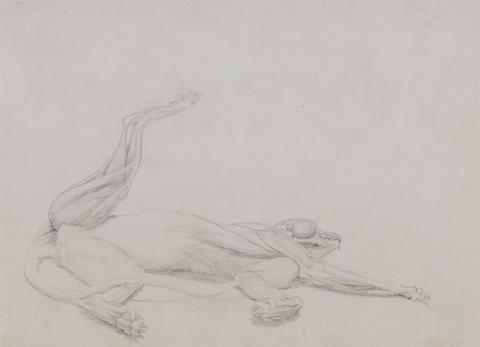
- Tiger Body, Recumbent, Viewed Ventrally
- 1795 to 1806
178
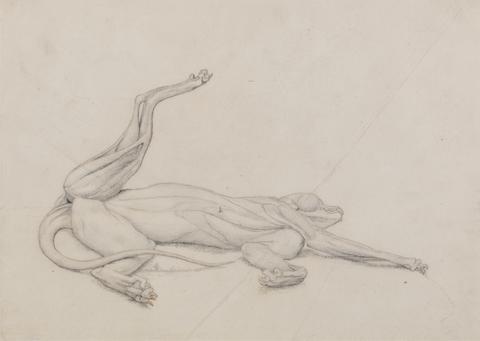
- Tiger, Recumbent, Viewed Ventrally
- 1795 to 1806
179
- Leopard Body, Lateral View (Later stage in dissection, superficial connective tissue and ears removed)
- 1795 to 1806
180
- Leopard Body, Lateral View
- 1795 to 1806
181
- Leopard Body, Lateral View (First of Five Studies of Another Large Cat)
- 1795 to 1806
182
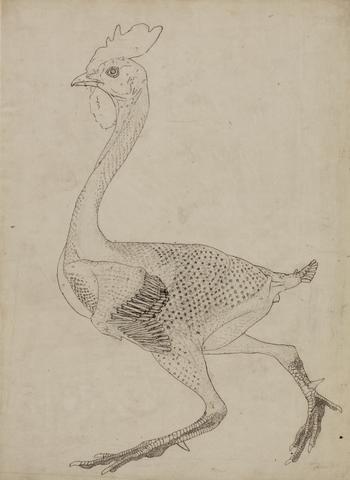
- Fowl Body, Lateral View (Study for key figure to Table X)
- 1795 to 1806
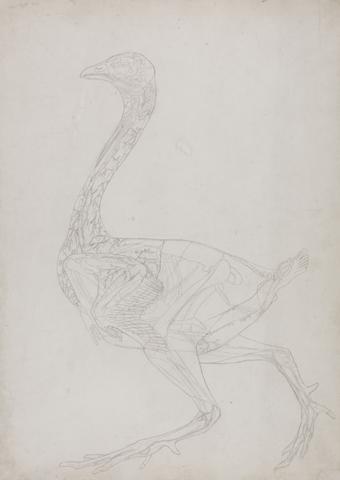
183
- Fowl Body, Lateral View (Outline drawing, related to Table XV)
- 1795 to 1806
184
- Fowl Body, Lateral View (Study for the Key Figure to Table XV)
- 1795 to 1806
185
- Fowl Body, Lateral View (Highly Finished Study for an Unpublished Table; Shows the Last Stage in Dissection)
- between 1795 and 1806
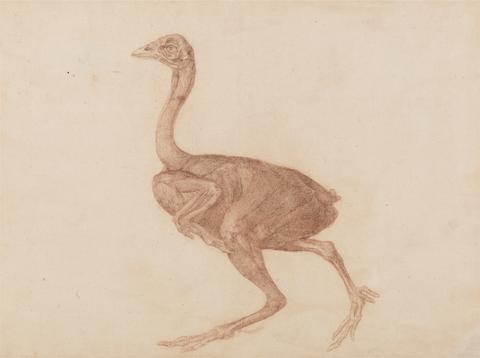
186
- Dorking Hen, Lateral View
- 1795 to 1806
187
- Dorking Hen Body, Lateral View (Outline drawing of the muscles)
- 1795 to 1806
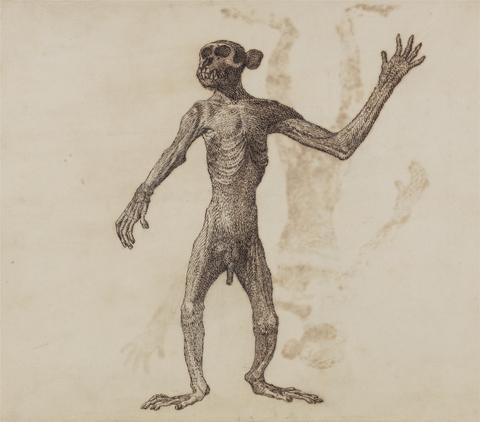
188
- Monkey Standing, Anterior View
- 1795 to 1806

189
- Owl Standing, Anterior View
- 1795 to 1806

190
- Human Figure, Lateral View (For the key figure to Table XIII)
- 1795 to 1806

191
- Human Skeleton, Lateral View (Study for a key figure to an unpublished table showing the abdominal viscera)
- 1795 to 1806
192
- Human Skeleton, Lateral View (Close to the Final Study for Table III But Differs in Detail)
- Between 1795 and 1806
193
- Human Skeleton, Lateral View
- 1795 to 1806
194
- Human Skeleton, Lateral View
- 1795 to 1806
195
- Human Figure, Lateral View
- 1795 to 1806
196
- Human Skeleton, Posterior View (Right Arm Outstretched; finished study for an unpublished table)
- 1795 to 1806

197
- Human Skeleton, Posterior View
- 1795 to 1806

198
- Human Skeleton, Anterior View
- 1795 to 1806
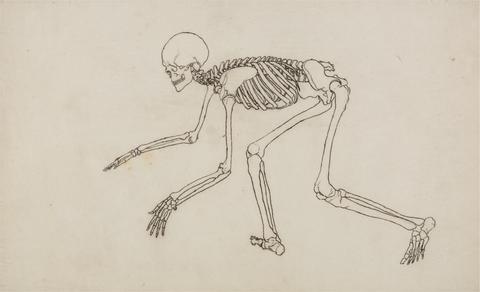
199
- Human Skeleton, Lateral View (in Crouching Posture; finished study for an unpublished table)
- 1795 to 1806
200
- Human Skeleton, Lateral View
- 1795 to 1806