Search Constraints
You searched for:
Materials & Techniques etching (printing process)
Remove constraint Materials & Techniques: etching (printing process)Image Available Available
Remove constraint Image Available: AvailableImage Use Free to Use
Remove constraint Image Use: Free to UseSubject Terms literary theme
Remove constraint Subject Terms: literary themeSearch Results
1
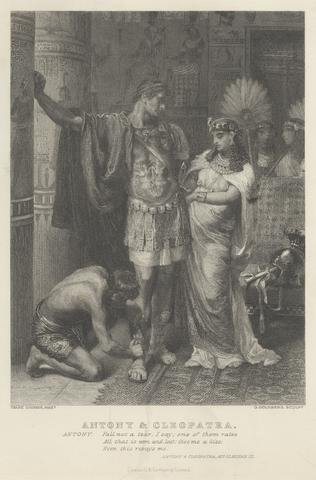
- "Antony and Cleopatra," Act III, Scene XI
- undated
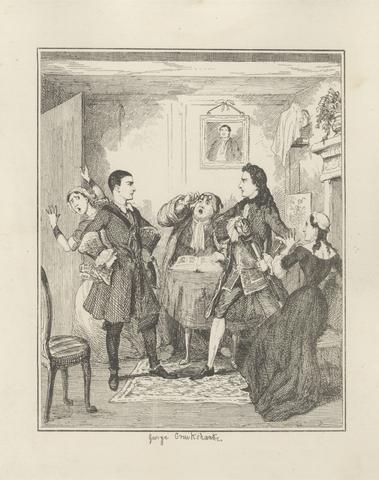
2
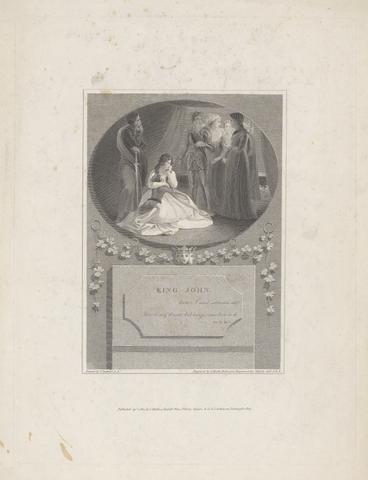
- "Here, I and sorrows sit; here is my throne, bid kings come and bow to it"
- 1802
3
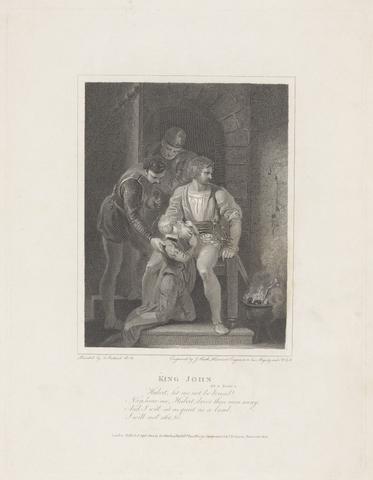
- "Hubert, let me not be bound!"
- 1802

4
- "Mark your divorce young sir, whom son I dare not call"
- 1804
5
- "May I be Cursed," muttered Jack Sheppard, "if ever I try to be honest again!"
- 1839
6
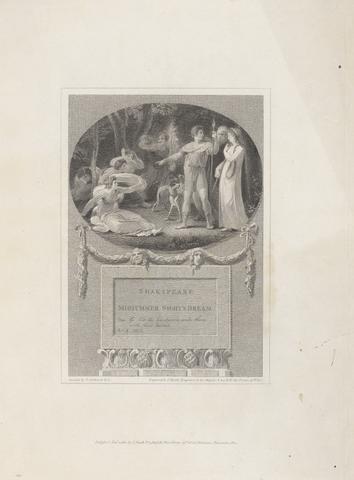
- "Then go, bid the huntsmen wake them with their horns"
- 1802

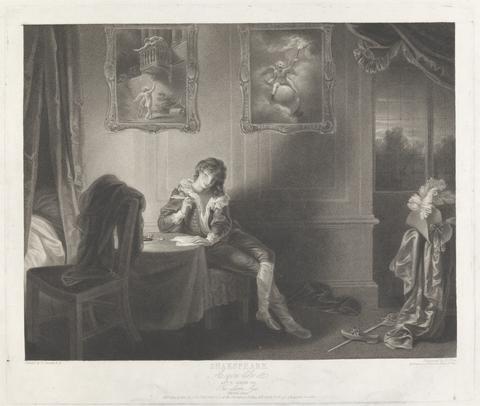
7
- "This is fairy gold, boy, and will prove so"
- 1804
8
- "We come to visit you: and purpose now, to lead you to our court: vouchsafe it then."
- 1802
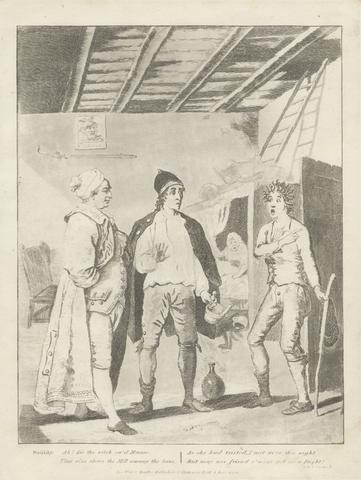
9
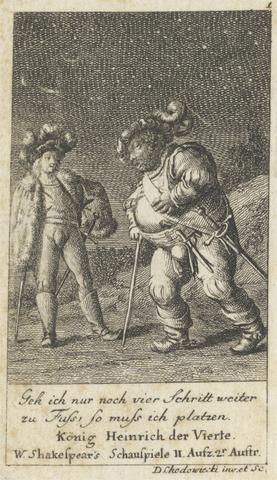
- 'Henry IV, Part I,' Act II, Scene II
- undated
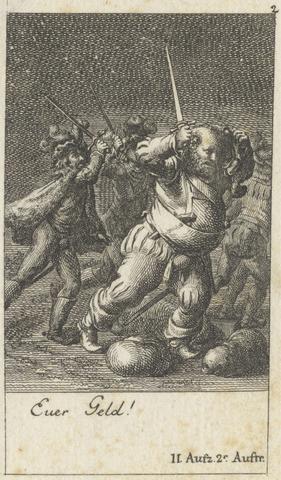
10
- 'Henry IV, Part I,' Act II, Scene II
- undated

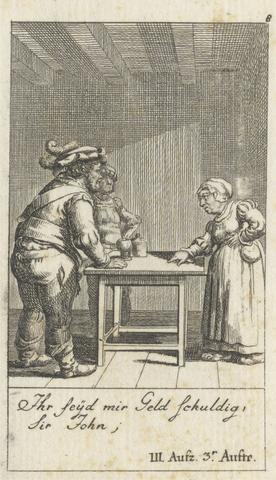
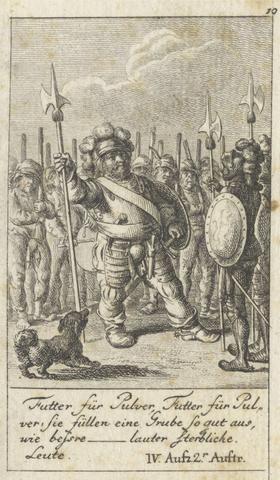
11
- 'Henry IV, Part I,' Act II, Scene III
- undated
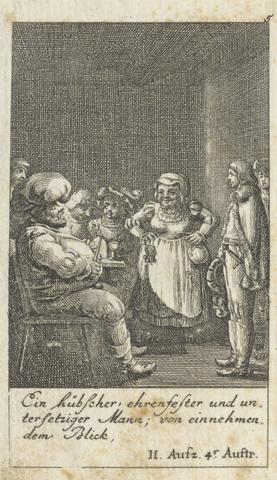
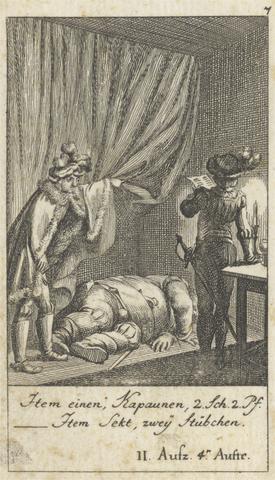
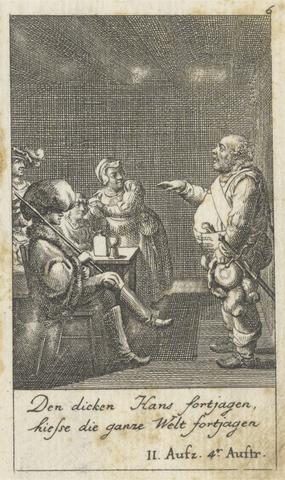
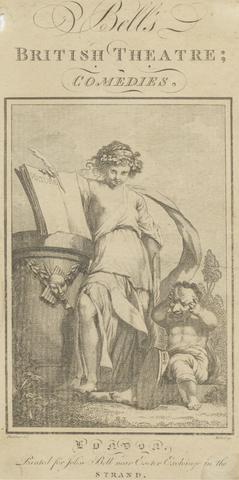
12
- 'Henry IV, Part I,' Act II, Scene IV
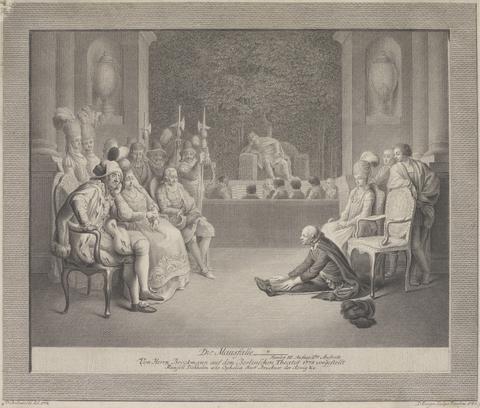
- undated
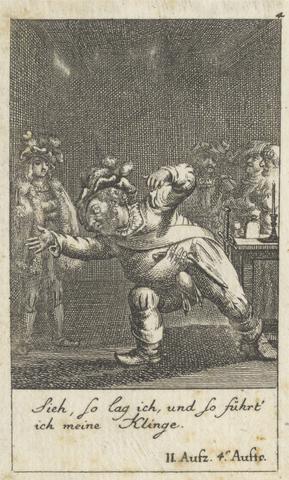
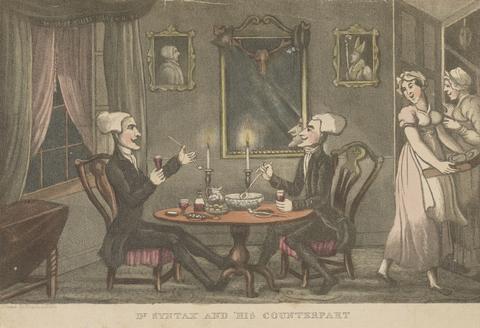
13
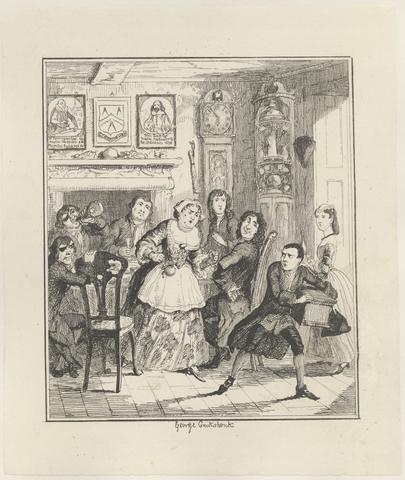
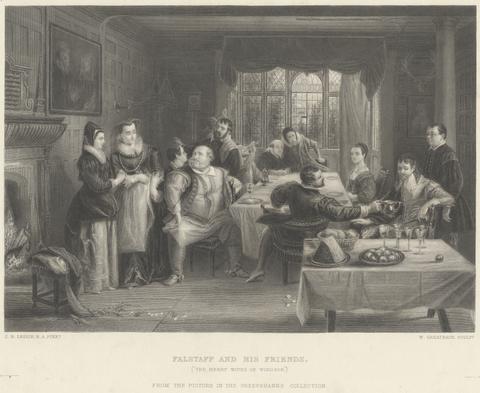
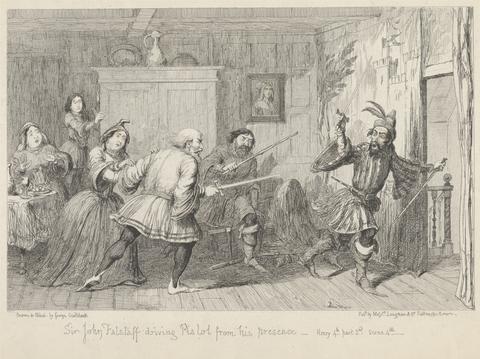
- 'Henry IV, Part I,' Act II, Scene IV
- undated
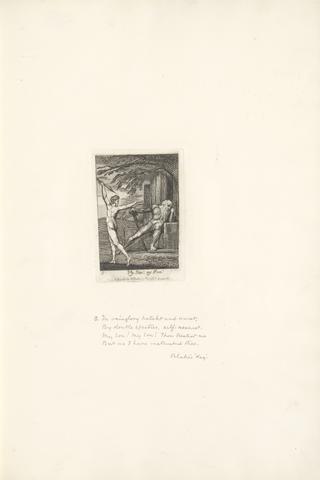
14
- 'Henry IV, Part I,' Act II, Scene IV
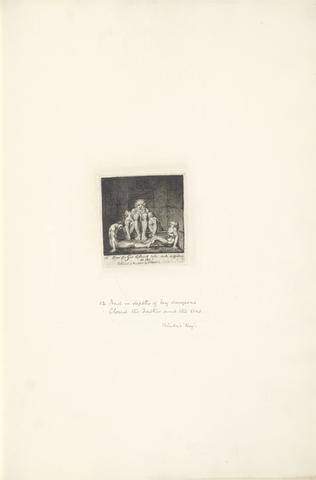
- undated
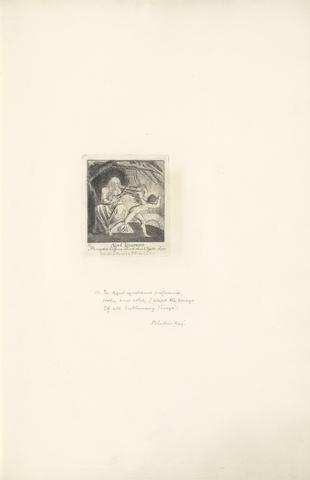
15
- 'Henry IV, Part I,' Act II, Scene IV
- undated

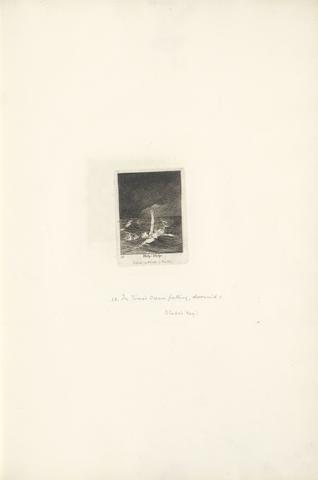
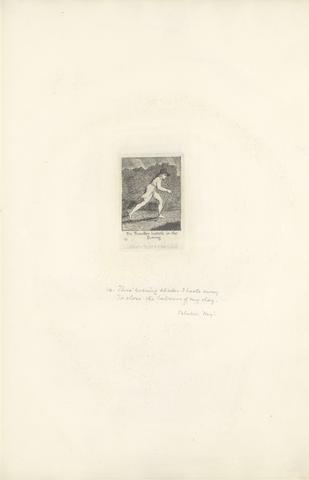
16
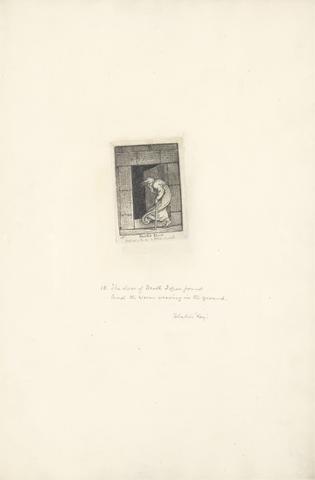
- 'Henry IV, Part I,' Act III, Scene III
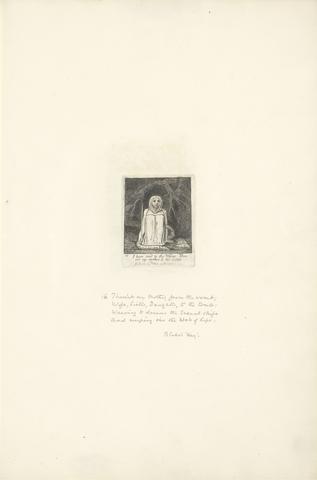
- undated
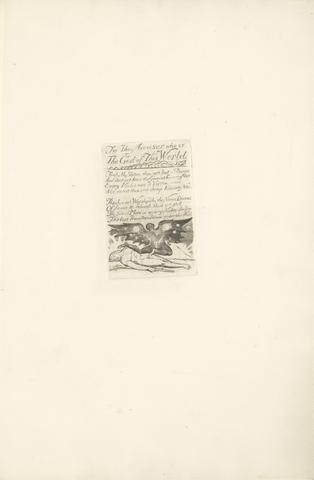
17
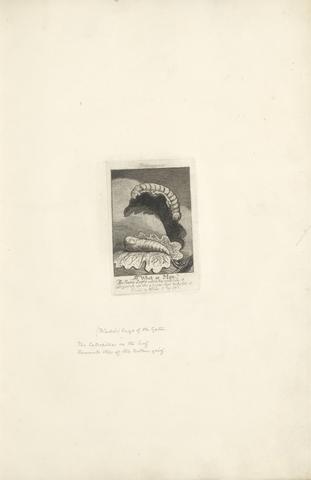
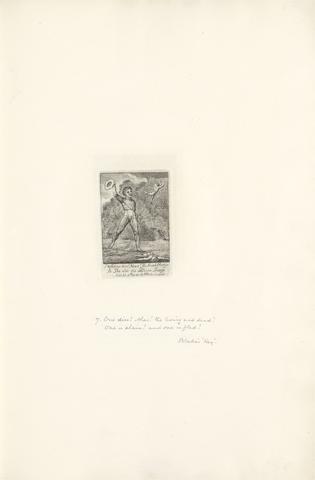
- 'Henry IV, Part I,' Act III, Scene III
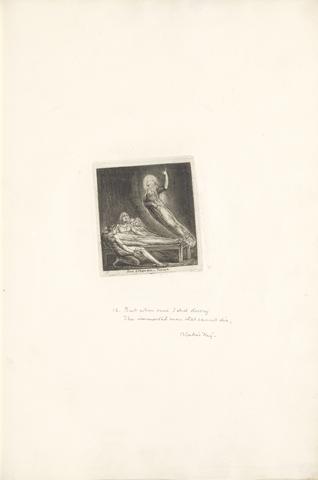
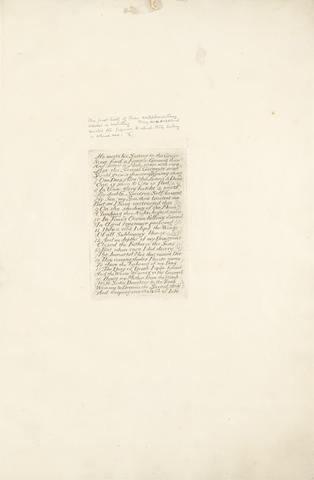
- undated
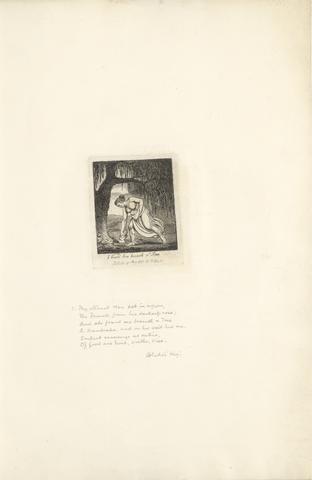
18
- 'Henry IV, Part I,' Act IV, Scene II
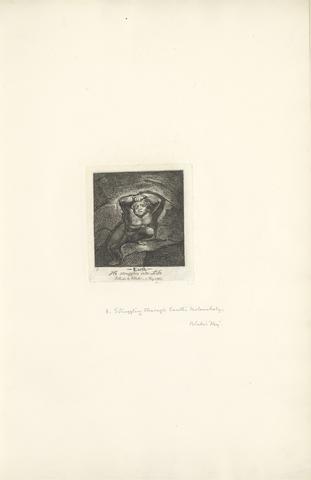
- undated
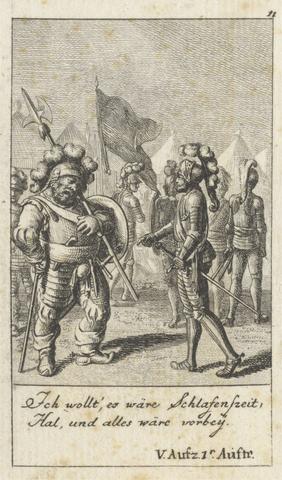
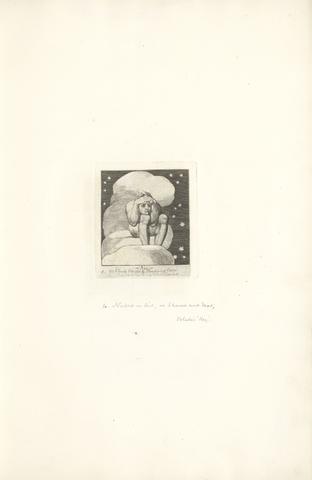
19
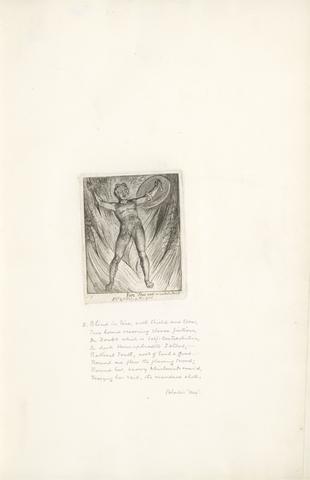
- 'Henry IV, Part I,' Act V, Scene I
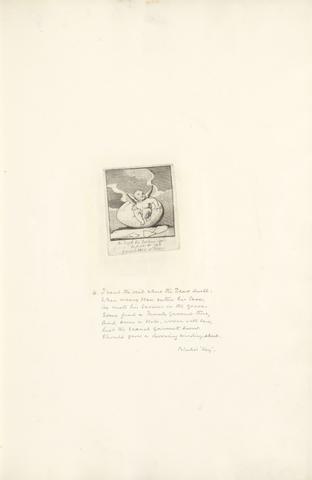
- undated
20
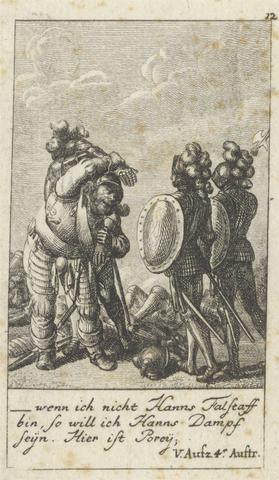
- 'Henry IV, Part I,' Act V, Scene IV
- undated
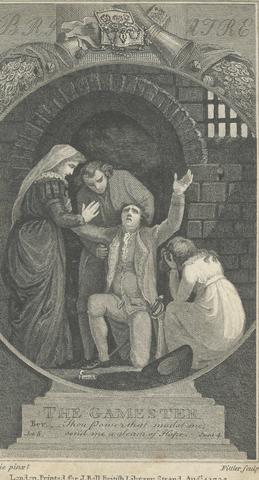
21
- 'The Gamester,' Act V, Scene IV
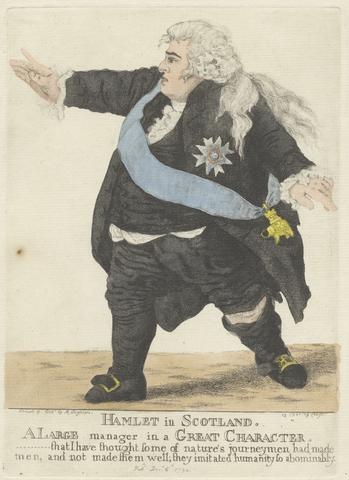
- 1792
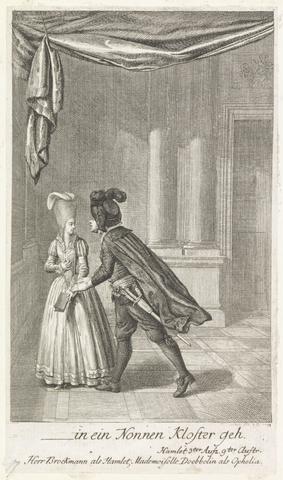
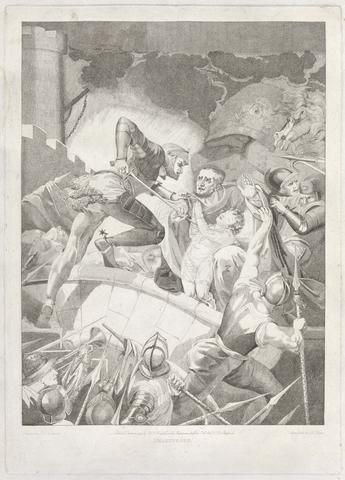
22
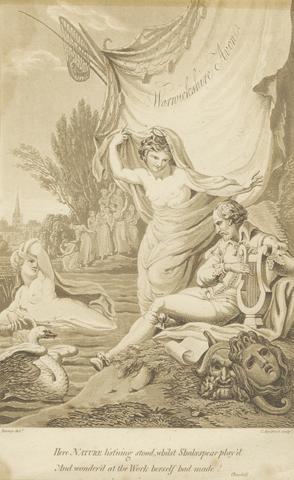
- ...in ein Nonnen Kloster geh: 'Hamlet,' Act III, Scene IX
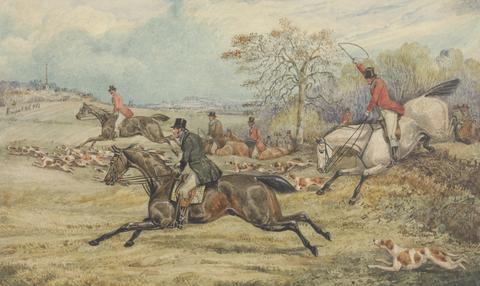
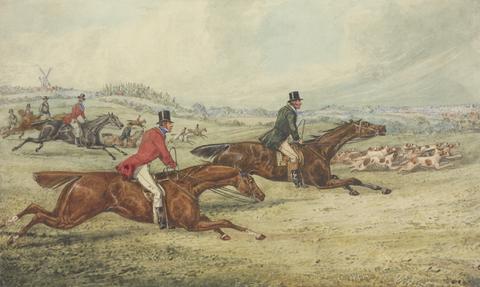
- 1778
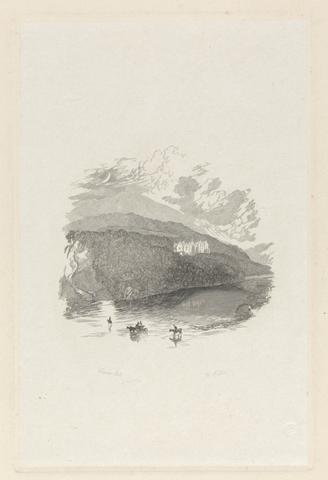
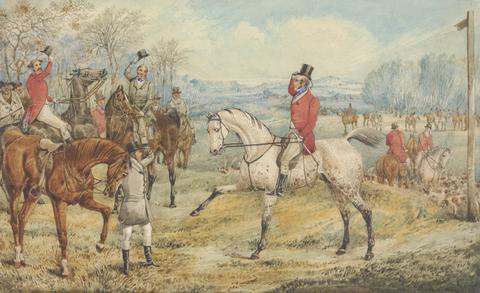
23
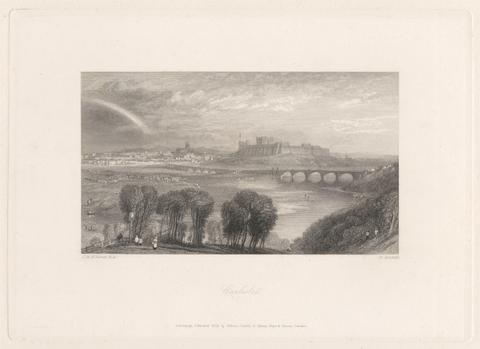
- Abbotsford, Large Vignette
- 1841
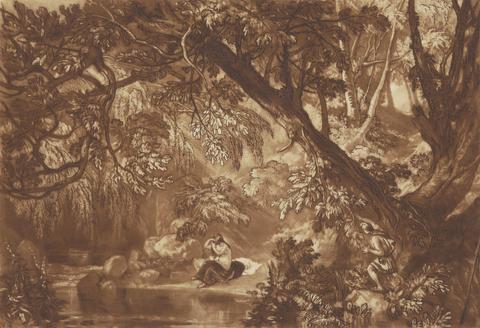
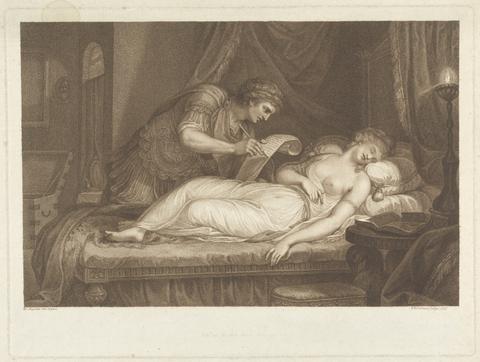
24
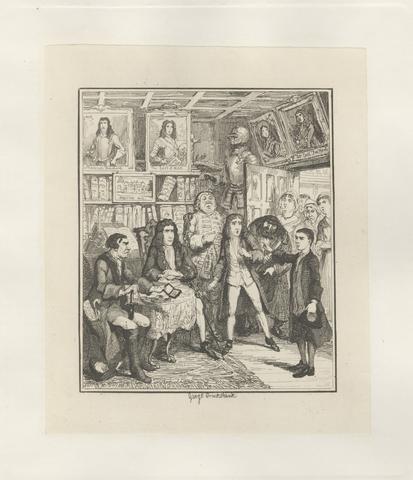
- Aesacus and Hesperie
- 1819
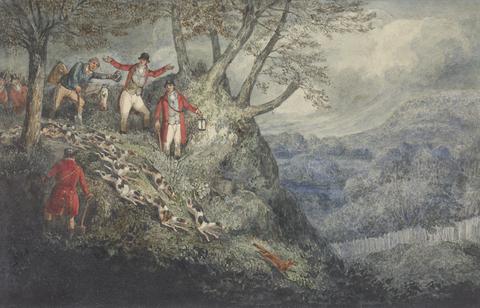
25
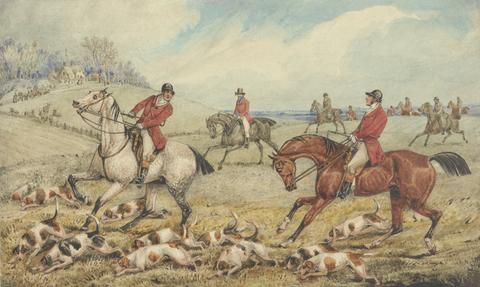
- An Illustration of C.J. Apperley ('Nimrod'), "The Life of a Sportsman": 'A Night Scene with Sir Thomas Mostyn'
- 1842
26
- And Ah! Let Pity Turn Her Dewy Eyes..
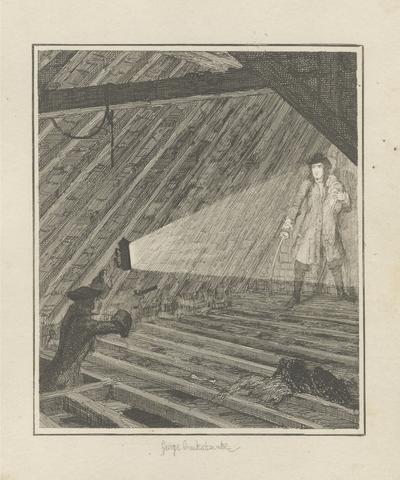
- 1801

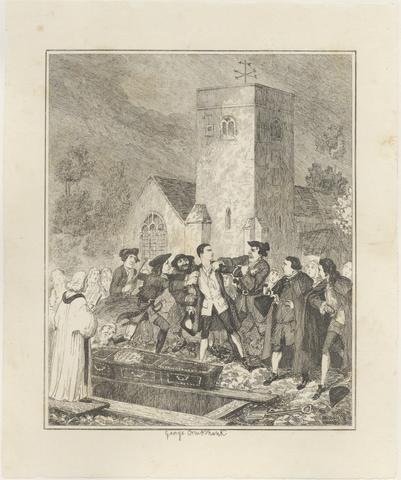
27
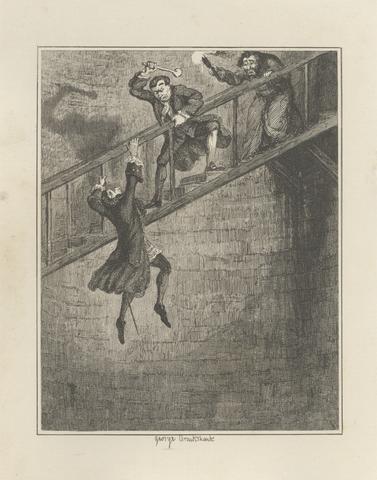
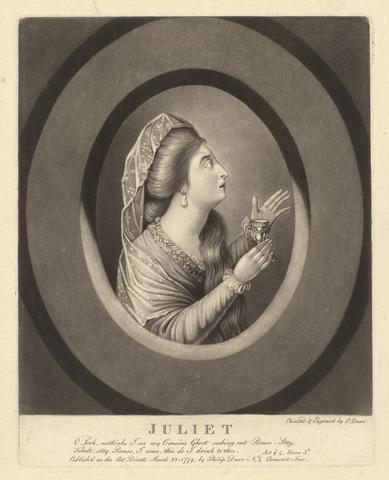
- Another Part of the Field: 'Henry IV Part I,' Act V, Scene IV
- after 1857
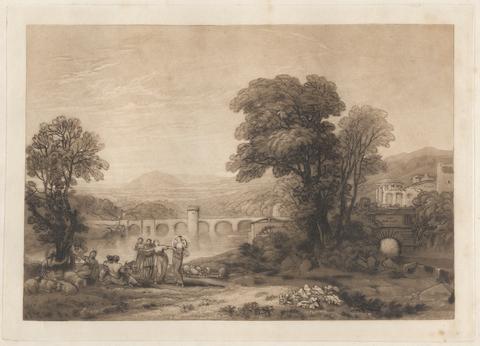
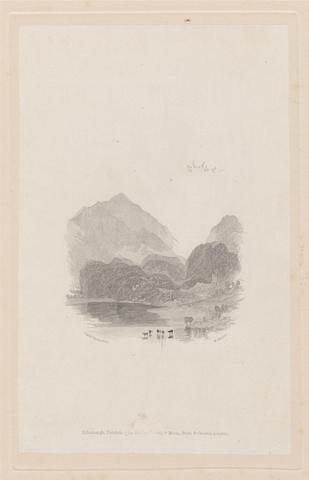
28
- Apuleia in Search of Apuleius
- between 1813 and 1823
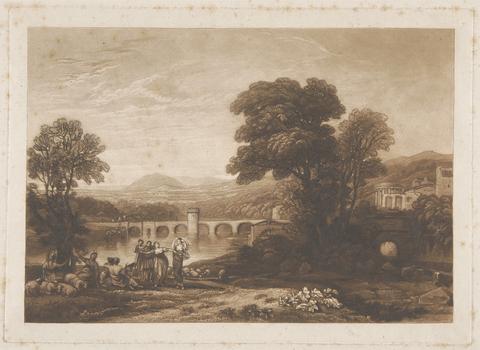
29
- Apuleia in Search of Apuleius
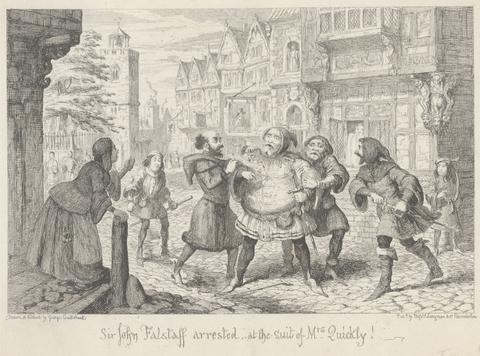
- between 1813 and 1823
30
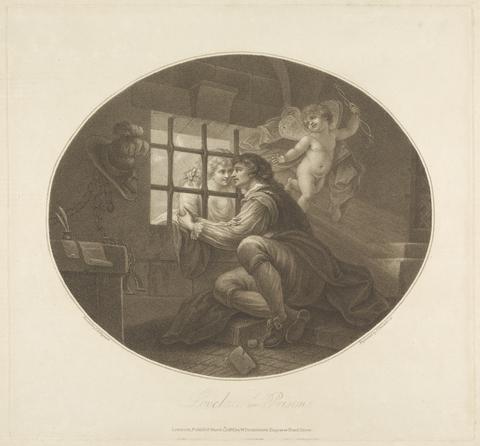
- As You Like It: Act II, Scene VII: The Seven Ages Man (Third Age)
- 1803
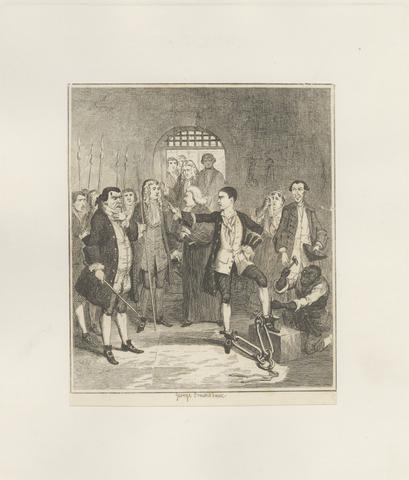
31
- Audacity of Jack Sheppard
- 1839
32
- Bauldy, Symon and Sir William Worthy
- 1808
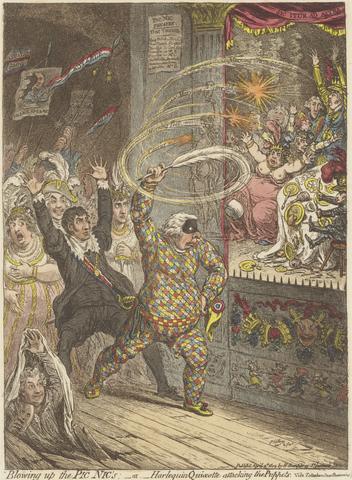
33
- Blowing up the Pic Nic's: or Harlequin Quioxtte Attacking the Puppets
- 1802

34
- Caliban, from The Tempest
- 1775

35
- Carlisle
- 1834
36
- Carlisle
- 1834
37
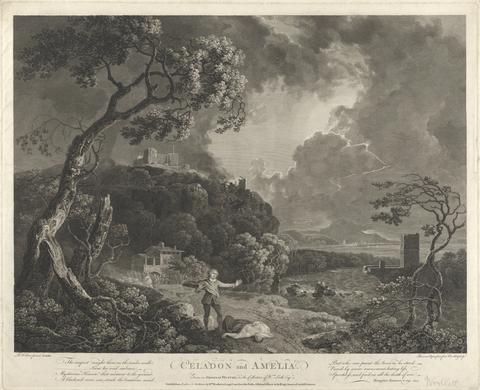
- Celadon and Amelia
- 1766
38
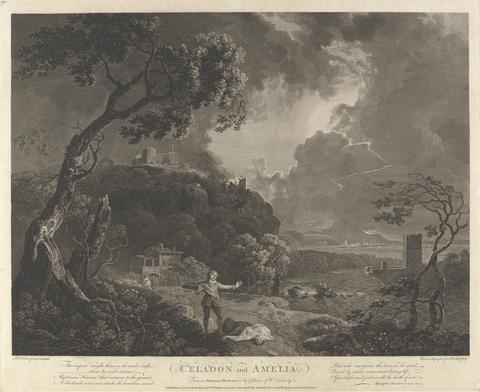
- Celadon and Amelia
- 1766
39
- Come Gentle Night: "Romeo and Juliet," Act III, Scene II
- between 1839 and 1849
40
- Comedies
- ca. 1776

41
- Dido and Aeneas
- 1787
42
- Die Maussalle.... - "Hamlet," Act III, Scene II
- between 1778 and 1780
43
- Dr. Syntax and his Counterpart
- 1820
44
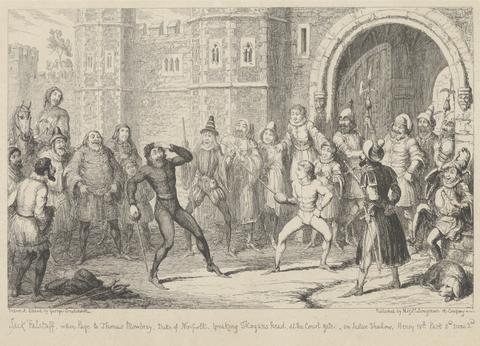
- Falstaff and his Friends
- ca. 1868

45
- For the Sexes: The Gates of Paradise, Plate 1, Title Page
- 1826
46
- For the Sexes: The Gates of Paradise, Plate 10, "My son! my Son!"
- 1826

47
- For the Sexes: The Gates of Paradise, Plate 11, "I want! I want!"
- 1826
48
- For the Sexes: The Gates of Paradise, Plate 12, "Help! Help!"
- 1826
49
- For the Sexes: The Gates of Paradise, Plate 13, "Aged Ignorance"
- 1826
50
- For the Sexes: The Gates of Paradise, Plate 14, "Does thy God O Priest take such vengeance as this?"
- 1826
51
- For the Sexes: The Gates of Paradise, Plate 15, "Fear & hope are -- Vision"
- 1826
52
- For the Sexes: The Gates of Paradise, Plate 16, "The Traveller hasteth in the Evening"
- 1826
53
- For the Sexes: The Gates of Paradise, Plate 17, "Death's Door"
- 1826
54
- For the Sexes: The Gates of Paradise, Plate 18, "I have said to the Worm . . . ."
- 1826
55
- For the Sexes: The Gates of Paradise, Plate 19, "To The Accuser . . . ." (Bentley 21)
- 1826
56
- For the Sexes: The Gates of Paradise, Plate 2, Frontispiece, "What is Man!"
- 1826
57
- For the Sexes: The Gates of Paradise, Plate 20, "He meets his Saviour in the Grave . . . . "
- 1826
58
- For the Sexes: The Gates of Paradise, Plate 3, "I found him beneath a Tree"
- 1826

59
- For the Sexes: The Gates of Paradise, Plate 4, "Water"
- 1826
60
- For the Sexes: The Gates of Paradise, Plate 5, "Earth"
- 1826
61
- For the Sexes: The Gates of Paradise, Plate 6, "Air"
- 1826
62
- For the Sexes: The Gates of Paradise, Plate 7, "Fire"
- 1826
63
- For the Sexes: The Gates of Paradise, Plate 8, "At length for hatching ripe he breaks the shell"
- 1826
64
- For the Sexes: The Gates of Paradise, Plate 9, "Alas!"
- 1826
65
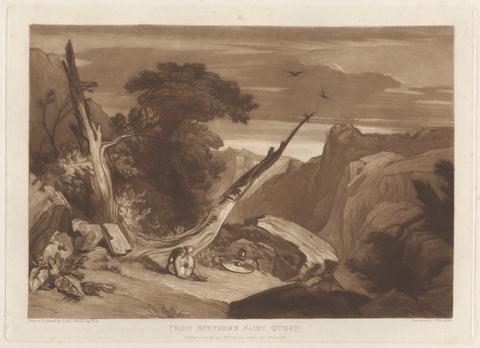
- From Spenser's Fairy Queen
- 1811
66
- Gloucestershire. Before Shallow's house: 'Henry IV Part II,' Act III, Scene II
- after 1857

67
- Grandpapa's Story or The Witches Frolick
- 1838
68
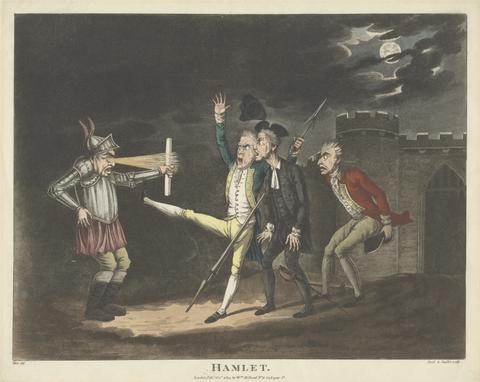
- Hamlet
- 1809
69
- Hamlet in Scotland
- 1794
70
- Henry VI, Part III: Act I, Scene III, A Field of Battle betwixt Sandal Castle . .
- 1793
71
- Here Nature List'ning Stood
- 1795
72
- Illustration for R.S. Surtees', "The Analysis of the Hunting Field": Getting Away: 'Let's Take the Lead'
- undated
73
- Illustration for R.S. Surtees', "The Analysis of the Hunting Field": The Check: 'What the Devil Do You Do Here..'
- undated
74
- Illustration for R.S. Surtees', "The Analysis of the Hunting Field": The Meet: 'With Bright Faces and Merry Hearts'
- undated
75
- Illustration for R.S. Surtees', "The Analysis of the Hunting Field:" Full Cry: 'Let's Keep the Lead'
- undated
76
- Imogen's Bedchamber in Cymbeline's Palace, 'Cymbeline,' Act II, Scene II
- 1786
77
- Jack Sheppard Accuses Thames Darrell of the Theft
- 1839
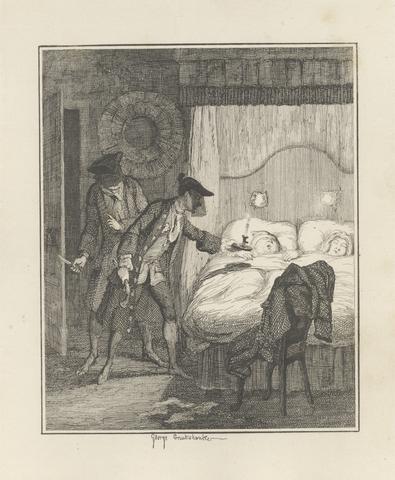
78
- Jack Sheppard and Blueskin in Mr. Woods Bedroom
- 1839
79
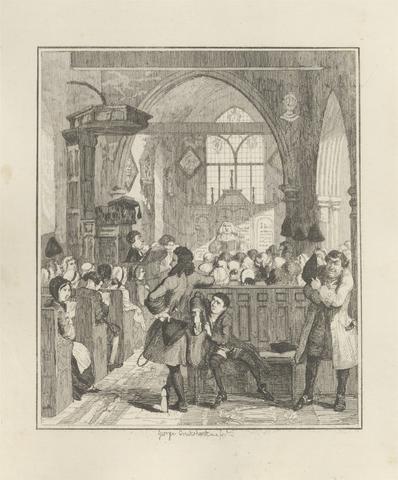
- Jack Sheppard Committing the Robbery in Willesden Church
- 1839
80
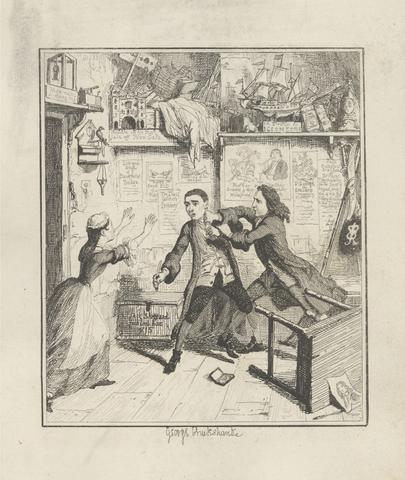
- Jack Sheppard Exhibits a Vindictive Character
- 1835

81
- Jack Sheppard Gets Drunk and Orders his Mother off
- 1839

82
- Jack Sheppard's Escape from the Cage at Willesden
- 1839
83
- Jack Sheppard's Irons Knocked off in the Stone Hall at Newgate
- 1839
84
- Jonathan Wild Discovers Darrell in the Loft
- 1835
85
- Jonathan Wild Seizing Jack Sheppard at his Mother's Grave in Willesden Church Yard
- 1839
86
- Jonathan Wild Throwing Sir Rowland Trenchard Down the Well-Hole
- 1839
87
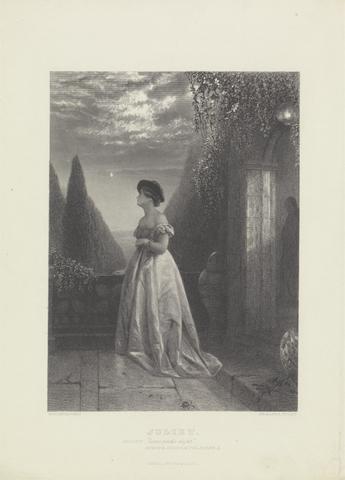
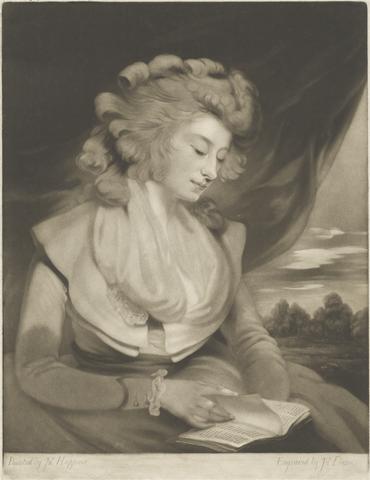
- Juliet
- 1779
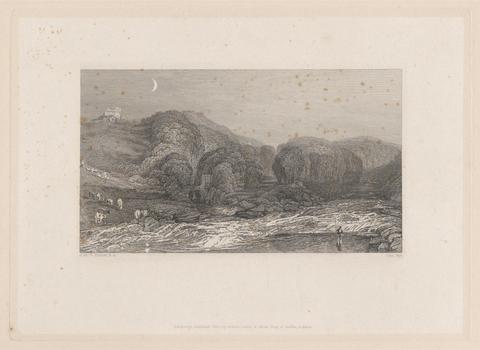
88
- Junction of the Greta and the Tees
- 1834
89
- King Henry VI, Part I: Act II, Scene V, A Room in the Tower (The Death of Mortimer)
- 1792
90
- King Henry VI, Part III: Act V, Scene VII (Queen Bess Presenting King Edward . . . with Their Infant Son)
- 1791

91
- Literary Characters Assembled around the Medallion of Shakespeare
- ca. 1777
92
- Loch Achray
- 1834
93
- London. A Street: 'Henry IV Part II,' Act II, Scene I
- after 1857
94
- London. The Boar's-head Tavern in Eastcheap: 'Henry IV Part II,' Act II, Scene IV
- after 1857
95
- Lovelace in Prison
- 1788
96
- Miss Crockatt as Julia de Roubigné
- 1786

97
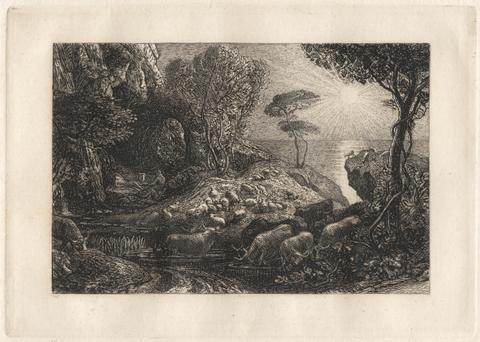
- Moeris and Galatea
- 1880-1883
98
- Moeris and Galatea
- plate etched between 1880 and 1883; impression printed in 1924
99
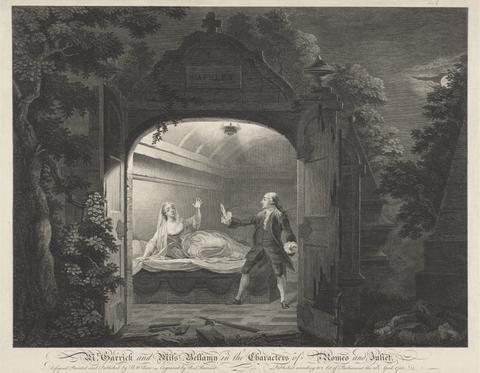
- Mr. Garrick and Miss Bellamy in the Characters of Romeo and Juliet
- 1753
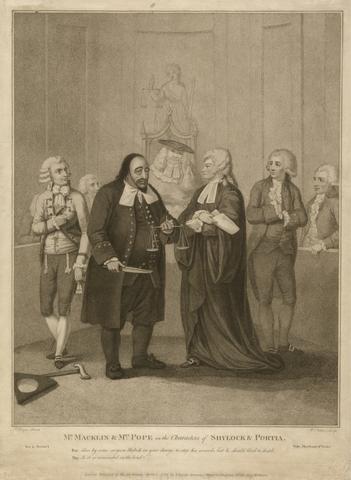
100
- Mr. Macklin and Mrs. Pope in the Characters of Shylock and Portia
- 1789